How Landscape Design Can Create Privacy Without Building Higher Fences
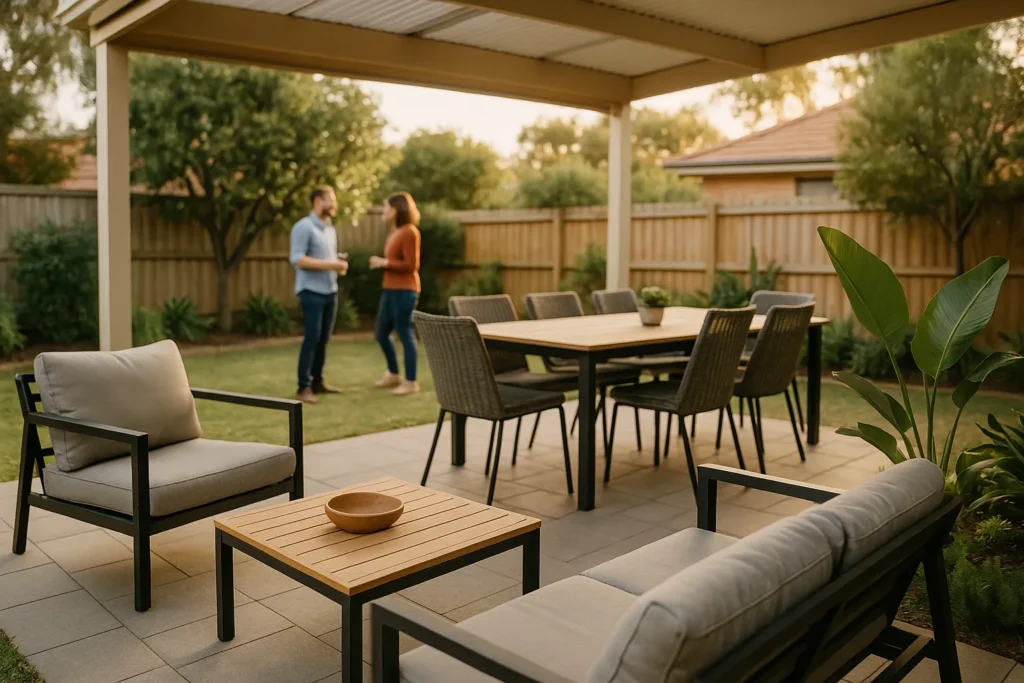
Most homeowners want a private backyard but dread the cost of building higher fences. Your garden doesn’t need a towering wall to feel like your own space. Landscape design has been solving this for years.
The right landscaping ideas work with what you already have. A mix of plants, screens, and clever planning can block out neighbours without making your backyard feel closed in.
And a well-designed garden gives your outdoor space a real personality, something no bare wall ever could. This article covers the most practical ways to use landscape design for privacy, from plant selection to layout ideas.
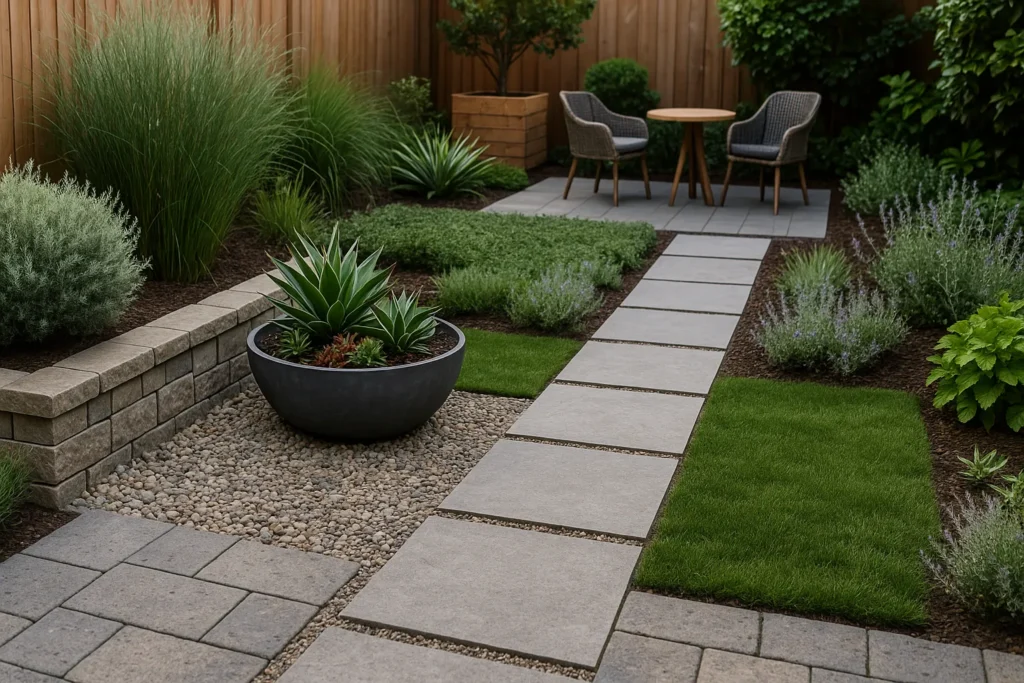
Landscape Privacy Ideas That Actually Work Without a Single Fence Panel
The most fruitful landscape privacy ideas use plants, screens, and layers to block sightlines naturally. More often than not, strategic placement does more work than sheer volume of planting. You don’t need a jungle, but the right garden setup in the right spots.
Also, strategically placed trees can reduce a home’s air conditioning needs by up to 25%. This adds another practical reason to plan planting zones carefully.
Let’s look at the two most practical ways to bring these ideas to life in your own backyard.
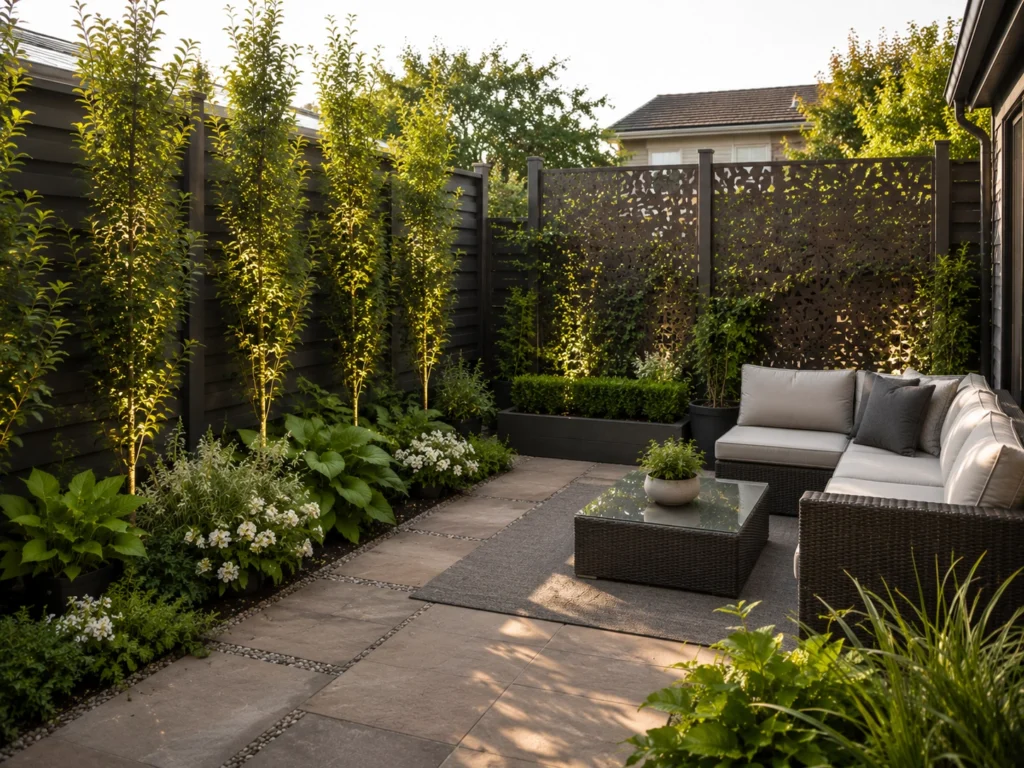
Using Plants and Hedges as Natural Privacy Screens
The best part about using hedges and plants for privacy is that they get better and fuller every year. Tall screening shrubs like Lilly Pilly or Viburnum grow dense enough to replace a fence entirely, and they look far more inviting from both sides.
On top of that, climbing plants trained over a simple timber frame are another solid option. They create soft, attractive privacy screens at a fraction of the cost of built structures. So naturally, they add a layer of shade that bare fencing never gives you.
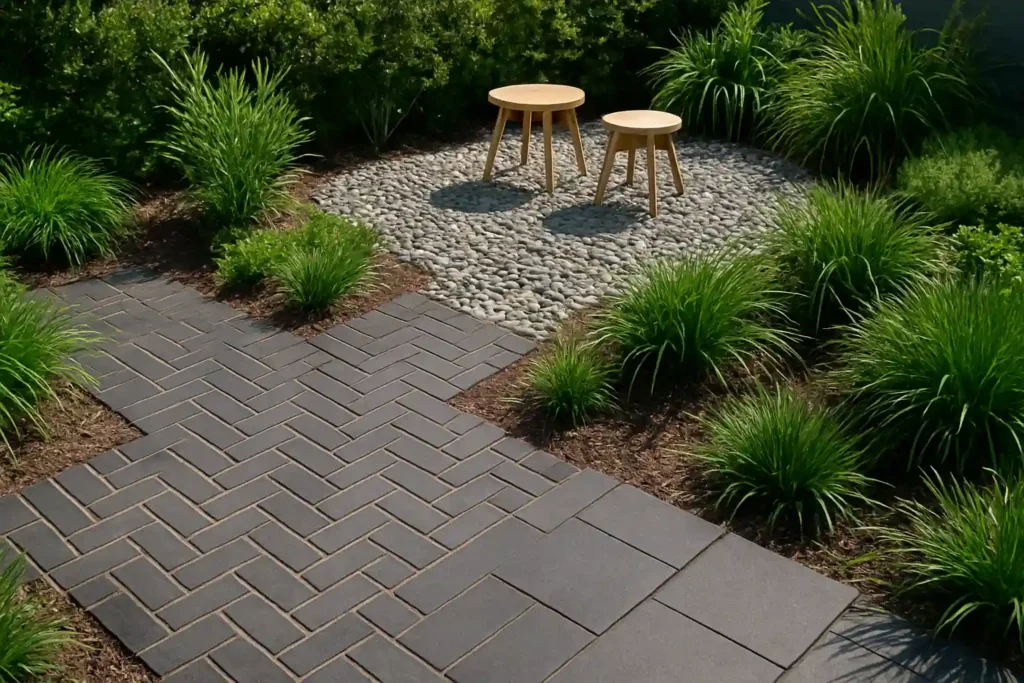
Layering shrubs with mid-height plants and low groundcovers adds real depth to the garden. It fills visual gaps at every level. That way, there’s no awkward see-through patch halfway up the wall where the neighbours can still spot you on the deck.
Garden Design Tips for Small Backyard Spaces
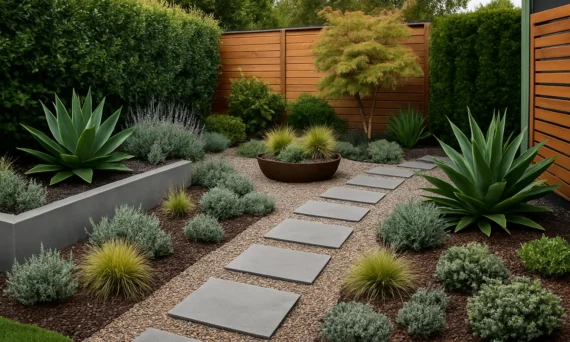
Think a small backyard means you’re stuck with whatever the neighbours can see? Not quite. Vertical garden design is one of the most underused ideas for tight spaces. It keeps your floor area completely free for outdoor furniture and seating.
That said, raised garden beds positioned along boundaries are a practical move for small backyards. They add instant height and greenery without a full renovation project. On top of that, you can fill them with perennials, grasses, or even a vegetable garden if you want the space to do double duty.
Compact screening plants like bamboo work well in narrow beds along an existing fence. They slot into tight spots, grow quickly, and create a layered wall of green that softens the whole backyard (Just choose a clumping variety since running bamboo in a small garden leads to regret by spring).
How to Add Privacy With Smart Landscape Planning
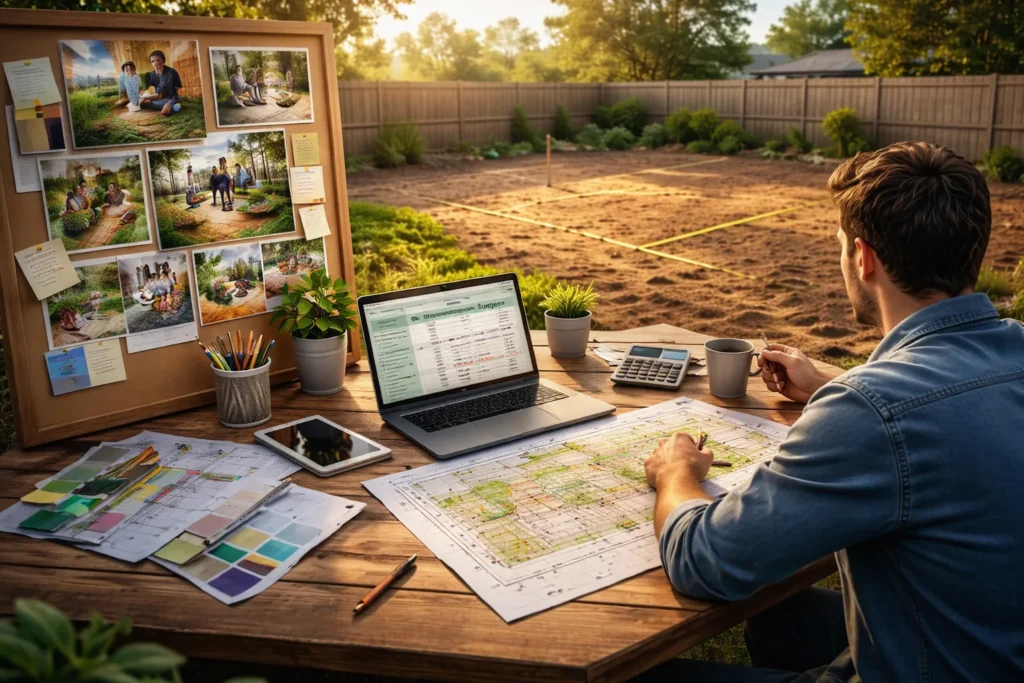
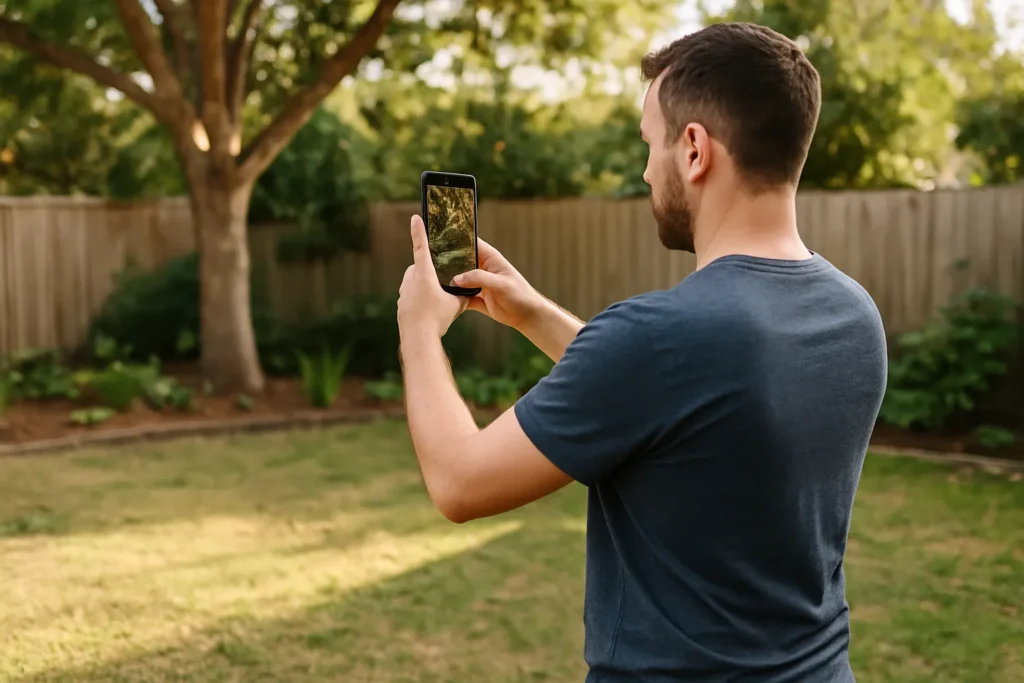
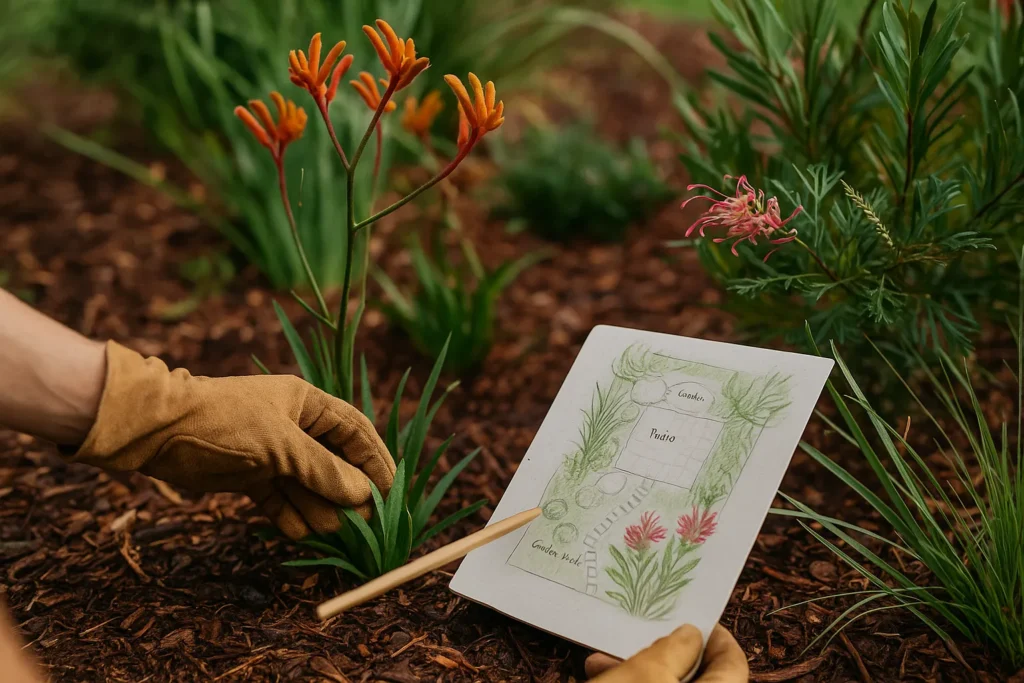
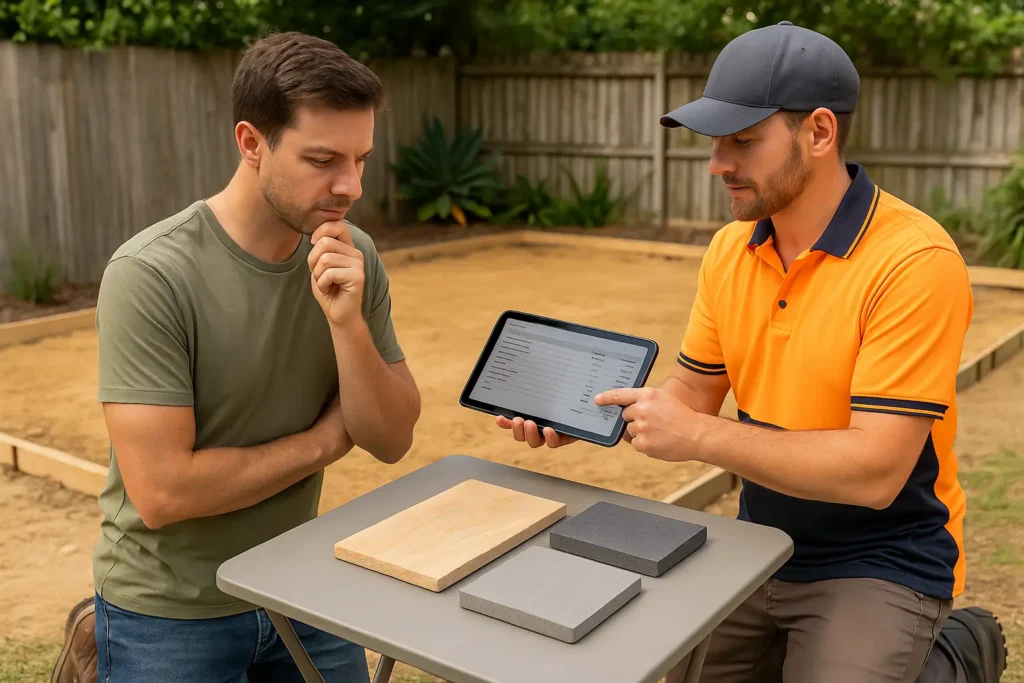
Adding privacy through landscape planning means knowing where your sightline problems start. With that in mind, most people jump straight to buying plants without walking their yard first and figuring out exactly which angles need covering. That one step alone saves a lot of wasted money on the wrong solutions.
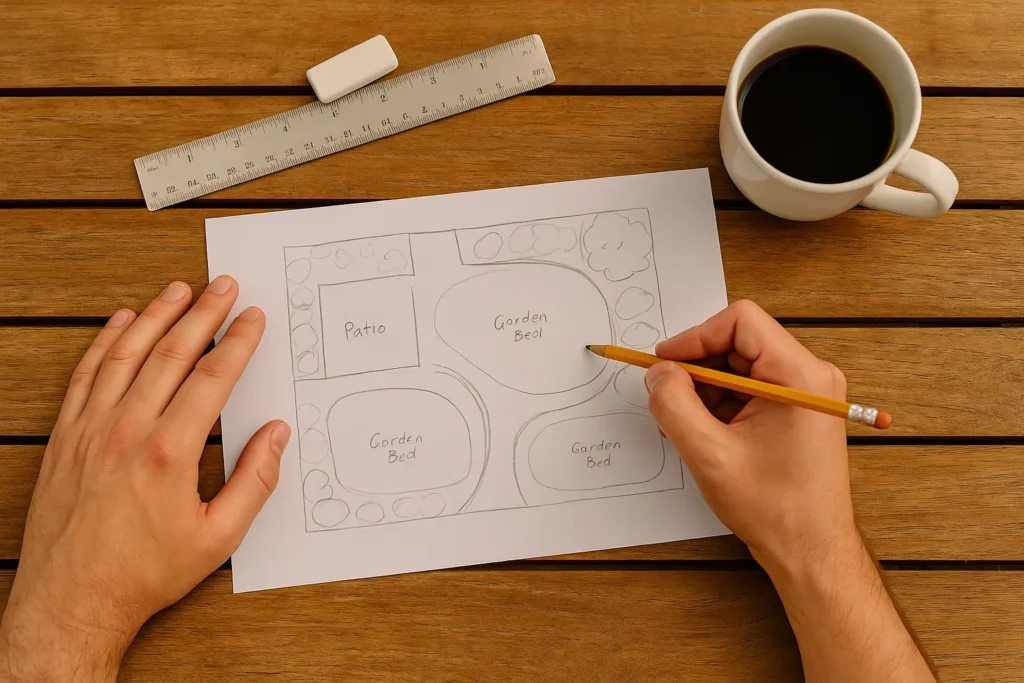
In our 20 years working with Mornington Peninsula homeowners, one thing stands out. The yards that get privacy right always started with a proper plan. Here’s how to do exactly that.
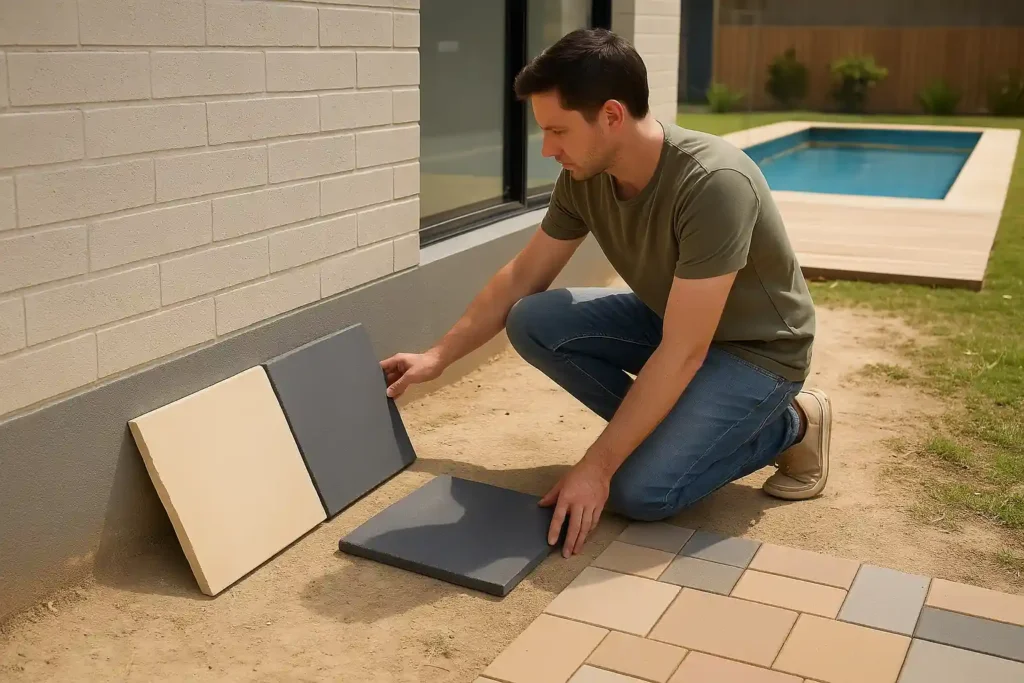
Choosing the Right Outdoor Privacy Solutions for Your Yard
Choosing the right outdoor privacy solutions upfront saves you years of replanting and repositioning. Aside from that, fast-growing screening plants are a popular pick for homeowners who want results within a season or two. Plus, they pair well with a deck or seating area that needs immediate shelter.
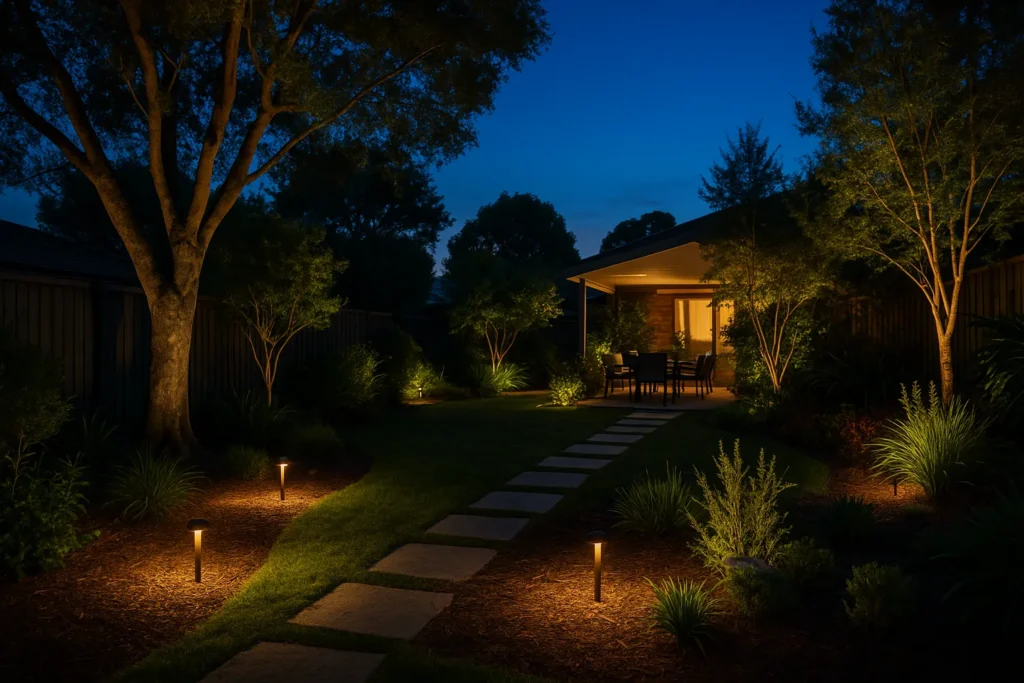
With that in mind, structural elements like pergolas and shade sails add privacy overhead, not just around the sides. They’re worth considering early in the planning stage because they influence where you position everything else in the outdoor space. They work best when combined with planting rather than used on their own.
Moreover, mixing hard landscaping with softscape gives your yard year-round coverage. When deciduous plants drop their leaves in winter, solid structures and evergreen screens help maintain privacy. So, the garden still looks finished rather than suddenly exposed.
What to Know About Privacy Screens in Garden Design
Knowing what privacy screens are makes every other garden design decision easier. Simply put, privacy screens are vertical structures made from timber, steel, or dense planting that block specific sightlines in your outdoor space (they’re not just for hiding unsightly views, but a well-placed screen can also become a focal point in the garden).
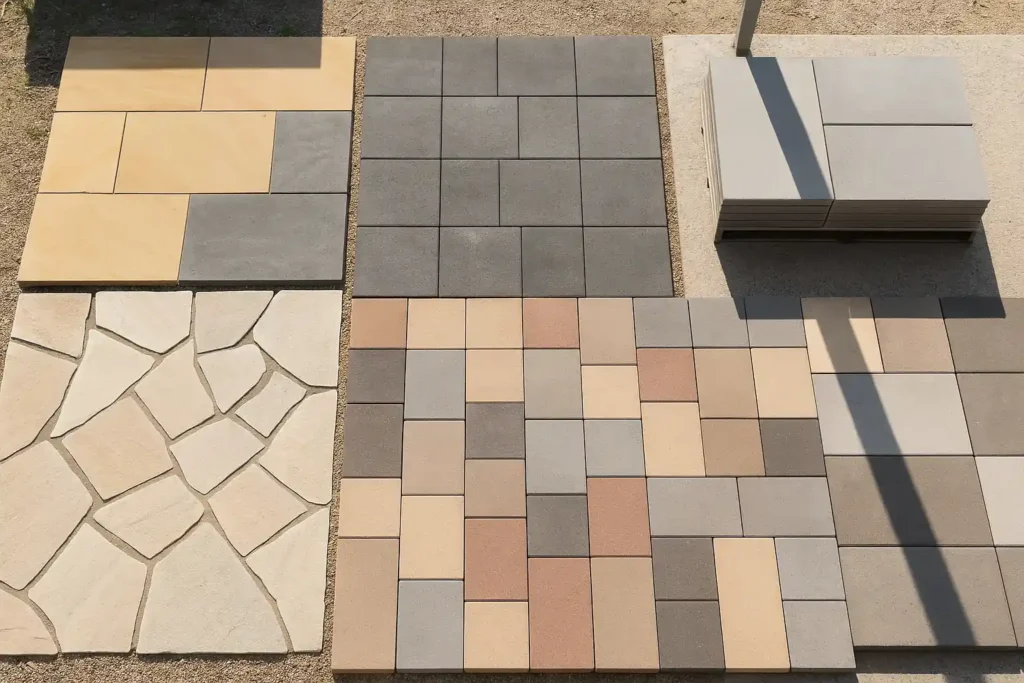
Here’s a quick look at the most common screen materials and what suits different situations:
| Material | Best For | Things to Consider |
| Timber | Warm, natural look | Needs sealing to handle rain and sun |
| Steel | Modern, low-maintenance | Can get hot in full sun near seating |
| Dense planting | Soft, natural screening | Takes time to establish full coverage |
| Composite panels | Durability and style | Higher upfront cost than timber |
Screens work best when positioned to block specific sightlines rather than running along entire boundaries. We’ve found that most homeowners only need two or three well-placed screens to solve the majority of their privacy issues. And yes, we’ve seen it happen time and again across yards of every size.
Combining screens with climbing plants softens hard edges and pulls the whole garden design together. It also means your windows and light aren’t blocked the way a solid wall would. This keeps the space feeling open while still protecting your privacy.
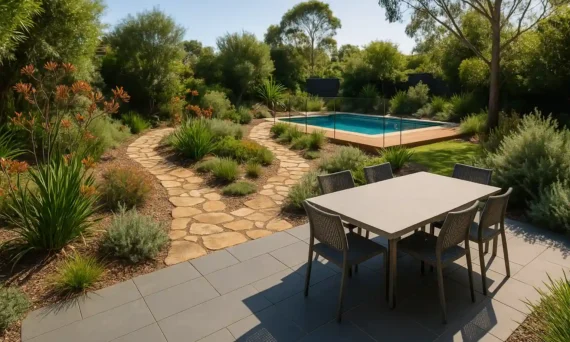
Can Your Backyard Landscaping Do More Than Just Look Good?
The answer always comes down to how well the landscaping was planned, rather than how much was spent. A backyard that works for privacy, shade, and everyday use starts with understanding what your space needs.
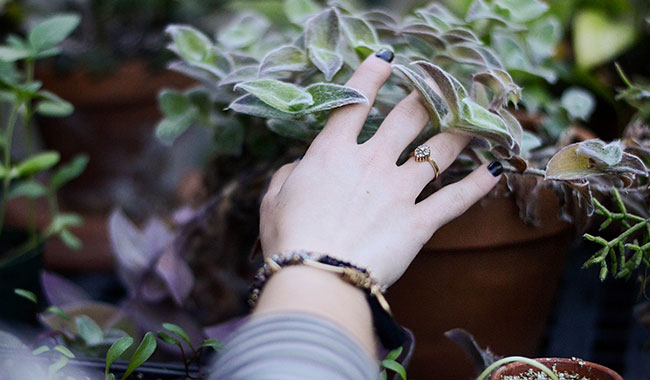
Thoughtful planting choices also add habitat value to your garden. We’ve seen Mornington Peninsula yards attract birds, support local wildlife, and connect with the local environment. At the same time, they still give homeowners the private backyard they wanted.
To see how that works, here’s the breakdown.
Layers, Height, and Density: The Basics of Backyard Privacy
Backyard privacy comes down to three planting layers:
- Canopy Trees: overhead coverage that blocks elevated sightlines
- Mid-storey Shrubs: the middle layer that fills the gaps in between
- Low Groundcovers: base-level planting that closes off the view at ground height
Each layer fills a different visual gap, so sightlines get blocked at every height. Most gardens only hit one or two layers, hence they still feel exposed.
And here’s the thing, density matters more than height alone. A tall tree with no understorey planting still leaves plenty of gaps, especially once you remove the lower limbs for clearance. On the flip side, native plants are particularly good at filling that mid-storey space quickly.
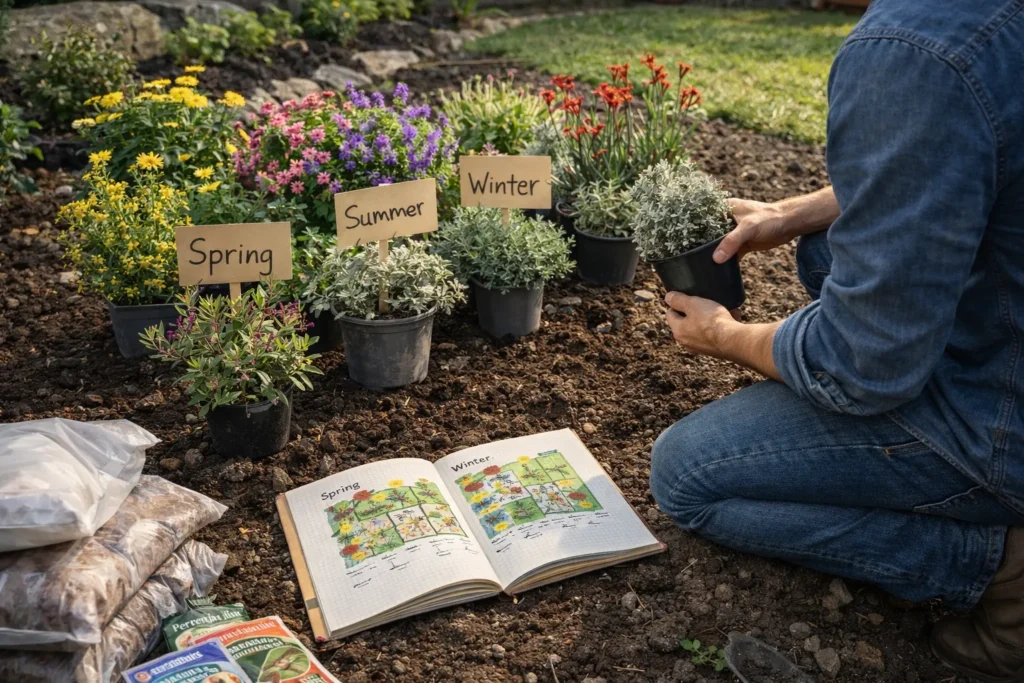
Outside of that, mixing evergreen and deciduous species keeps your garden covered through every season. It also adds visual interest as different plants change through the year. This gives the backyard a sense of nature that a fence simply can’t replicate.
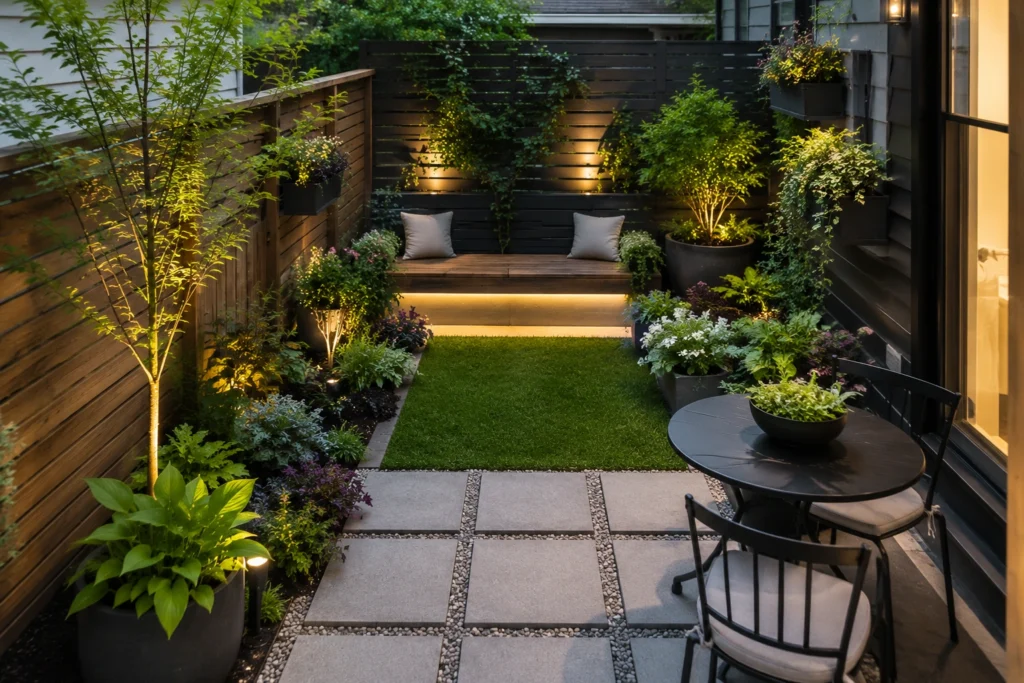
Small Backyard? Here’s How to Add Privacy Without Losing Space
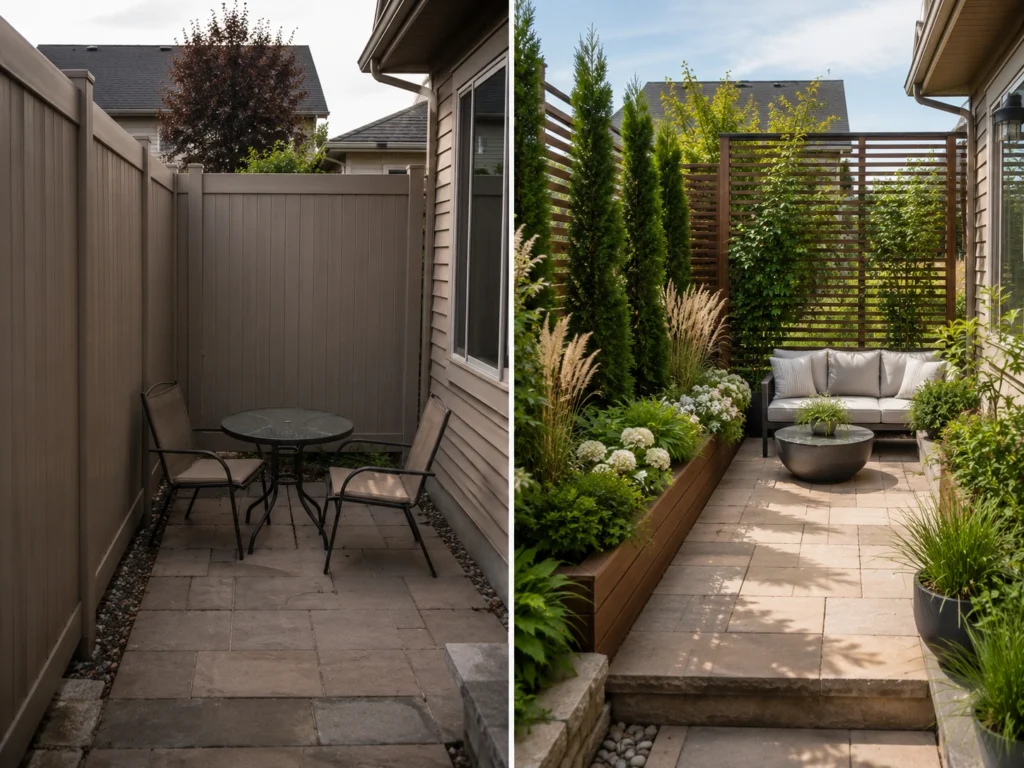
Now that the layering basics are covered, here’s how to apply them to small backyards without losing floor space.
Espaliered trees trained flat against a wall give you height and greenery without pushing into the yard at all. It’s basically a method of training a tree to grow flat, working beautifully along boundary walls.
On the flip side, tall, narrow screening plants like pencil pines take up minimal ground area while still delivering solid coverage. They slot into tight spots where a spreading shrub wouldn’t fit, and they add structure to a small backyard. You can even use them to frame views toward a water feature or garden shed.
In fact, vertical structures with cascading plants are another solid option. Trellises, wall-mounted garden beds, and outdoor wall art combined with greenery use height instead of floor space. That way, your backyard stays open for seating, pathways, and everything else you want out there.
Your Yard, Your Rules. Let’s Make It Private
Getting your outdoor privacy right means enjoying your own backyard on your terms, every single day. The ideas in this guide are all about working with your garden rather than against it. And none of them requires a single extra fence panel.
Here’s a quick recap of what works:
- Use layered plants and screening shrubs for natural, improving coverage
- Add privacy screens in timber, steel, or dense planting to block specific sightlines
- Go vertical in a small backyard to protect space while adding height
- Mix evergreen and deciduous species for year-round shelter and visual interest
Peninsula Compost has been helping Mornington Peninsula homeowners get their gardens right for over 20 years. If you’re ready to bring some of these landscaping ideas to life in your own backyard, get in touch with our team today, and let’s get started.