Author Archives: Charles Nelson

How Outdoor Spaces Can Become Part of Your Everyday Lifestyle

How Outdoor Spaces Can Become Part of Your Everyday Lifestyle

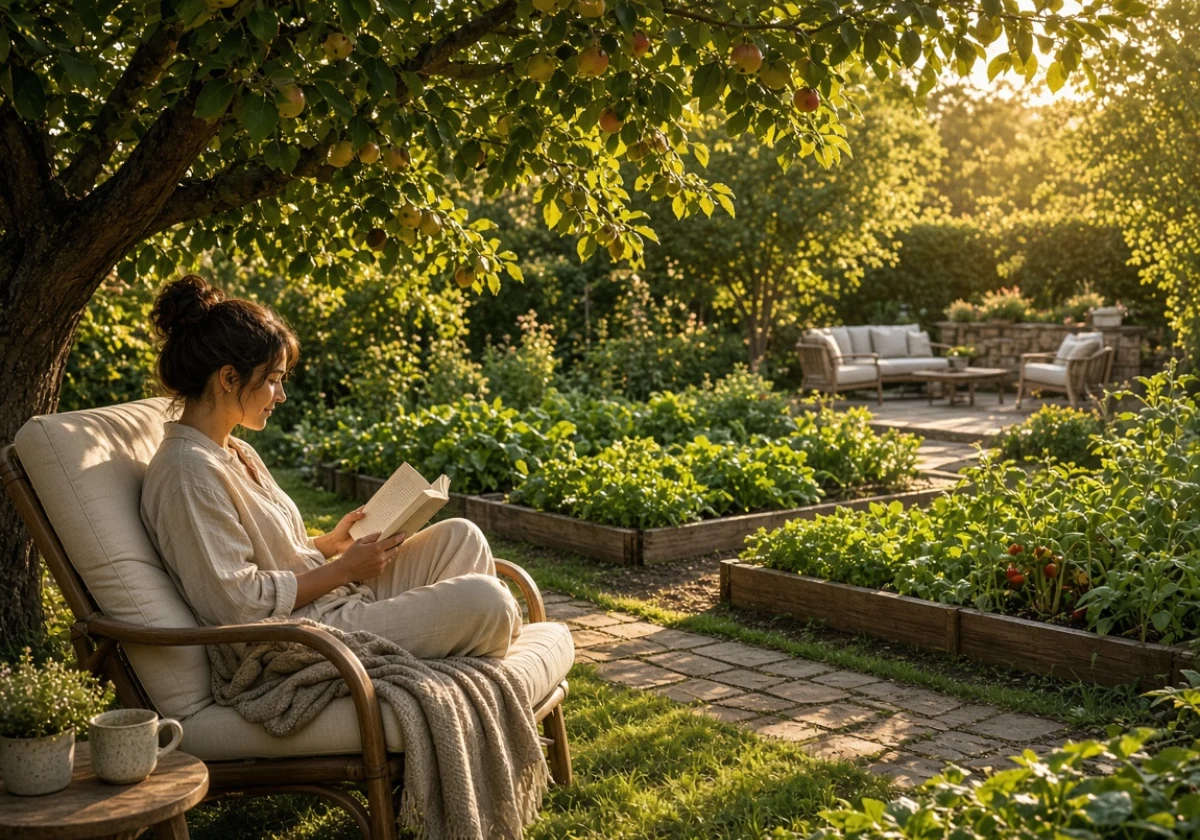
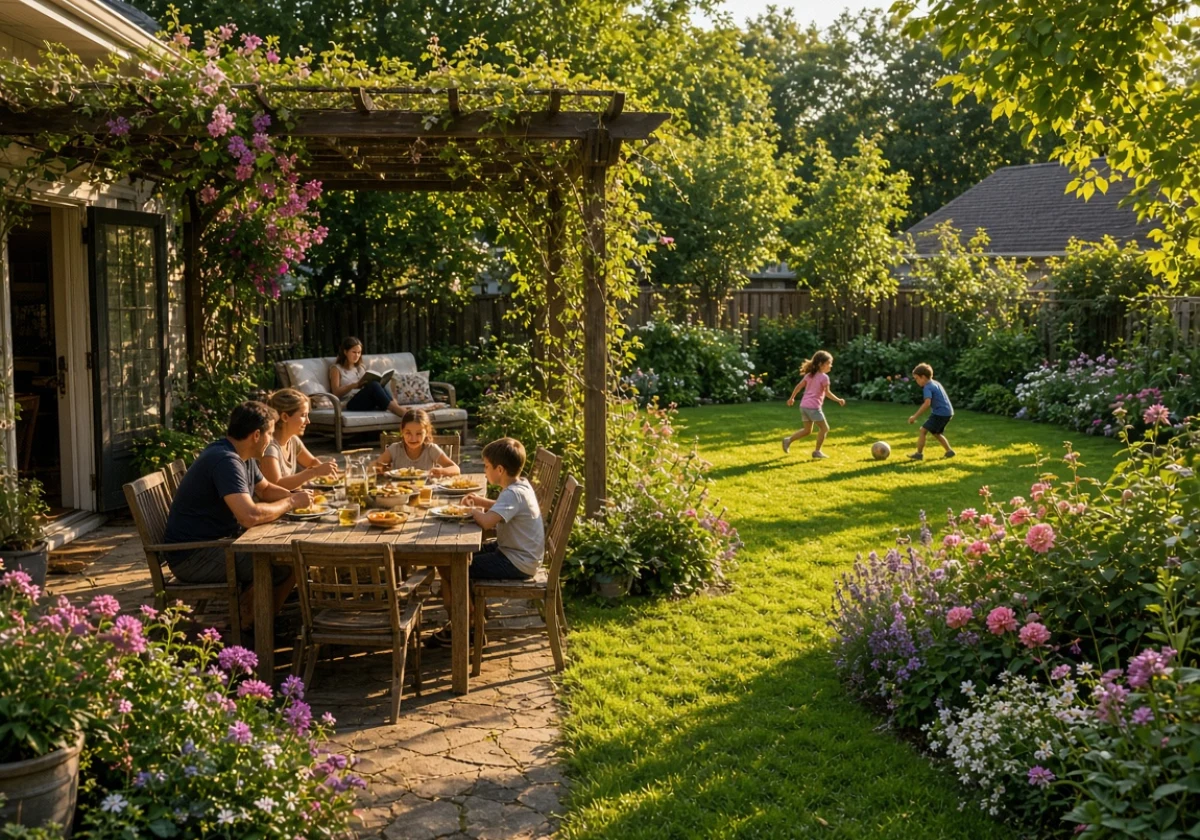
Outdoor spaces become part of your everyday lifestyle when you design them around daily habits like meals, rest, and entertaining. A patio you walk past each morning stays empty until it holds something you need.

Plenty of households treat the backyard as a weekend job, so it never earns a place in the weekday routine. We see this at Peninsula Compost all the time, and tired soil is often where a neglected garden starts to fail.

This guide covers how to zone your space, which furniture handles the weather, and how planting pulls you outside. You’ll also see how to match outdoor features to the way your household really lives. Let’s get into it.

What Does Good Outdoor Living Design Look Like Day to Day?
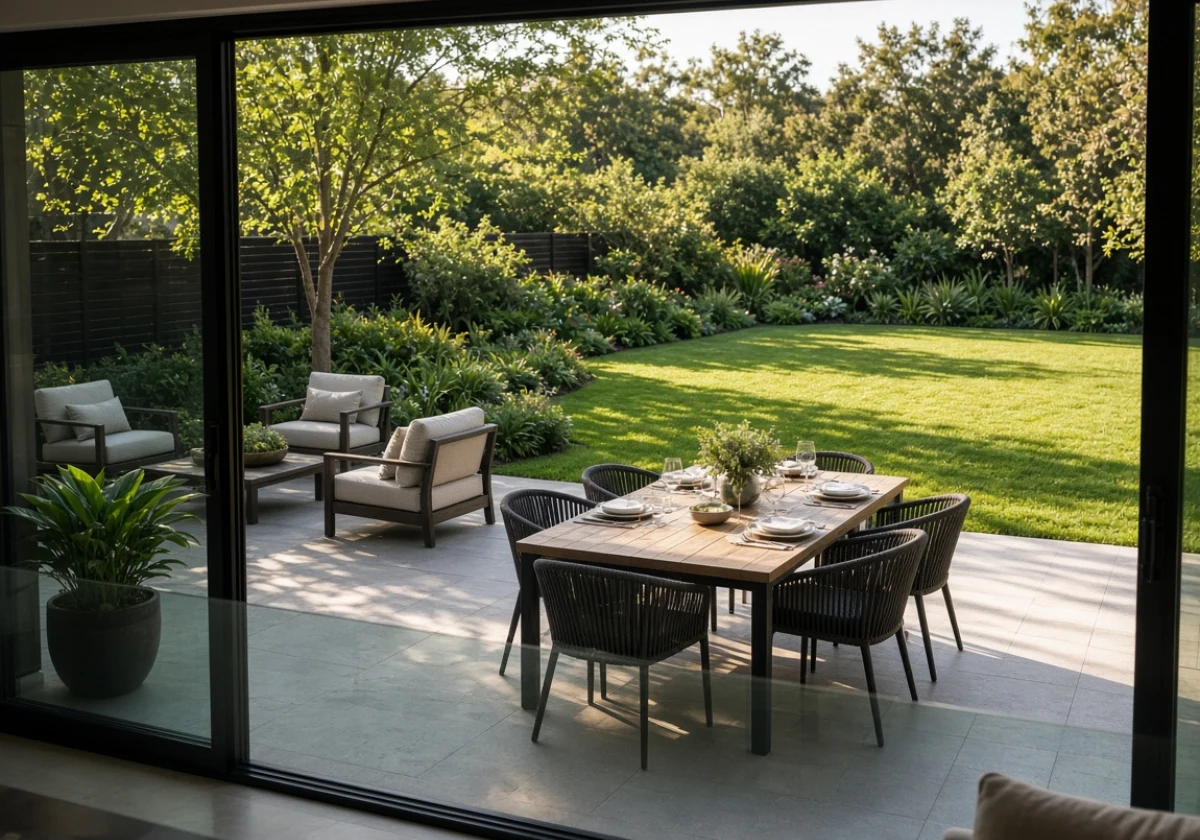
Backyard photographed from inside the house looking out through glass

Good outdoor living design fits what your household already does after work and on weekends. Three decisions carry most of the weight here: how you zone the area, what you sit on, and what you put overhead.

Zoning Your Outdoor Rooms for Meals, Rest and Play

Zoning gives each part of the backyard a single job, so the gathering space and the quiet corner never compete for the same square metres. Meals need a table near the back door, which is why dining areas work best within a few steps of the kitchen.

Rest wants the opposite, so your lounge chairs belong in a quiet corner that faces the garden instead. Play takes the leftover lawn, where kids run without crossing the table (fewer spilled drinks and far fewer trodden chip bowls).

Walk the route between the back door and each zone before you commit to paving. If a path crosses your seating areas, move one of them, because people drift to the shortest line between two points.

Choosing Furniture That Handles Australian Weather

Outdoor furniture earns its place by surviving the season you use it least, which is usually a wet winter. Powder-coated aluminium, teak and woven resin all hold up outside, while flat-pack steel rusts at the joints.

Beyond material choice, durability deserves attention. Unfortunately, Australia faces rising temperatures and increased fire weather, according to the State of the Climate 2024 report.

If you’ve only got room for one upgrade this year, make it a deck box for the cushions. You’ll see the payoff the first time a Melbourne storm rolls through on a weeknight.

Lighting and Shade That Stretch Your Hours Outside

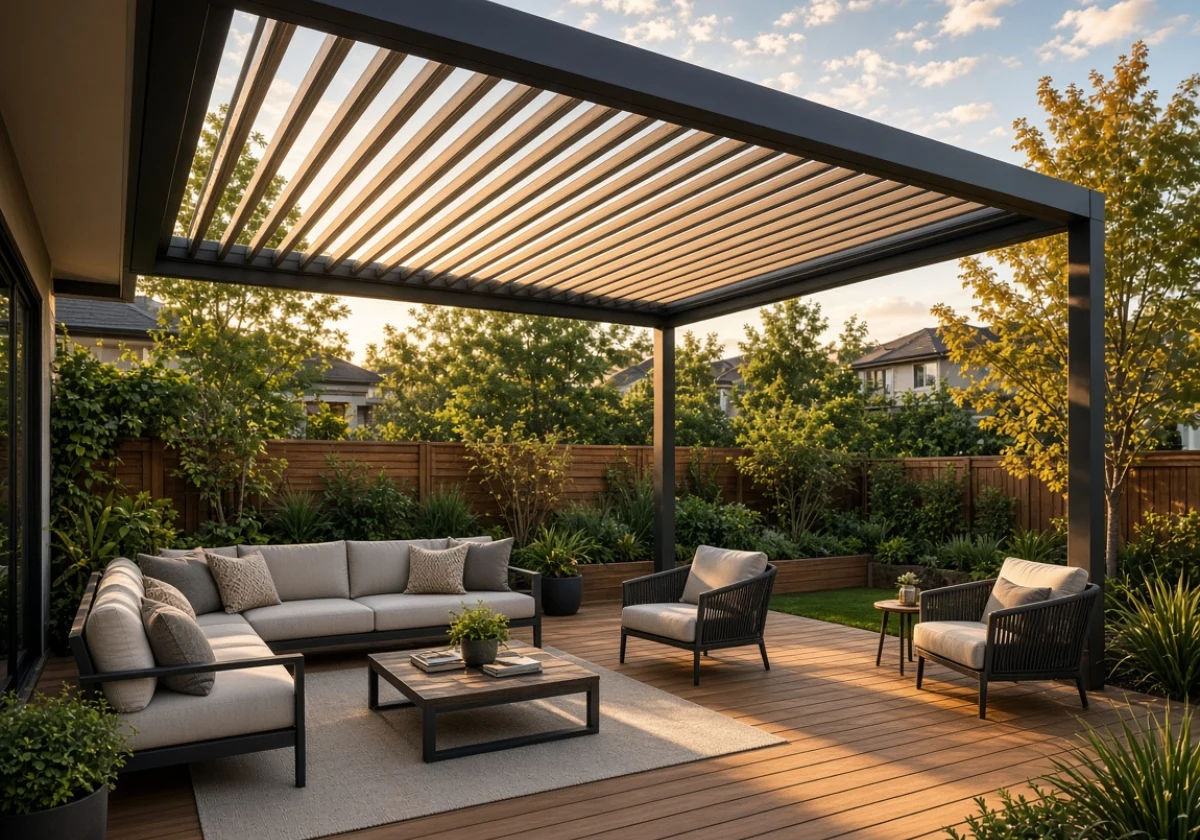
Shade determines how comfortable your patio feels at two in the afternoon, while lighting lets you enjoy it past eight. A pergola with adjustable louvres blocks the summer sun and still lets winter light reach the house.

On a tighter budget, a shade sail or café blinds cover the same hours for far less money. Both cut the heat bouncing off paving, which is what drives people back indoors by midday.

Lighting then takes over after sunset, and warm, low-level light does more for comfort than one bright floodlight. String lights on a dimmer, plus a lamp beside the chairs, give you an outdoor living room after dark (people linger far longer once the harsh overheads go off).

Build a Garden Lifestyle Around Your Week

Close-up photograph of hands harvesting fresh basil and ripe cherry

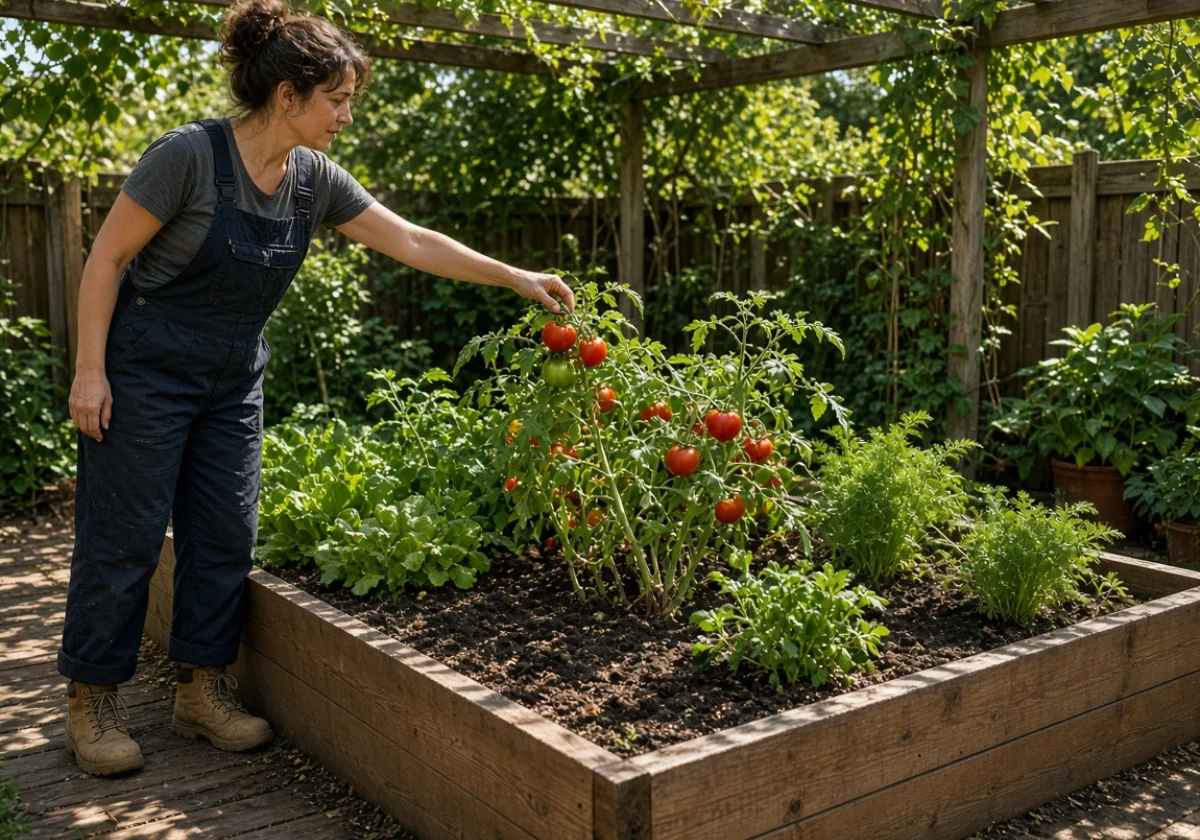
Once the layout works, turn to the garden. Many gardens get admired from the kitchen window more often than they get used. A beautiful bed stays idle if nothing in it serves your week. Plants you want to pick, like herbs, lemons, or a few tomatoes, pull you outside on a Tuesday evening.

So start with what you’ll reach for most, and keep it within arm’s reach of the back door. From what we see supplying compost to home gardeners, the beds beside the step get harvested while the far ones get forgotten by February.

Underneath all of it sits the soil, and this is where many garden designs fail. Compost does the unglamorous work here: it holds water in sandy soil and opens heavy clay so roots can spread. Anyone who has worked with worn-out garden beds knows the soil gradually recovers when they add organic material back into it (no new plants and no fresh garden beds required).

Apart from the beds, landscaping choices decide how much of your weekend the garden claims. For instance, native plants suited to your climate keep their aesthetic appeal through summer without weekly watering or constant trimming. Good landscaping also sorts out drainage, so rain runs away from the house rather than pooling across the paving.

Planning a Backyard That Connects to Your Home

With the planting settled, the best part of careful backyard planning is a back garden that feels like another room of your home. That join between inside and outside does most of the work, and landscaping details decide how well it holds.

Run through these three before you build, and you’ll see whether your garden feels connected or tacked on:

  1. Sight Lines From Inside: Stand at the kitchen sink and look out, because that’s the view you’ll see most days. When it lands on a fence or a bin, move the planting instead of the window. Clear sight to greenery makes the living areas on both sides of the glass feel larger than they measure.
  2. Level Changes and Thresholds: Decking that sits flush with your floor removes the step that stops people from wandering out. Where a level change is unavoidable, use one wide tread rather than two narrow ones. Flat thresholds also make outdoor dining easier, since carrying plates and drinks out no longer means watching your feet.
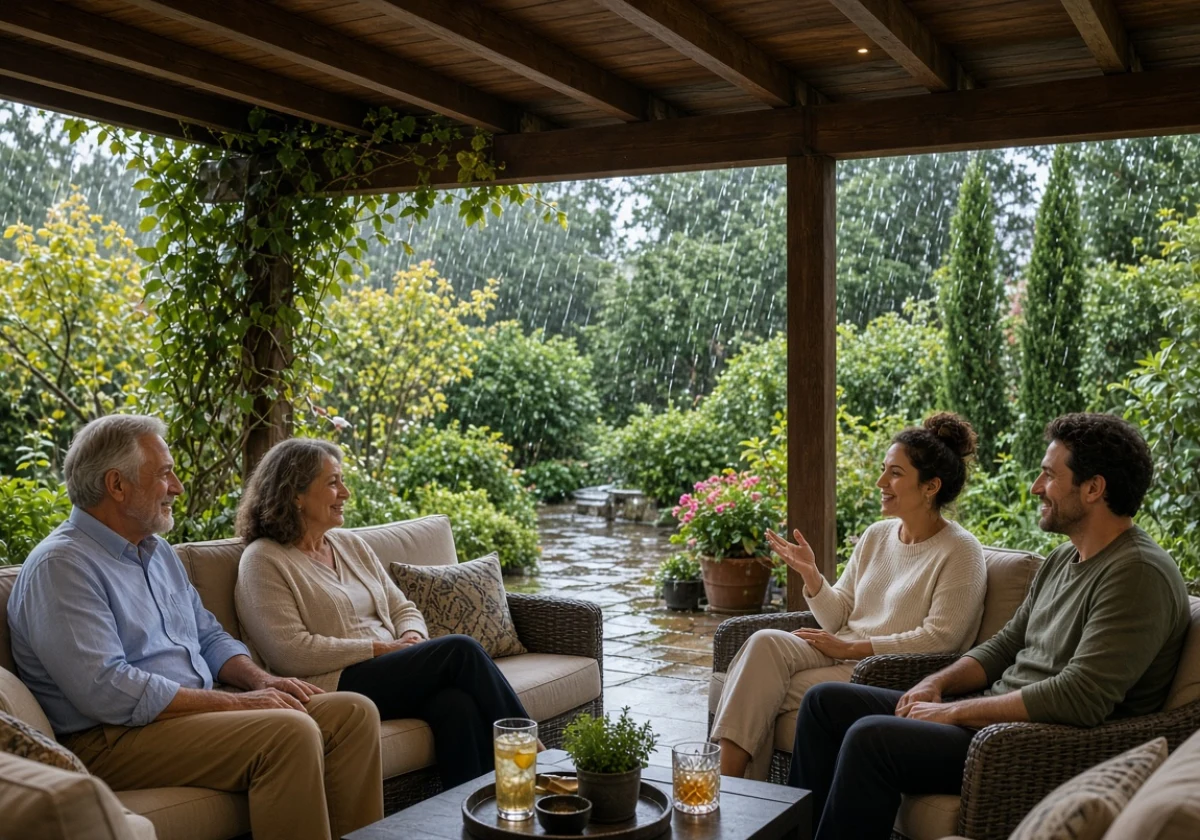
  3. Shelter Near the Door: Add cover so a single shower doesn’t end the evening before anyone finishes eating. Roofing over part of the deck keeps the barbecue usable through a downpour or a cold southerly. Roofing over part of it keeps the barbecue usable through a Brisbane downpour or a cold southerly. Even a narrow awning keeps the doorway dry and the floor inside clean.

These three details decide whether the garden joins the house or sits apart from it. Sort them before you shop, because new furniture can’t rescue a connection that was never built.

Landscape Ideas: Matching Outdoor Features to the Way You Live

Side angle photograph of a residential backyard in afternoon light

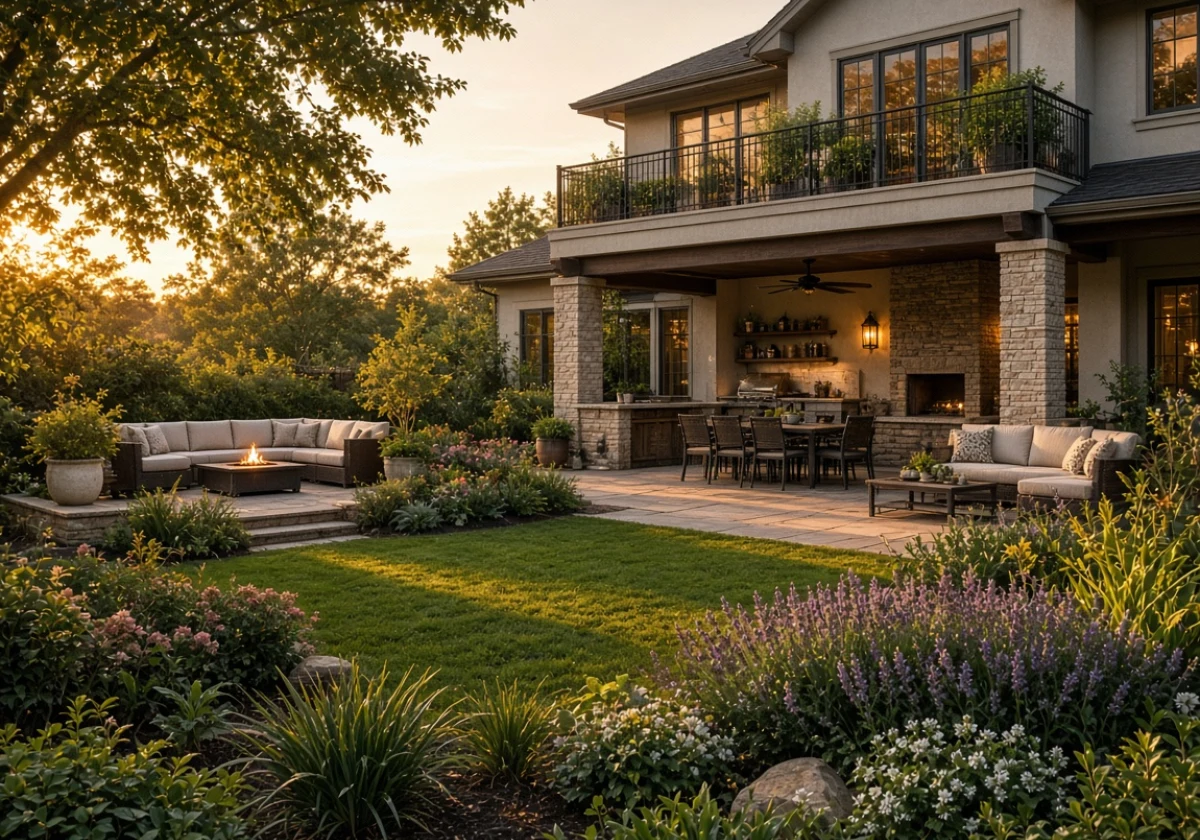
With your layout sorted, these landscape ideas help you match features to the way you live, not to a picture in a magazine. The right feature follows your routine, so the same budget buys you far more use across an ordinary week.

That’s why it pays to start with how your household spends its evenings and weekends, then choose the feature that serves those hours. Find the pattern that matches your week in the table below:

How You LiveFeature That FitsWhy It Works
Weeknight family mealsOutdoor kitchen near the back doorKeeps cooking close to the fridge and sink
Weekend hostingOutdoor entertaining zone with a long tableSeats a crowd in a single gathering space
Quiet downtimeShaded reading corner facing the gardenGives you a living area away from the house
Small courtyardBuilt-in bench with a planter wallFrees up floor space and adds greenery

Pick the one row that describes your week, then build that feature properly before adding another. Larger outdoor entertaining areas reward that patience most.

Fire pits, water features and an outdoor bar work better once people regularly use the surrounding space. Landscaping follows the same rule, since one finished zone gets used more than three half-done areas.

Make Your Outdoor Areas Part of the Everyday

A backyard joins your everyday life when the layout, the furniture and the planting all match your routine. Design for an ordinary week first, and the weekends will look after themselves.

Start with one zone you’ll use within the next fortnight, then build outwards from there. Sort the soil early, because planting is the part that needs a season to catch up.

Peninsula Compost supplies compost and soil improvers for home gardeners planning a garden they’ll use. Contact us to work out what your beds need and give new planting a solid start.
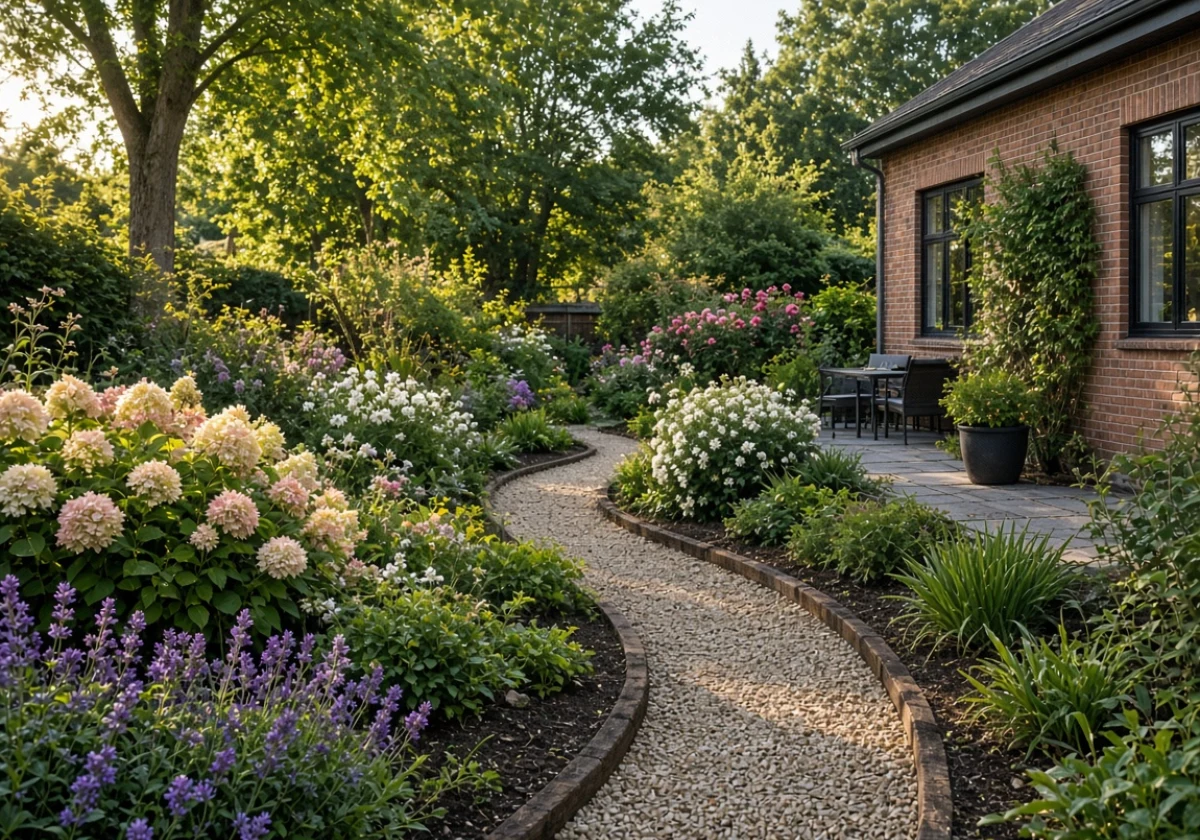
Landscape Design vs DIY Garden Projects: Which Approach Fits Your Goals?

Landscape Design vs DIY Garden Projects: Which Approach Fits Your Goals?

Landscape design suits complex, high-value projects, while DIY garden projects fit simple updates on a tighter budget. The split comes down to what sits under the surface: drainage, levels and structures you can’t undo cheaply.

The risks aren’t always obvious at first. A weekend of planting carries almost no risk. A sloping block with heavy clay, though, can push costs well past the first estimate. At Peninsula Compost, our landscaping work often starts with understanding the soil and conditions of each site.

This guide walks through the landscape design vs DIY call: what a designer handles, what each route costs, and which jobs suit you. You’ll also see where the line sits, including the permit rule that settles the question for walls. So grab a cuppa, picture your own block, and let’s work out which jobs stay in your hands.

Landscape Design vs DIY: What Separates the Two Approaches?

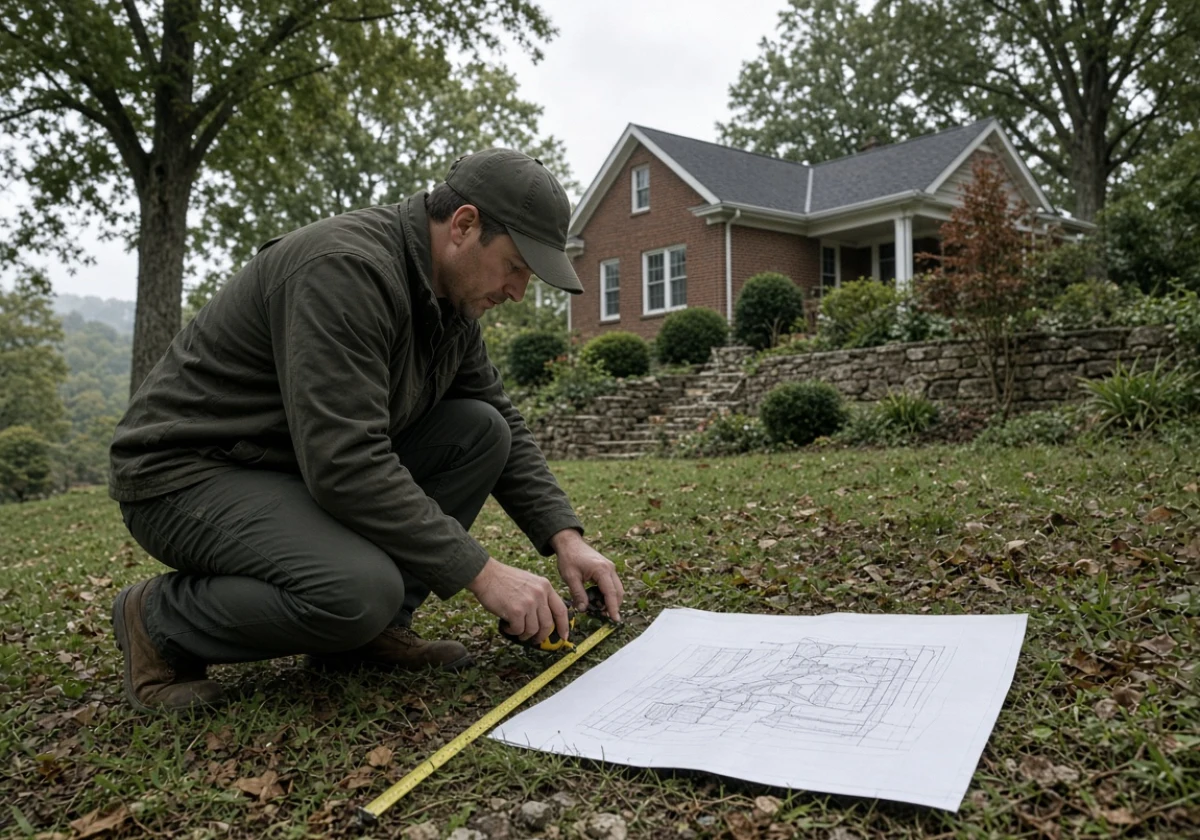
Landscape architect kneeling at a residential property

Professional landscaping design covers site planning, drainage and construction, while DIY garden projects handle smaller planting and styling tasks. Paper tells the same story, since professional garden design arrives as scaled drawings someone can price.

Before choosing an approach, compare these three areas to see where each one differs, where they overlap, and how both fit your planning needs:

What a Professional Landscape Designer Brings to Your Project

Good design starts with a plan that reads your block before anything gets built. Designers measure fall, test soil and map shade, then set levels so water runs away from the house.

From there, the design fixes materials, drainage and staging in one document. Two landscape contractors can then quote the same job, so the prices you compare mean something.

Professional landscape designers also sequence the work. Turf and plants wait until the machinery leaves, so you don’t pay for the same lawn twice.

DIY Landscape Design: What a Typical Garden Project Covers

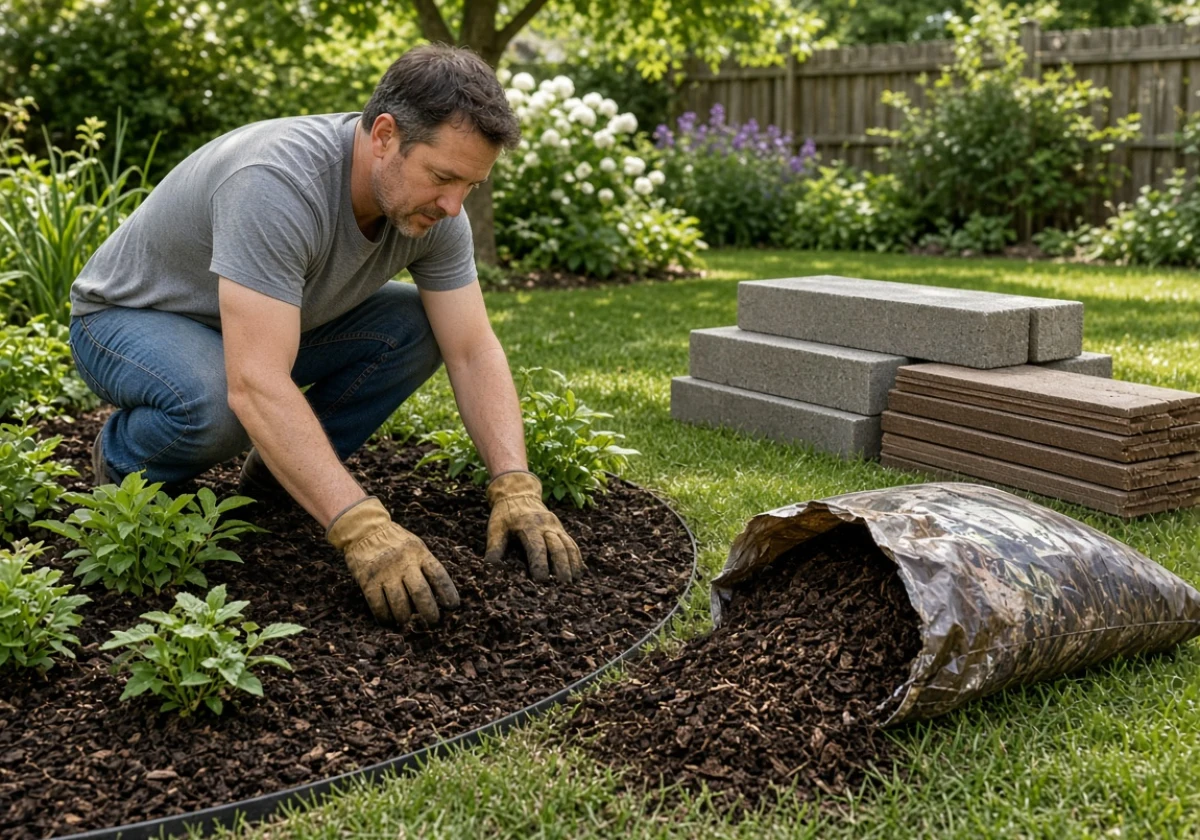
Most DIY projects in the garden stay above ground and stay reversible. Mulching, edging, a new garden bed or a row of shrubs all fit inside a weekend.

You also control the pace, which helps when the money arrives in instalments. You can buy materials for one job at a time instead of paying for everything upfront. As you work through each project, you’ll also learn how your own soil behaves (clay holds water where sand lets it run straight through).

DIY landscape design usually stops where something has to hold weight or hold back water. Paving falls, big steps, and walls sit on the other side of that line.

Where Garden Planning Fits Into Both Approaches

Garden planning belongs to both routes, and it costs nothing but an afternoon. If you’ve ever stood in the yard with a hose, watching where the puddle forms, you’ve already started.

Next, sketch the space to sort the easy jobs from those needing a licensed trade. Mark the wet corners, the shade and the access path for a wheelbarrow or ute.

Think about how you’ll use each part of the garden, too. A sunny spot might suit vegetables, while a shaded corner could work better for seating. Check where existing pipes and underground services run before planning any digging.

We spend our days around soil, and one pattern repeats. Garden planning solves on paper what costs real money to fix once it’s in the ground.

Cost and Time: Comparing Landscaping Services With a DIY Approach

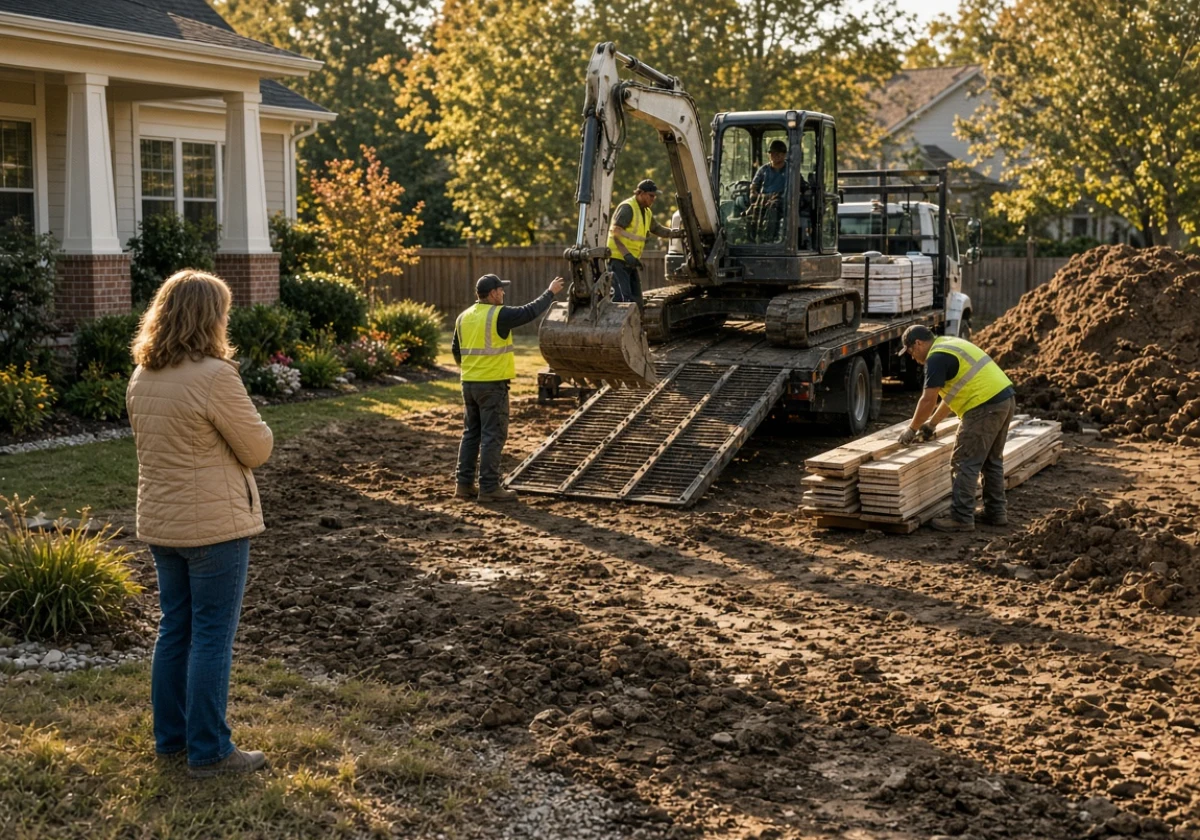
Contractor and crew working with machinery on a residential site

With the scope settled, money decides the rest of the professional landscaping vs DIY question, along with the hours you can spare. Hiring a crew costs more upfront than DIY landscaping, yet botched drainage repairs often erase those savings once water starts pooling against the house. So the true comparison weighs the quote against your weekends and the price of rework.

Here’s how the two routes compare on cost, time, and who carries the risk:

FactorLandscaping servicesThe DIY route
Upfront costHigher, with professional design fees and labour built inMaterials and hire gear only
Time to finishWeeks, on a booked scheduleWeekends, spread across a season
Rework riskThe contractor wears itYou wear it
PaperworkContracts and approvals handled for youYours to arrange

That paperwork row carries more weight in residential landscaping than many people realise. As the price tag climbs, the legal obligations on your builder climb with it. In Victoria, qualifying domestic building work over $10,000 generally requires a written major domestic building contract under Consumer Affairs Victoria rules.

Choosing DIY Projects That Suit Your Skills and Space

Once the budget is clear, the next call is which jobs you keep and which ones you hand over. A DIY approach pays off on work you could redo yourself, because a mistake there costs you time rather than a contractor’s fee.

So the right DIY projects save money and build skills without putting your outdoor space at risk. They also match your skill level and the size of your block, which keeps each job finishable.

Some landscaping jobs are easier to handle yourself, especially when mistakes are cheap to fix. These three tasks are good starting points for beginners:

  • Mulch and Garden Beds: Spreading mulch and feeding garden beds forgives almost every beginner error. Rake it level, top it up, or shift the lot next season.
  • Plants and Lawn Care: Planting shrubs and flowers or caring for your lawn are manageable DIY jobs. Choose plants suited to your soil, mow the grass regularly, and water as needed. If a plant fails or the lawn develops bare patches, you can usually fix the problem yourself.
  • Light Edging and Paths: Low timber edging and gravel paths need patience more than skill. Dig a flat base, compact it well, and the finish holds for years.

Start with a project you feel comfortable fixing yourself. If your plans involve drainage, structural supports or council approvals, it’s worth getting professional advice before work begins.

Once you’ve gained some confidence, you could try edging or a small gravel path. However, structural work is best left to experienced professionals, especially when safety, drainage, or council requirements are involved.

Some Garden Projects Are Best Left to a Professional Landscaper

Homeowner in work gloves crouched beside a garden bed

One retaining wall built on poorly prepared soil can cost more to fix than it did to build. Wet soil pushes harder than people picture, and if you’ve watched a sleeper wall bow after a wet winter, you already know. You rebuild from the footings up, and the second attempt always costs more.

Councils set that line, and it varies by area. Moorabool Shire, for example, requires a building permit for retaining walls 1 m or higher. Check your council’s retaining wall rules first, so you don’t buy sleepers twice.

Drainage, paving falls, and anything carrying power or water sit on that same side of the line. Outdoor kitchens, water features and covered outdoor living areas need licensed trades before anyone switches them on (a leak under paving is brutal to find).

We see what skipped soil preparation does to a bed two seasons later, and built structures behave the same way. Hiring professionals, whether for landscape architecture or a professional landscaping team, holds the landscaping work to standard and protects your property value.

So the DIY vs. professional landscaping question splits by consequence rather than budget. Hand over the structural jobs, keep the planting for yourself, and the costly mistakes stop before they start.
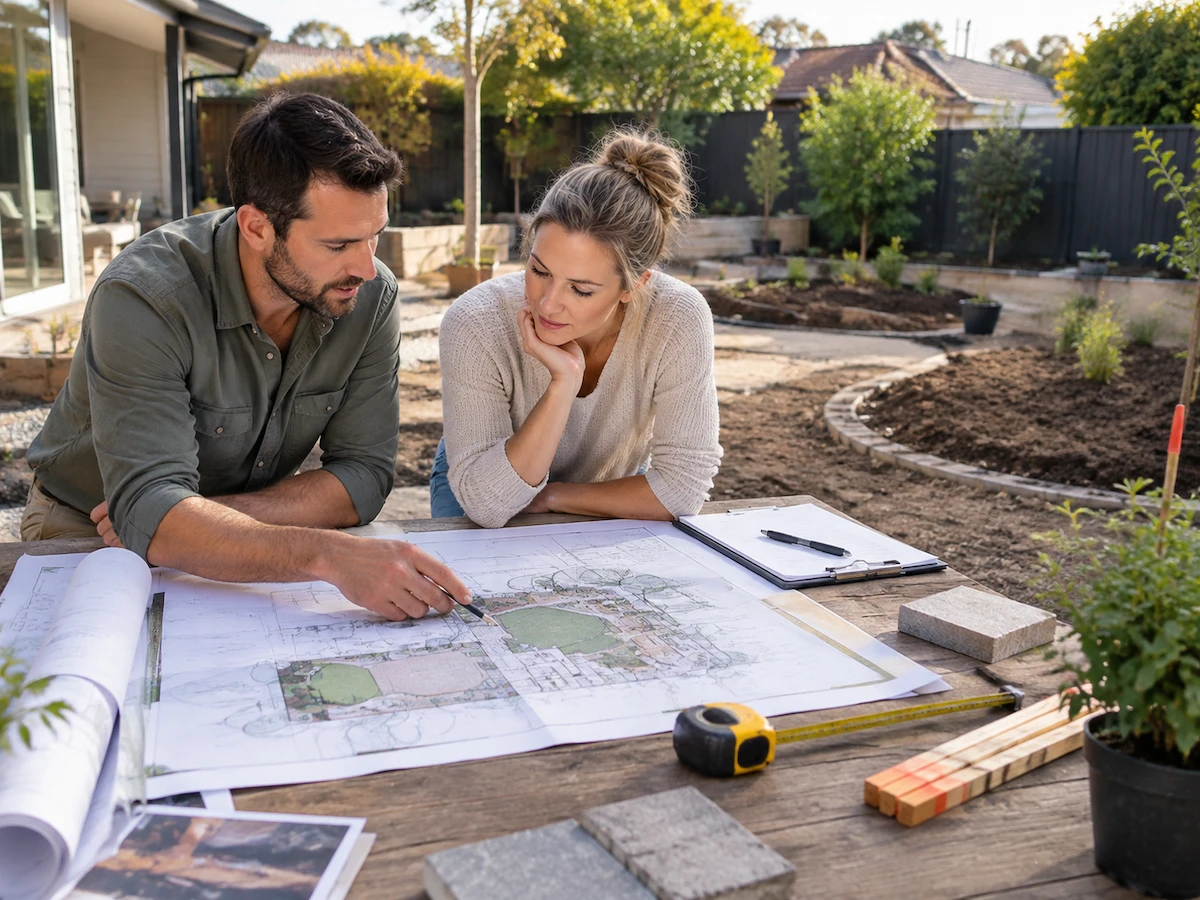
Ready to Plan Your Next Outdoor Project?

The choice turns on consequence more than skill. Planting, mulch and lawn care forgive mistakes, while levels, walls and drainage don’t. One wet winter will show you which group your project sits in.

So sketch your space, test your soil, then decide which parts you’ll hand to a trade. That order keeps your budget pointed at the work that truly needs it.

Peninsula Compost offers landscaping services for homeowners planning garden improvements and outdoor projects. Contact our team to discuss your plans before work begins.

Retractable Pergolas vs Fixed Outdoor Structures: Which Works Better for Your Space?

Retractable Pergolas vs Fixed Outdoor Structures: Which Works Better for Your Space?

Retractable pergolas work better for spaces that need flexible shade and airflow, while fixed structures suit constant weather protection. One option moves with the weather, and the other holds firm against it.

Most buyers get stuck here because both builds look almost identical in a brochure photo. The difference shows up later, when you’re under the roof on a wet Sunday. At Peninsula Compost, we offer pergola and landscaping services that help homeowners plan outdoor spaces around their needs.

This guide covers how a louvred roof works, when a permanent build suits you better, and what each one asks of you over time. You’ll also see how to match a product to the way you use your outdoor area.

Retractable Pergolas Put You in Control of Sun, Shade and Rain

Middle-aged woman on a suburban patio holding a remote control

Most homeowners don’t realise a louvre roof pergola can shift from open sky to full cover in seconds. That one feature changes how a patio works across a whole day, because you set the conditions instead of working around them.

The three parts below cover the mechanics, the daily comfort, and what an opening roof does when the weather turns:

How Louvred Pergola Roof Systems Work

Aluminium louvred pergolas have rows of adjustable slats, called louvres, that pivot inside a fixed frame. With a motorised louvred pergola, you control the slats using a remote, so there’s no need for a ladder or manual handle.

From there, the angle of the louvres decides everything else. Closed flat, the slats lock together and send water into hidden gutters inside the posts. Motorised louvred roofs can close before rain arrives, and some models include rain sensors that operate the slats automatically.

Adjustable Shade and Airflow Throughout the Day

Open louvres suit the morning, when you want natural light and warmth on the table. By midday, a partial tilt blocks direct sun while hot air still escapes upward.

You’ll notice the difference on a still February afternoon, when air sits heavy under a solid patio cover. Tilting the slats drops the temperature without closing the space in.

Awnings shade a deck from the wall outward (great over a west-facing window that cops afternoon sun). Yet, they can’t move the air above your head.

What Happens to Pergolas and Awnings When the Weather Turns

Closed louvres give you proper protection from the elements, including the rain that ends outdoor dinners. Water runs off the slats and away from your seating. High winds test the frame instead, so check the model’s wind rating and how it’s anchored. Fabric canopies ask more of you, since you retract them before a storm arrives.

Retractable systems protect on demand, though most still need a glance at the forecast unless your model has sensors. If you’d rather not think about that, the next section is yours.

When Does a Fixed Outdoor Structure Make More Sense?

Family gathering under a solid fixed pergola roof on a sunny day

A fixed outdoor structure makes more sense when you want constant cover and low maintenance. Nothing up there moves, so you never have to operate, service, or remember anything before you leave home.

Here are three reasons buyers often prefer fixed-roof pergolas:

Constant Protection from Rain and Harsh Sun

A fixed pergola covers the same area in every season, which suits a patio you also use for storage. You switch nothing on before a storm hits.

Through summer, an insulated patio roof cuts the heat coming through the sheeting above your head. Constant shade and protection also slow the fading of outdoor furniture and timber decking underneath.

Reliability like that suits families who entertain often (the barbie runs rain or shine, guests and all). In practice, permanent rain protection gives a patio the year-round usability an outdoor room needs.

Lower Upkeep with No Moving Parts

With no motors, tracks, or slats, a fixed structure gives you almost nothing to service. You’ll clear gutters after leaf drop and check the fixings, and that’s it.

Moving parts cost money over time, because motors, seals, and the fabric on retractable awnings all wear out. If you’re the sort who forgets to bring the bins in, that simplicity counts.

Over time, repairs to motors or seals may add to the cost of an adjustable roof, depending on the system and its condition. Plenty of owners pick the simpler build for that reason alone.

Pergola Design Styles That Suit Fixed Roofs

Permanent builds suit homes with strong rooflines, because the new structure can follow the pitch of the house. On most jobs, the existing roofline decides the pergola design more than taste does.

Timber beams sit well against older weatherboard homes, while flat aluminium roofs suit rendered modern facades. Polycarbonate panels let daylight through where a solid roof would darken a kitchen window.

Beyond aesthetic appeal, a fixed roof gives you fixed points for lighting, fans, and an outdoor kitchen. Those fixed points are what separate proper outdoor living spaces from a patch of shade.

Retractable Pergola vs Fixed Structure: Comparing Cost, Upkeep and Everyday Use

With both builds clear, a quick side-by-side comparison makes it easier to match each option to your budget and lifestyle. Run your eye down the columns and see which side your priorities land on:

FactorRetractable pergolaFixed Structure
Upfront costHigher, since motors and retractable roofing add engineering costOften lower for comparable basic designs
UpkeepChecks on motors, seals and louvresCleaning, gutter clearing and fixing inspections
Everyday useAdjustable shade and sunlightConsistent overhead cover
Best suited toSpaces needing flexible shadeSpaces needing regular cover and lower upkeep

When your weekends change with the forecast, the moving roof earns its price. Steady weekends point the other way, and the fixed build gives you more covered area for the money.

How to Choose Between Patio Solutions for Your Outdoor Space

Homeowner standing at the edge of a patio space

Start with how you plan to use the space, then check your local council’s requirements before choosing a pergola. Work through these three checks before you ask anyone for a free quote.

  • Daily Use Pattern: Count the hours you spend outside in a normal week, then note what sends you back indoors. Heat and shifting sun point to a tilting roof, while constant rain and low upkeep point to a solid cover.
  • Approvals and Siting: Pergola approval rules differ across Australian states and councils. For example, in NSW, some pergolas qualify as exempt development if they meet specific conditions. Check your local requirements before construction.
  • Materials and Climate: Your local climate affects how much care each material needs. Powder-coated aluminium still needs cleaning near the coast, while timber may need regular oiling to maintain its colour. Fabric awnings also fade with sun exposure, so check what the warranty covers.

Write your answers down before you talk to a supplier. You’ll have a clearer way to judge each quote against your needs rather than the sales pitch. Use your answers to narrow the options, then confirm the design meets local requirements and suits your budget.

Ready to Get More from Your Outdoor Living Area?

Retractable pergolas win when you want control over sun, shade and airflow through the day. Fixed structures win when you want cover that asks nothing of you.

Measure the area, check your approvals, and be honest about how often you’ll use the roof. That answer points to the right build more reliably than any showroom visit.

Peninsula Compost can help you prepare the garden around your new structure. Contact the team before your project starts so you plan the groundwork once.

Planning a Garden Around the Experiences You Want to Create

Planning a garden around the experiences you want starts with how you’ll use the space. Once you know that, the other choices become easier. The plant list can wait until that part is settled.

Yet it’s easy to end up working backwards. You collect garden ideas, fall for a plant at the nursery, then hunt for somewhere it fits. The result is a yard full of healthy plants, but nowhere you particularly want to spend time.

This guide starts with your daily routine and shows how to plan a garden around it. Next come plants for scent and colour, followed by bed layout. You’ll also see how your local climate limits which experiences last through summer.

And once you’re ready to plant, healthy soil gives everything a better start. Peninsula Compost supplies compost to help prepare your garden beds.
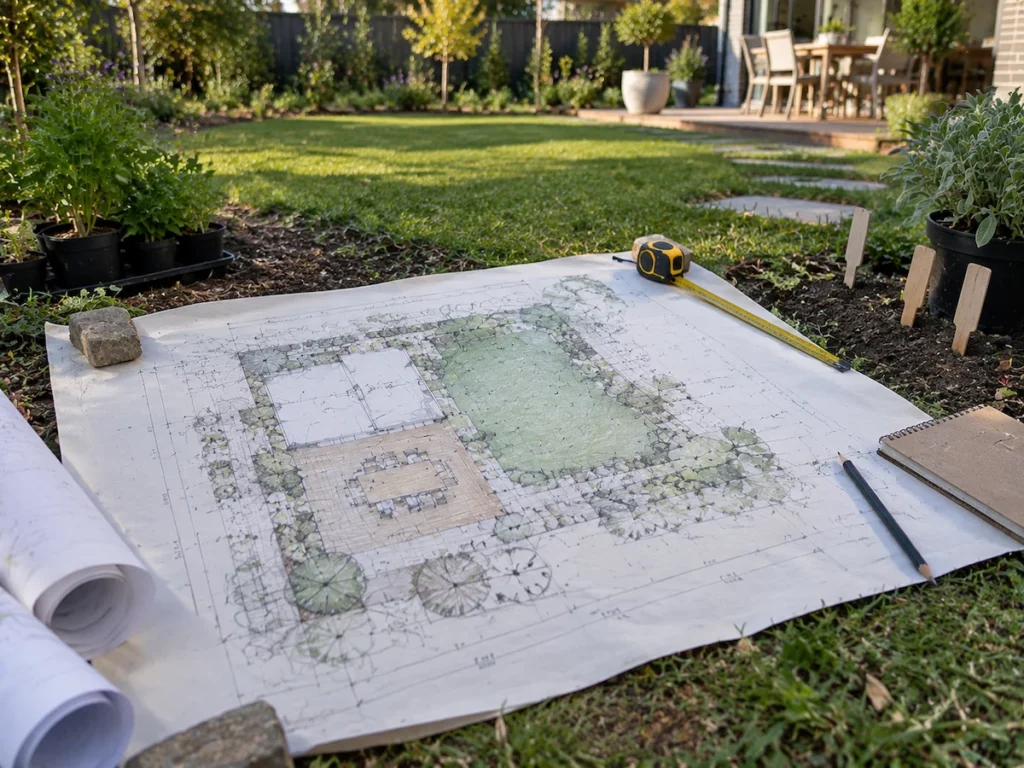
Why Should Garden Planning Start With Experiences?

Middle-aged woman seated on a weathered teak bench at sunrise

The way you use your outdoor space decides every design choice that follows. If you set it up for Sunday lunches, you’ll need shade. A vegetable garden, by contrast, will need full sun for most of the day.

Research also shows how much Australians lean on their gardens for the experience itself. In the 2024 Pandemic Gardening Survey by Sustain, nearly 20% of respondents said they couldn’t have made it through the pandemic without their garden. That’s a strong reason to plan your garden around the time you’ll spend in it.

Three questions will guide your planning: how you spend your mornings, which rituals you repeat, and what your climate allows.

Picture a Morning in Your Dream Garden

Walk through tomorrow morning in your head before you sketch anything. When people ask, “How do I plan my garden?”, most go straight to the plant list. A simpler starting point is one spot and one habit. Chances are you already know where you take your morning coffee.

That spot becomes the anchor for everything else (for many of us, it’s the back step). Put scented plants within arm’s reach of it so you notice them every morning.

From there, work outwards in loose rings. Place seating closest to the anchor, then add paths, then use trees and shrubs to screen any view you’d rather block. A rough zone map on paper helps you see how each ring connects.

Matching Garden Zones to Daily Rituals

Once that morning’s clear, list the rituals you repeat each week. Weekday dinners, kids on the lawn, and a Saturday harvest each want their own zone. Keep frequently used areas close to the house. For example, place herbs near the kitchen door, so they’re easy to pick while cooking

We’ve watched plenty of gardens fail on that one detail. Beds you can’t reach in bare feet quietly stop getting picked. Over time, the zone that looked best on paper becomes the one you walk past.

How Do Climate Zones Shape What You Can Enjoy?

Your local climate sets the ceiling on what your garden gives you. Across Australia, the climate zones sit a long way apart. Melbourne winters close an outdoor table that Brisbane keeps open most of the year.
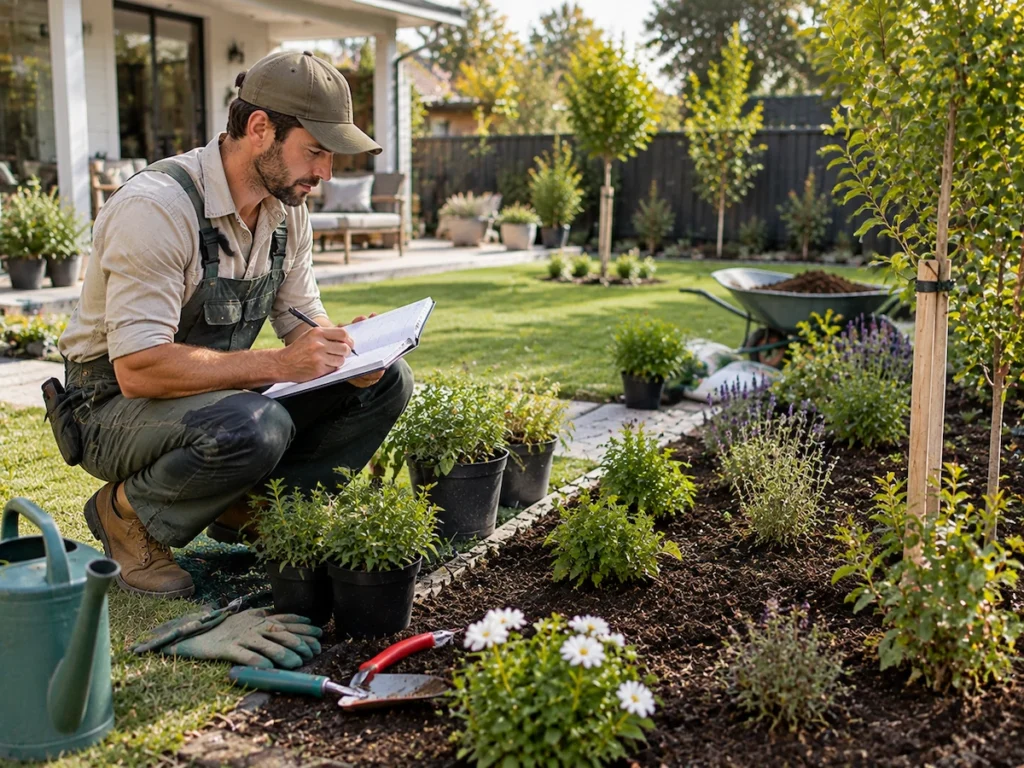
Start by matching each experience to the season you’ll spend outside. A regional planting calendar then gives you planting dates and a growing season to work to. So, check your climate zone on the calendar before you buy seedlings. In drier areas, a native garden can ride out summer with little watering once the plants are established. A coastal garden also faces salty wind, so choose native plants that grow naturally near the beach.

Your soil type is the other half of the picture (good compost holds water far better than bare dirt). If you feed it well, your plants will carry through the hot weeks.

Choosing a Landscape Design That Fits Your Lifestyle

With your main garden zones planned, you can compare designs based on how much space, upkeep, and variety they need. Labels like ‘formal garden’, ‘cottage garden’, ‘naturalistic garden’, or ‘modern garden’ describe the look.

The three setups below focus on how each garden works week to week and what each one costs you in time or variety.

  • Low-Upkeep Courtyard: Paving, pots, and a few structural plants keep weekend work on a small garden short. Hardy shrubs and groundcovers carry the look with little weekly care. You give up some plant variety in return, and the same approach suits a balcony garden.
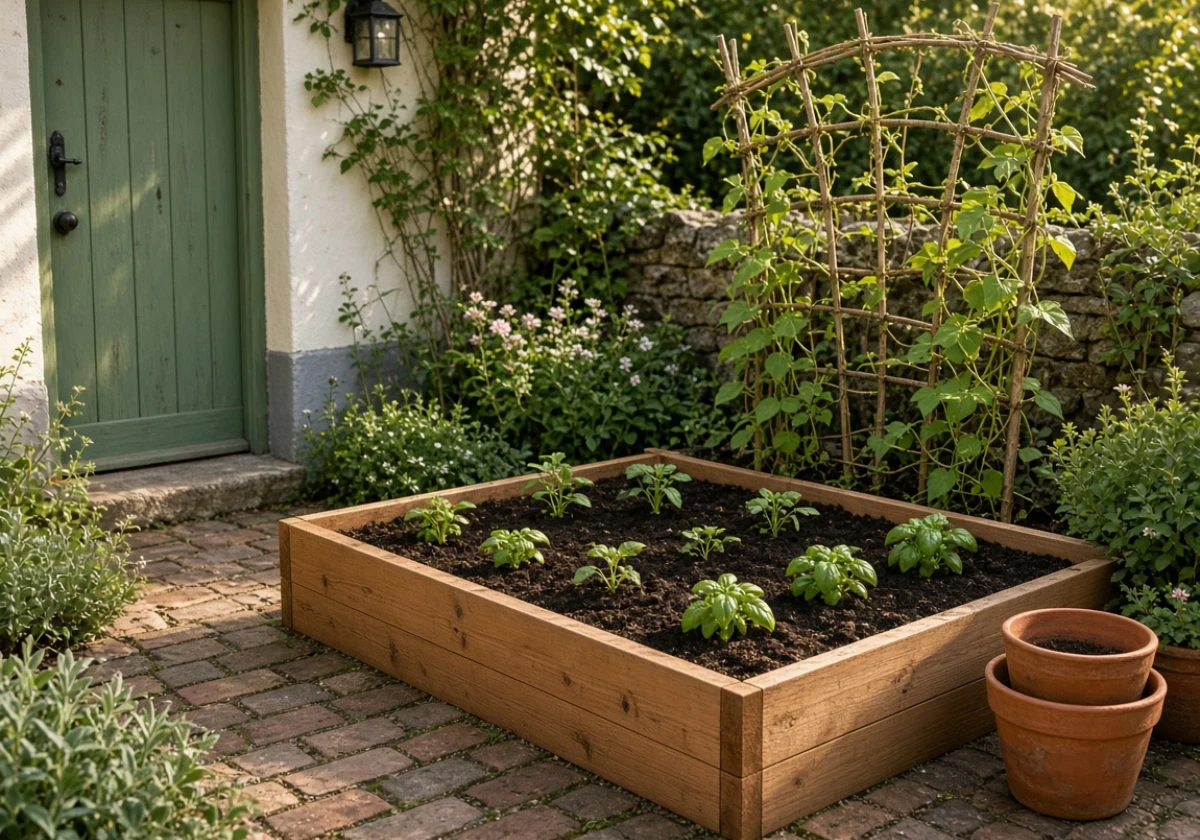
  • Productive Kitchen Patch: Build raised beds a few steps from the kitchen, and dinner will come off them most weeks. Seed packets cost little, so testing a new crop in your veggie patch is cheap. In return, edible beds need picking and watering several times a week.
  • Entertaining Garden: Start with one flat, shaded area for the table, and plan every other choice around it. Trees or a pergola do the cooling work, and soft lighting stretches the evening well past sunset. The cost is setup, since a pergola or mature shade takes money and time to put in place.

Before choosing a style, be realistic about how much time you’ll spend on maintenance. A garden style you’ll keep up with will serve you better than one you abandon after the first hot summer.

Raised cedar vegetable bed positioned three feet

Plant Selection: Matching Plants to the Feeling You Want

Choose plants that reward you with scent, colour, and harvests where you spend the most time. Also, use the areas you’ve already planned to decide where scented, flowering, and edible plants belong.

Scent gives you plenty of return for little effort. Most people walk the same path every day, so plant rosemary and basil along it. You’ll brush past them on the way out and catch the smell without trying.

Colour asks you to think in months. Planting calendars help here because they show when each plant flowers. Mix annuals for quick blooms with perennials that hold structure, and something will flower most of the year (calendula fills awkward gaps fast).

Beyond scent and colour, growing food gives the plan a practical payoff. We’ve found a well-fed bed of herbs and salad out-produces a hungry one. Dig compost into the soil before planting starts, and top it up each season.

Finally, leave room for one tree that’ll outlive the rest of the plan. A single shade tree can cool a seat, a bed, and a path through summer.

Bed Layouts for the Outdoor Experiences You Want Most

With your design and plants settled, the last step in planning your garden design is a garden layout that supports each experience. Depth and width decide what grows and how easily you reach it.

Match the experience you want most to the bed type below.

Experience you wantBed typeWhy it works
Morning coffeeRaised herb bed near seatingHerbs sit at nose height beside the path
Family mealsWide planted border near diningTrees and shrubs screen the table
Weekly harvest1.2 m squaresYou reach the centre without stepping on soil.

For beds against a fence, aim for about 60 cm in width. Beds accessible from both sides can be around 1.2 m wide. Sketch the layout in a free garden planner or on paper, and your garden plan will show the job each bed does.

Woman in work clothes standing beside a 1.2-meter square raised bed

Where Your Garden Ideas Start Growing

Your next step is small enough to do this weekend. Walk the space with a pencil and note where you already sit, eat, or pick herbs. Those spots are your anchors, so mark them first on a rough plan. Then build each bed outwards from them in the order you’ll use it. Simple garden plans like this are easy to change later.

Before planting, give those beds a healthy base. Peninsula Compost supplies compost that gives new garden beds a strong foundation. Contact the team to work out what your beds need, and every plant you choose will go in on good soil.

Custom Outdoor Spaces vs Standard Garden Layouts: Understanding the Difference

At first glance, a custom outdoor design and a standard garden layout seem to deliver the same backyard. The gap usually shows up a year or two later, once the lawn thins or the paving bakes in the afternoon sun. Many homeowners only count the cost of a template when they pay to redo part of it.

The main difference comes down to where each plan starts. A custom outdoor design follows your block, lifestyle and budget, while a standard garden layout repeats a fixed template. That said, one plan starts with the ground you own, and the other starts with a drawing made for someone else’s site.

Soil quality and early planning also set how long outdoor spaces last, and Peninsula Compost supplies the soil, compost and mulch that new planting needs. Below, we break down site, lifestyle, climate and cost so you can pick the right fit. Start with how a designer reads your site, since every later choice depends on it.

Custom Outdoor Design Starts With Your Block, Not a Template

Landscape designer in work clothes crouching on a sloped residential

Backyard makeovers often fall short because the plan ignores the slope, soil and sun already on site. A site-led design works the other way round and reads those conditions first. Three factors set whether the finished garden holds up: the site read, your brief and the local climate.

1. The Site Read: Slope, Soil and Drainage

A designer starts by walking the block after rain to see where water pools and which corners stay wet. Soil type, slope and shade all limit what you can safely build in each spot.

Before the design process reaches paper, they measure levels and test drainage across the yard. This step protects your budget, because a half-metre fall can push a deck to a different spot.

Clay soil can hold water for days after a storm, while sandy soil drains within hours. Experienced landscape design services pick up that difference early. Your soft landscaping and garden beds then cope well past their second year.

2. Your Brief: How You Live and What You Can Spend

Your lifestyle sets the brief, and the design concept follows well before the budget talk starts. For example, a family with young kids needs an open lawn, while two adults who cook outside need an outdoor kitchen.

Budget then determines the order of the work, while the quality of the design and build stays the same. Many projects run in stages: paving, garden edging and turf installation first, then the pergola two summers later.

Staging the work this way keeps the plan whole and spreads the cost across several seasons. You still get the garden you signed off on (just not all of it at once).

3. The Local Climate: Rainfall, Aspect and Shade

Climate controls which plants survive without constant watering and which paving stays cool underfoot. Garden designs built for Brisbane humidity will struggle through a dry Adelaide summer.

That’s why plant design starts with local rainfall and the direction your yard faces. North-facing beds dry out fastest, so they need deeper mulch and more frequent watering.

Shade works the same way, because the afternoon sun hits western walls hardest in January. Sound patio design places the paved area on the eastern side of the house, where it stays shaded through summer afternoons.

Custom Design vs Standard Garden Layout: How They Compare

Seeing both approaches side by side makes it easier to pick the right fit for your home and budget. The table below sets out where they split on planning, materials, cost and long-term value.

Custom outdoor designStandard garden layout
Design processBegins with a site visit, levels and soil checksApplies one template to any block
Materials and plantsChosen for your soil, aspect and upkeep timePicked from a fixed supplier list
Cost and timelineCosts more upfront, allows staged workCheaper and faster to install
Long-term valueFits the home and adds a usable outdoor roomOften needs reworking as it ages

If your block sits flat and your needs are simple, a template may be enough. Once slope, drainage or an awkward shape enters the picture, custom landscape design earns its cost.

Homeowner or landscape professional seated at an outdoor table

Planning Landscaping Ideas That Suit Australian Outdoor Living Spaces

Plenty of homeowners copy landscaping ideas from Sydney or Melbourne gardens, then find those plants can’t cope with their own climate. Local conditions, council rules and water use set the limits for your outdoor living space. These four areas carry most of the decisions in a backyard build, so work through them in this order.

  1. Retaining Walls and Structural Work: Sloping blocks usually need structural landscaping and drainage before anything else goes in. Under council permit rules, a building permit applies to retaining walls 1m or higher. Rules differ between states and councils, so check yours before you price the job. Your landscape construction team can then confirm footings in the quote.
  2. Entertaining Areas and Patios: Place a custom patio where it catches morning sun and sits level with the back door. An outdoor entertaining area works better when the cook can still talk to guests from the barbeque. A roof over a custom alfresco keeps the space usable through winter rain, and exposed aggregate paving gives a slip-resistant finish.
  3. Low-Maintenance Planting and Garden Beds: Water use drives planting choices more than colour does. Water Corporation’s waterwise garden advice notes that 36% of drinking water in WA goes to outdoor use. Grouping plants by water need lowers that share, and it stops some beds from drowning while others dry out.
  4. Lighting and Year-Round Comfort: Lighting extends the hours your garden gets used once the sun drops. Low-voltage lighting along steps and paths costs little to run, and a landscaper can design and install it with the paving. Shade sails and screens then stretch the usable season at both ends.

Sort drainage and retaining walls first, because digging later undoes fresh planting. That sequence protects your budget and keeps new garden beds intact while work continues on other outdoor areas.

What Do Real Custom Outdoor Projects Look Like?

In a small courtyard, the work comes down to centimetres, since path, bench and screen compete for the same few metres. Designers raise the beds, create custom screens in corten steel and run paving to the boundary so the garden space reads wider.

Larger blocks need a different approach, because levels, drainage and access must work together before planting starts. A builder experienced in landscape design and construction stages the bulk earthworks first. That way, machinery comes in once (and your driveway survives the job in one piece).

Finished landscaping projects share one trait: the garden suits how the household lives day to day. If you’ve ever watched a new lawn die in its first February, you already know what guessing costs.

A well-planned garden also needs less upkeep because each plant sits in soil and sun that suit it. Reliable landscaping services hand back outdoor living spaces your household uses every weekend, from shaded seating to water features near the patio.

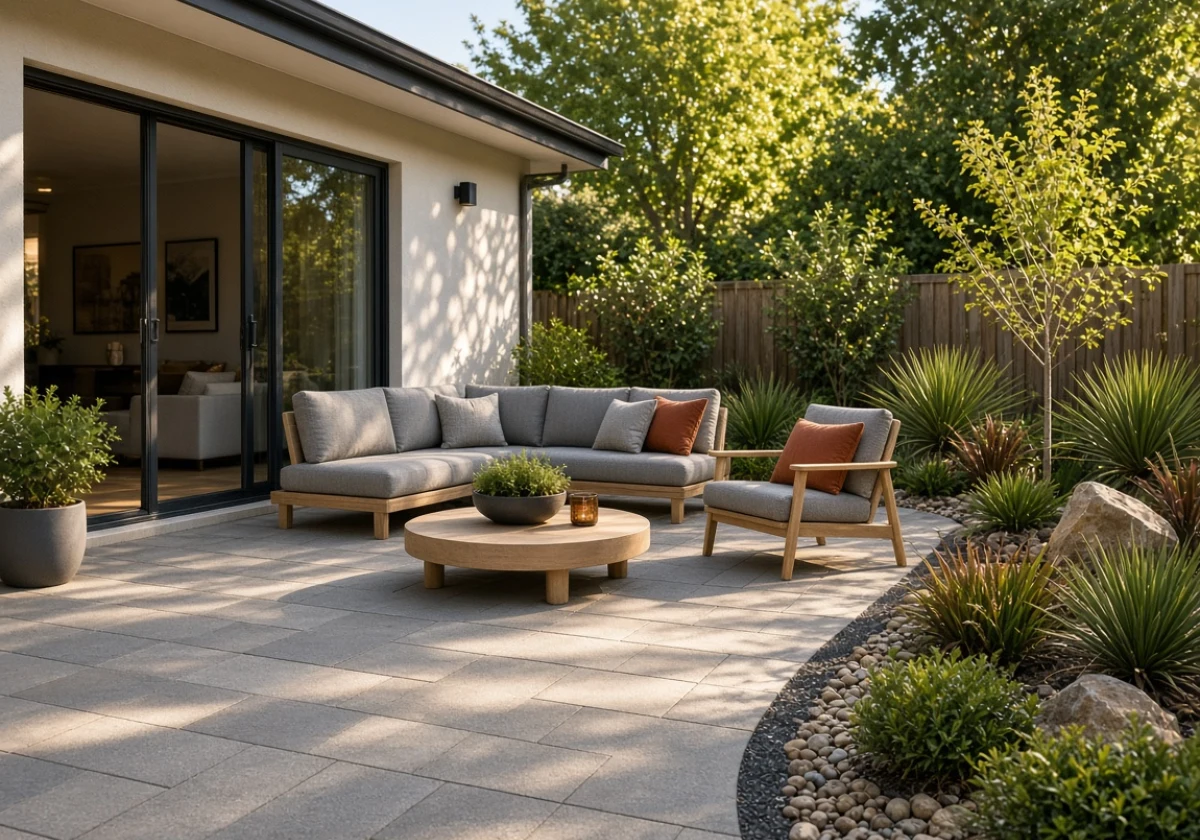
Finished residential patio in an Australian backyard catching morning

Contact Us to Bring Your Outdoor Vision to Life

A custom plan costs more at the start, yet it answers the conditions your block already has. A template can’t do that, and the repair bills tend to arrive sooner than owners expect.

Before you request design services, write a short brief for your project. Note how you want to use the space, which areas get full sun, and what you can spend this year. A designer can then price the work in stages, which keeps each stage within budget.

Once the plan is set, the soil comes next. Peninsula Compost supplies the soil, compost and mulch that new planting depends on. Get in touch and ask for a quote on the materials your site needs.

Your Garden Bed Keeps Spilling Onto the Path: Where Should Hardscape End and Planting Begin?

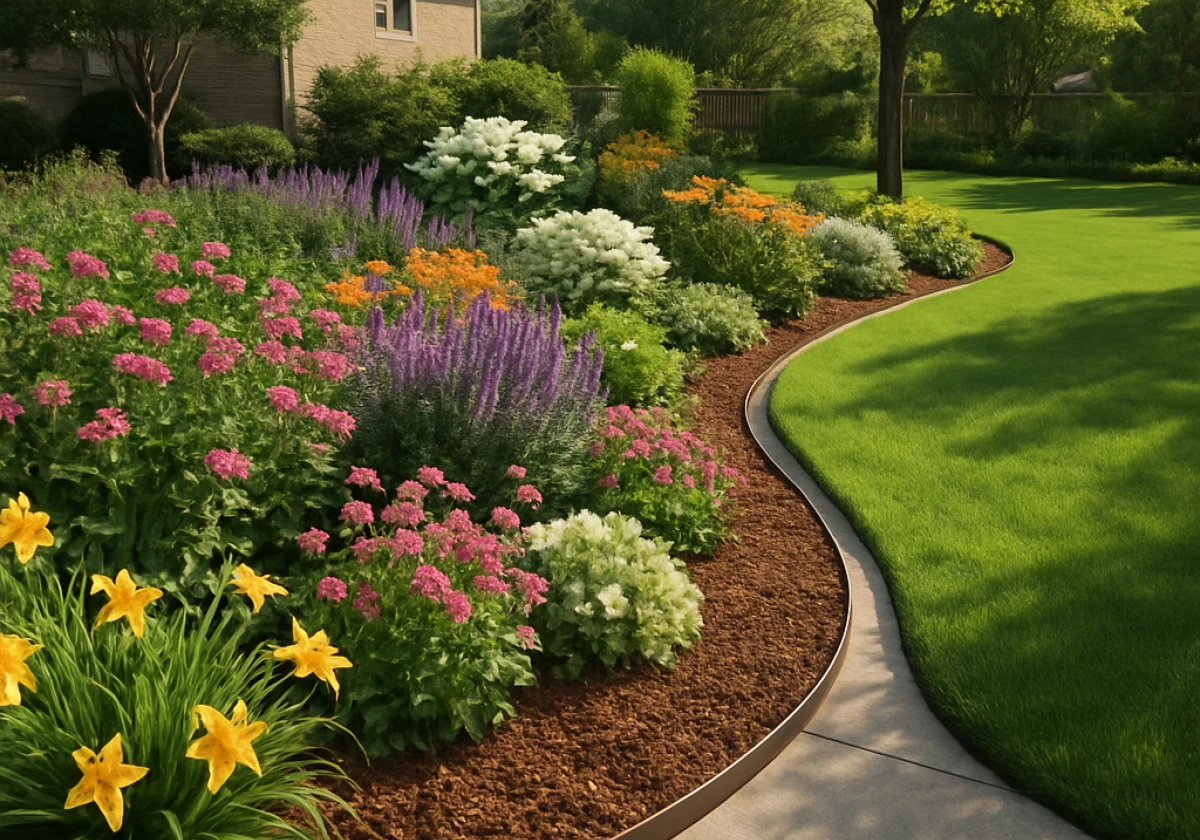
Hardscape should finish at a clear garden edging line, with plants set a few centimetres behind it. This small gap gives roots room to grow while keeping soil and mulch away from your pavers.

Without a solid edge, garden beds can spill onto nearby paving. At Peninsula Compost, we see the same washed-out corners and mulch-covered paths across the Peninsula each autumn.

This guide shows you where to draw that line, how deep to set it, and which garden edging materials last outdoors. Let’s get into it.

Why Does Your Garden Bed or Flower Bed Keep Spilling Onto the Path?

Close-up of wet soil and mulch spilling across a paved garden path

Your garden bed keeps spilling onto the path because nothing solid holds the soil, mulch, and plants in place. Rain hits the mounded soil in your flower beds and lifts the finer particles. It then carries them downhill onto whatever sits lowest (which is almost always your paving). Every heavy shower moves a little more, so the bed sinks at the back while the path collects a gritty brown film.

As the plants grow, they can also spread beyond the edge of the bed. Couch and kikuyu cause particular problems because their runners spread sideways under the mulch before appearing between pavers.

In our years supplying home gardeners around the Peninsula, we have found that creeping lawn runners cause more path repairs than any other single issue, especially during summer.

Foot traffic adds to the problem by pressing loose mulch into the paving and compacting the soil along the garden edge. Without a fixed barrier, mulch needs replacing more often, and the path needs regular sweeping.

A proper garden edging line keeps soil, mulch, and plants where they belong, which helps prevent these problems before they become regular maintenance jobs.

Planning Where Hardscape Ends, and Your Home Garden Beds Begin

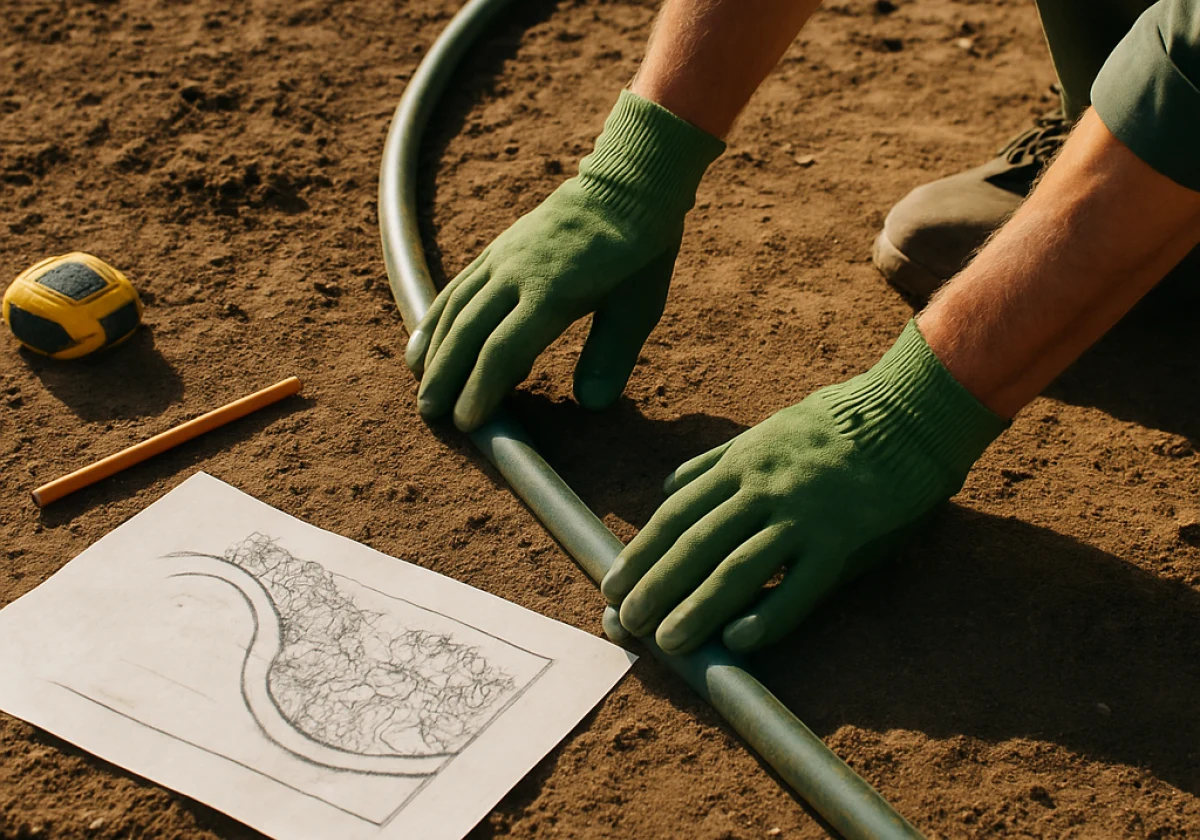
Gardener's hands laying out a curved garden hose along bare earth

Careful garden bed planning helps create clean borders that stay in place through every season. Treat the edge as a planned part of the garden, with a set height and depth, rather than a line you mark out by eye.

Work through the three steps below, and your edge will hold its shape from the first sketch to the finished run.

Marking the Garden Edge Line in Your Landscaping Plan

Mark the garden edge on your landscaping plan first. Before ordering materials, lay a garden hose on the ground to test the curve. You can also take a photo from an upstairs window, as a curve that looks right on the ground may look uneven on paper.

Once the line looks right, measure its length in metres. This tells you how much edging, garden stakes and pegs you need to order.

Allow about 10% extra for corners and overlaps. It is easier to have a little spare material than to come up short halfway through the job (measure twice, order once).

Why Choose a Fixed Edge Over Loose Decorative Borders

A fixed edge works because it creates a firm barrier at a set depth. In contrast, loose borders made from rocks or timber offcuts can shift when people walk nearby, which leaves gaps between the garden bed and path. And steel edging set 100mm into the ground gives you a more stable boundary and can also help stop grass runners from spreading underneath.

Those loose borders can create another problem by giving weeds room to grow. As the border moves and weeds take hold, you can end up spending more time maintaining the garden than you saved on cheaper materials.

A well-installed edge avoids much of that movement by holding the garden bed in place. It works like a low retaining wall, keeping soil and mulch within the border. Deeper beds may need proper retaining walls or blocks, but most home garden borders can use a simpler edging system.

Matching Edging Heights to Your Garden Path Design

Your garden path design helps determine the right edging height, so start by measuring from the finished paving surface to the level where you want the mulch to sit. Generally, a 75mm profile suits flush paths and lawn edges, while a 100mm or taller profile works better for deeper soil in raised garden beds.

Once you have the height, consider how the edge will meet the paving. Keep the top flush with the paving where you mow along the border, so the mower wheels can roll over it without catching.

The mulch you use also affects the final height. For beds with chunky bark, we set the edging about 20mm above the paving to help keep the bark in the garden bed instead of letting it spill onto the path.

As a general rule, match the edging height to the mulch depth you plan to use. The two should sit level once the bed is filled.

Steel Garden Edging Products and Metal Garden Edging: Comparing the Range

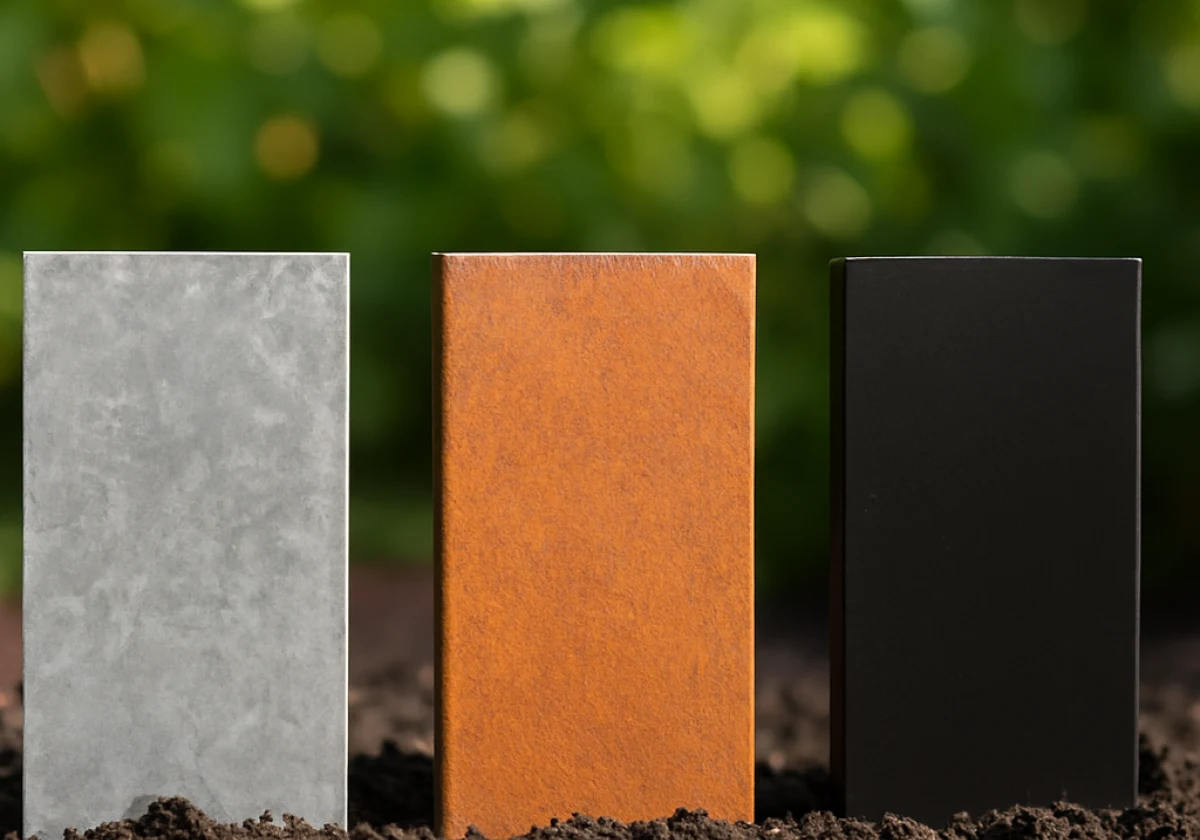
Side-by-side comparison of three vertical steel edging products

Now, you’ll find that not every edging product survives an Australian summer, let alone a stray pass from the whipper snipper. Thin plastic edging can warp after long exposure to heat, especially along a hot footpath. Untreated pine has a shorter lifespan too, often starting to rot where it sits against the soil after about four years.

Compare the three steel garden edging options that most home gardeners weigh up before they shop online for a run.

ProductCommon HeightsLife OutdoorsBest Suited To
Galvanised steel edging75mm to 150mm15 years plusStraight borders, lawns and curved garden beds
Corten steel edging100mm to 200mm25 years plusContemporary gardens wanting a rusted appearance
Powder-coated steel75mm to 100mm20 years plusBlack steel lines against pale paving and gravel

As you can see, for most everyday projects, galvanised steel offers a strong balance between cost and lifespan. Look for edging made from Australian BlueScope steel if you live near the coast, as its zinc coating helps protect against corrosion caused by salty air. You can also choose a powder-coated finish when you want the strength of galvanised steel with a specific colour or a sharper decorative look.

Corten steel takes a different approach by making its weathered surface part of the garden design. Also known as weathering steel, it develops a deeper rust colour during its first year and can last 25 years or more outdoors. It works particularly well in modern gardens and curved borders, where thinner profiles can be shaped by hand.

Online listings may use terms such as garden edging galvanised, garden edging corten steel or garden edging bluestone. So check the material description carefully to make sure you know exactly what you’re buying.

What to Know Before Ordering Garden Edging

Once you have compared the products, a few practical details can help you plan your order. Delivery times, cutting, installation, and shaping can all affect which edging you choose and what you need on site.

Run your eye over the four answers below, then order with a clear idea of what turns up.

  • Delivery Timing: Most orders leave within two business days, with deliveries across Melbourne and the Peninsula usually arriving within a week. That gives you a clearer idea of when to have the site ready.
  • Cutting To Length: Short runs and awkward corners are easy to handle on site. Tin snips or an angle grinder can cut the steel cleanly to the length you need.
  • Installing It Yourself: A rubber mallet is usually all you need for the basic installation. Edging pegs fit through the pre-punched slots and hold each section securely in place.
  • Shaping Tight Curves: For tree rings and curved garden beds, thinner profiles can be shaped by hand. There’s no need for heat or specialist equipment when working with these lighter sections.

Our team can also help with these details before you order. This way, you can get the right advice early, which can help you avoid ordering the wrong lengths or paying for another delivery later.

Ready to Give Your Garden Beds and Outdoor Space a Clean Edge?

Your paths stay cleaner when the hardscape ends with a solid edge, and the plants sit a few centimetres behind it. This simple setup helps keep mulch and soil off the path, which means less sweeping and fewer replacements each year.

Start by measuring the length of your garden beds and paths. Then choose an edge height that suits your paving and the depth of the beds. Getting the measurements right before ordering helps keep the installation on track.

Peninsula Compost supplies garden edging solutions, mulch and quality soil mixes for home gardeners across the Mornington Peninsula. Contact us for everything you need to finish the run.

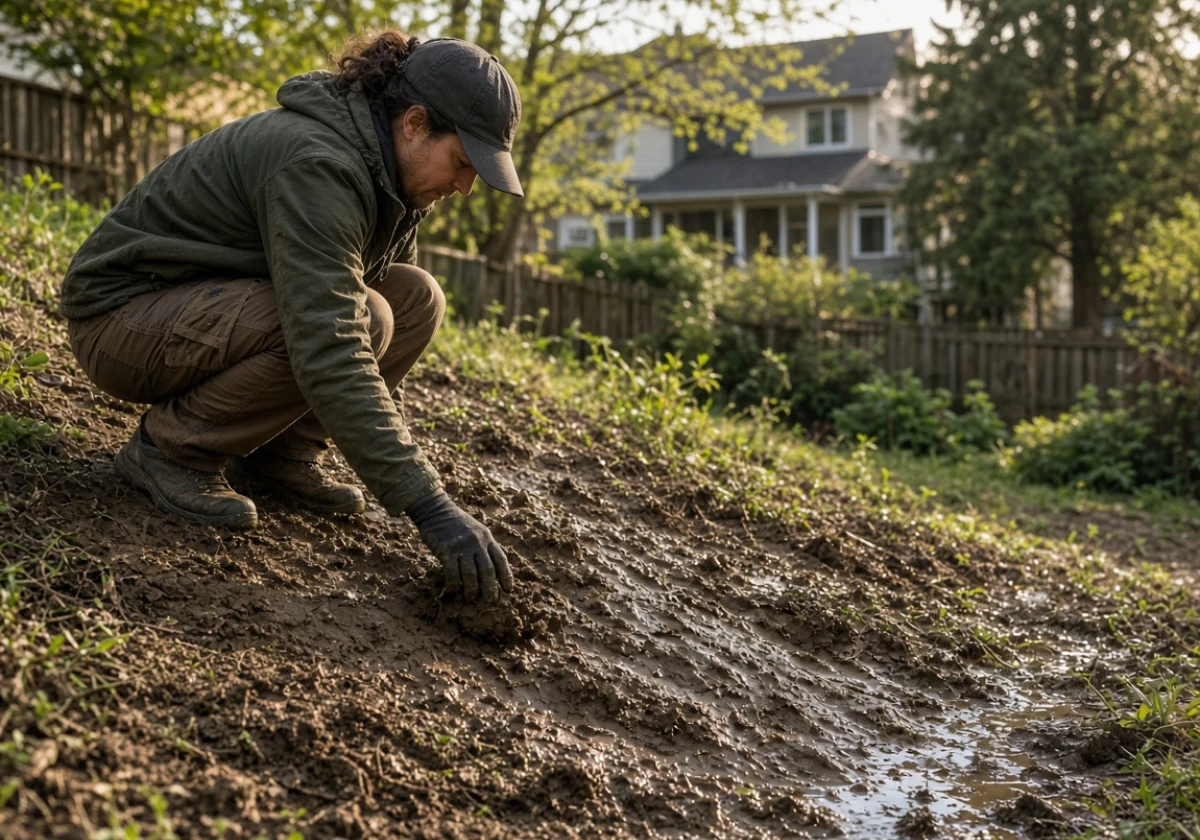
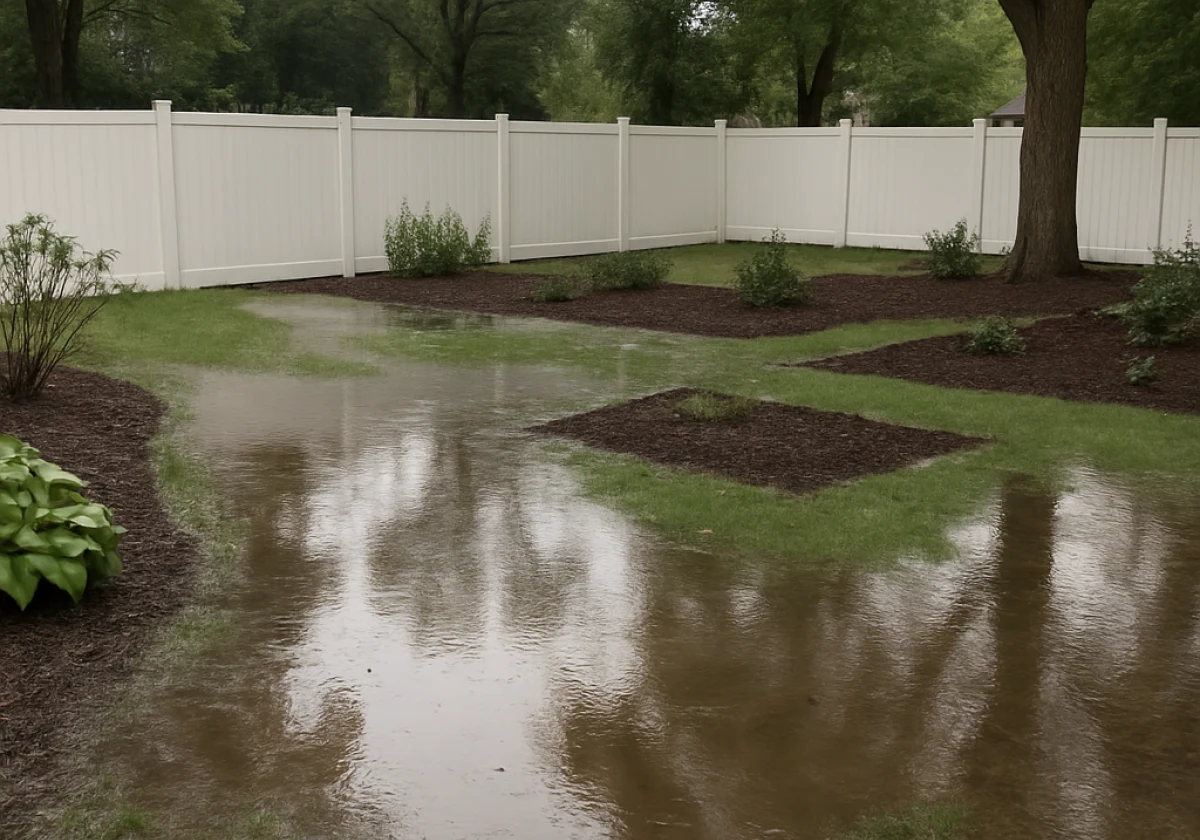
A messy garden drainage leading to flooding

Your New Garden Needs Water, but Where Will the Rain Go? Planning Drainage Before Landscaping

Rain needs a planned route through your new garden before any landscaping begins. Your yard’s slope, soil, and drainage decide where each downpour collects, so sorting them out early can keep water away from your home and planted areas.

Puddles often appear after the plants, paving, and lawn are already finished, which can mean reopening completed areas to install drainage. At Peninsula Compost, we see homeowners face this problem when drainage pipes have to go beneath newly completed garden beds.

This guide walks you through soil behaviour, drain types, and the planning order that keeps water moving. In practice, the cheapest drainage you’ll ever lay is the drainage you lay on bare dirt.

Let’s get into it.

Why Does Water Pool in Some Gardens and Not Others?

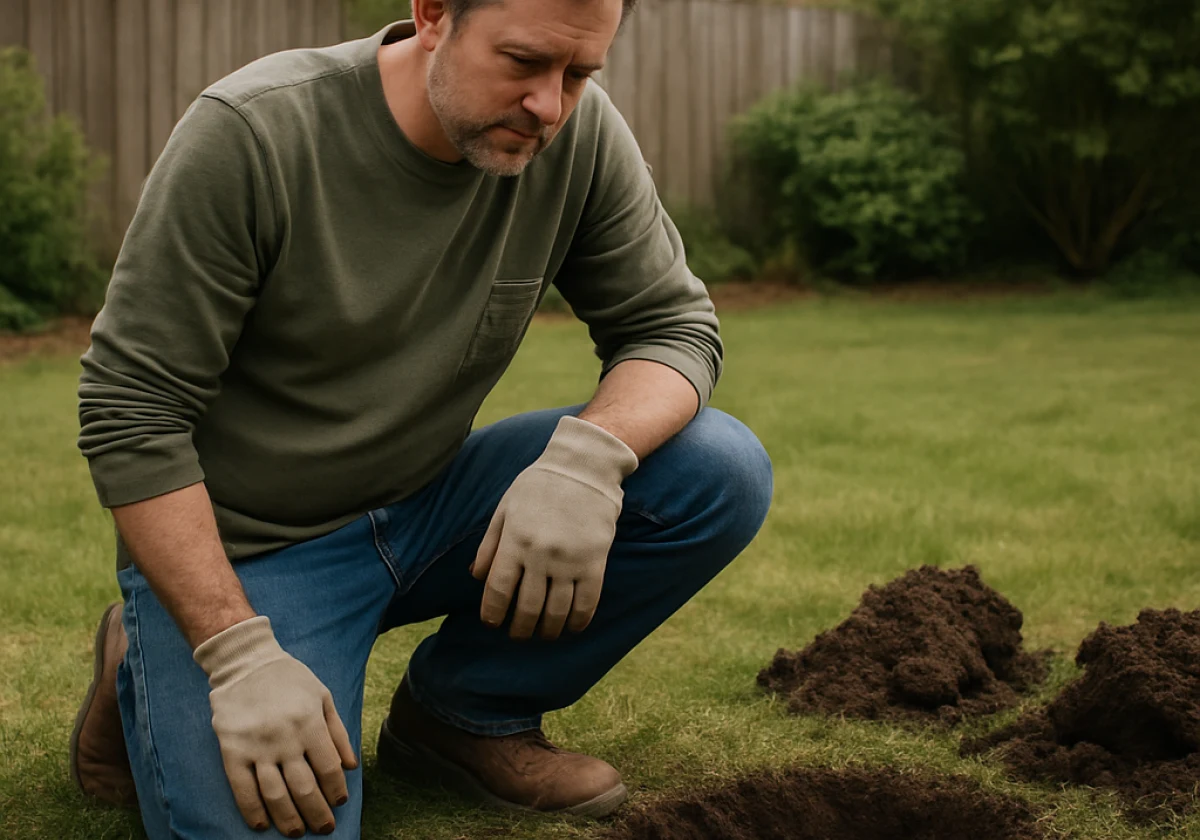
Homeowner examining the soil and how it handles water

Two homes on the same street can drain completely differently because the soil below the turf controls how quickly rainwater soaks into the ground. Once you know how your soil handles water, you may choose a drainage system that addresses the problem properly.

Three things explain most of that difference, and you can check every one of them yourself.

How Soil Type and High Water Tables Affect Garden Drainage

Your soil type affects how quickly rainwater drains and how long puddles remain after rain. For example, sandy soil absorbs water within minutes, while heavy clay holds moisture near the surface for days.

Soil is only part of the picture, as a high water table also slows drainage when the ground already contains plenty of water.

A simple test settles the question: dig a 30 cm hole, fill it with water, and time how fast the level drops. Anything slower than 25 mm an hour tells you the ground needs help (we’ve timed hundreds of these holes).

Signs of Poor Drainage After Heavy Rain

Heavy rain gives you the clearest reading of your property, so walk through the garden soon after a storm and check where water collects. If water remains for over 24 hours, the area may not be draining properly.

Beyond the obvious puddles, look for silt along paths or moss on paving. Grass that turns yellow in the same wet area each winter can also point to poor drainage. Then check your downpipes, because a blockage sometimes sends roof water straight into a garden bed.

After that, peg each wet area and photograph it from the same corner every time. That simple map becomes the brief for whatever drainage system you install later (remember, photos beat memory).

Why New Garden Beds and Retaining Wall Drainage Change Water Movement

New garden beds change water movement because raised soil and hard edging act like small walls running across your yard. Because of this, rain may flow along the bed and gather at its lowest point.

Retaining walls do the same thing on a larger scale, holding back soil and the groundwater pressure sitting behind it. That’s why retaining walls need agricultural pipe and gravel at the base before backfilling. Proper drainage helps prevent water pressure from building behind the wall.

Backyard Drainage Solutions Compared: French Drains, Channel Drains and Surface Grates

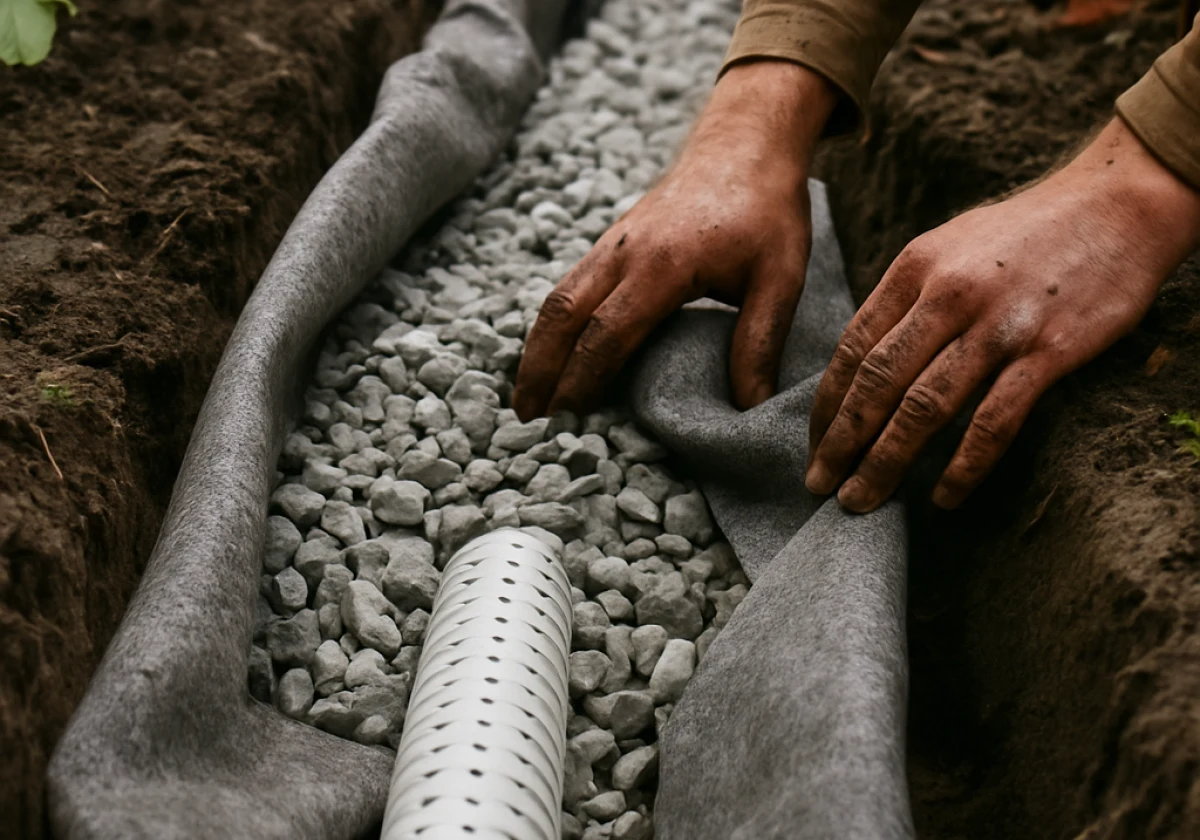
Closing up a partially installed French drain trench

French drains, channel drains, and surface grates each deal with a different type of water problem. A quick comparison will help you choose the right drain for your yard.

Drain typeBest forHow it works
French DrainSoggy lawn and garden bedsPerforated pipe in a gravel-filled trench collects water below the surface
Channel drainsDriveways, patios and footpathsA grated trench drain system catches sheet flow running off hard surfaces
Surface gratesSingle low spots and downpipesA catch basin under the grate feeds water into council stormwater systems

To complicate things, some yards need two types of drains. For example, a channel drain can catch rain running off a patio, while a French drain might remove extra water from the soil nearby.

For underground drainage, geotextile fabric helps keep soil and silt out of the pipe. Otherwise, the pipe might clog and stop draining water properly.

Drainage Planning: Sorting Your Yard Drainage Solutions Before the Landscaping Starts

Surveyor standing on sloped residential terrain

With the drain types covered, planning proper drainage systems first saves you reworking finished garden beds, paths, and retaining walls later. Start by surveying your levels, choosing a discharge point, and planning where the water will drain.

The discharge point comes first in the planning process, because every landscape drainage plan needs somewhere legal for the water to go. Stormwater drainage rules sit with your local council, and many Melbourne blocks connect to stormwater pits or a rainwater tank. Legal discharge points are limited, so confirm yours before you commit to a layout.

Once settled, work backwards up the slope towards the wet areas you pegged earlier. Keep a fall of at least 1 in 100, or 10 mm for every metre of pipe.

Beyond the pipework, surface grading can help as well. Australia’s National Construction Code sets a minimum fall of 50 mm within the first metre of unpaved ground beside a house. Grade the ground towards your discharge line to reduce the water reaching your pipes.

A rain garden or a dry creek bed at the low end swallows the overflow and looks better than a bare grate.

Garden Drainage Problems and the Warning Signs You Can Head Off Early

Now that your drainage plan is almost ready, it helps to know the warning signs of poor drainage and excess water flow. The first signs often appear in your plants, lawn, and brickwork before flooding becomes a problem.

Watch for these five, and act on whichever one you notice first.

  • Root Rot in New Plants: Waterlogged soil pushes air out of the root zone. It causes roots to suffocate and shrubs to yellow from the bottom up.
  • Mosquitoes Breeding Nearby: Standing water left for several days gives mosquitoes a place to breed near your outdoor space.
  • Soil Erosion Along Paths: After heavy rain, strong water flow can strip topsoil from slopes and leave sediment across your footpath.
  • Stains on Brickwork: White salt marks near the base of a wall show moisture tracking through the structure.
  • Spongy Lawn Underfoot: If grass still squelches days after rain, a high water table or compacted soil may be slowing drainage.

Any one of these on its own stays fixable in a weekend with a shovel and some gravel. Two or more together and you may need a full review of your drainage layout.

Ready to Sort Your Garden Drainage and Water Management? Contact Us Before You Plant

Every downpour finds its own path through your garden, even if you have not planned where the water should go. Planning your drainage early will help you avoid repairs after the turf goes down.

Good garden drainage starts with knowing how water moves through your yard. Plan for it before planting, and you can reduce the risk of water pooling around finished areas.

Peninsula Compost supplies soil, gravel, and practical drainage advice for home gardeners across the Mornington Peninsula. Contact us for a free quote on the materials your drainage system needs, and start the season with ground that drains.

The Garden Looks Flat on Paper: Why Level Changes Can Rewrite a Landscape Plan

The Garden Looks Flat on Paper: Why Level Changes Can Rewrite a Landscape Plan

Level changes rewrite a garden plan because a sloping garden creates zones, views, and drainage lines that a flat drawing hides. What reads as one open rectangle on paper behaves like three separate rooms the moment you walk it.

That gap between the drawing and the ground is where most budgets come undone. At Peninsula Compost, we see plans that ignore the fall, then need extra soil, drains, and walls to patch the problem later.

Good sloping garden ideas start with the fall, not the wish list. Levels change where water sits, where sun lands and where you can safely stand.

This guide covers how to set your levels, hold the soil, move water, and spend well on a slope. We’ll start with the measurements.

Terraced Gardens Start With Garden Levels You Can Measure

Gardener holding a spirit level and string line

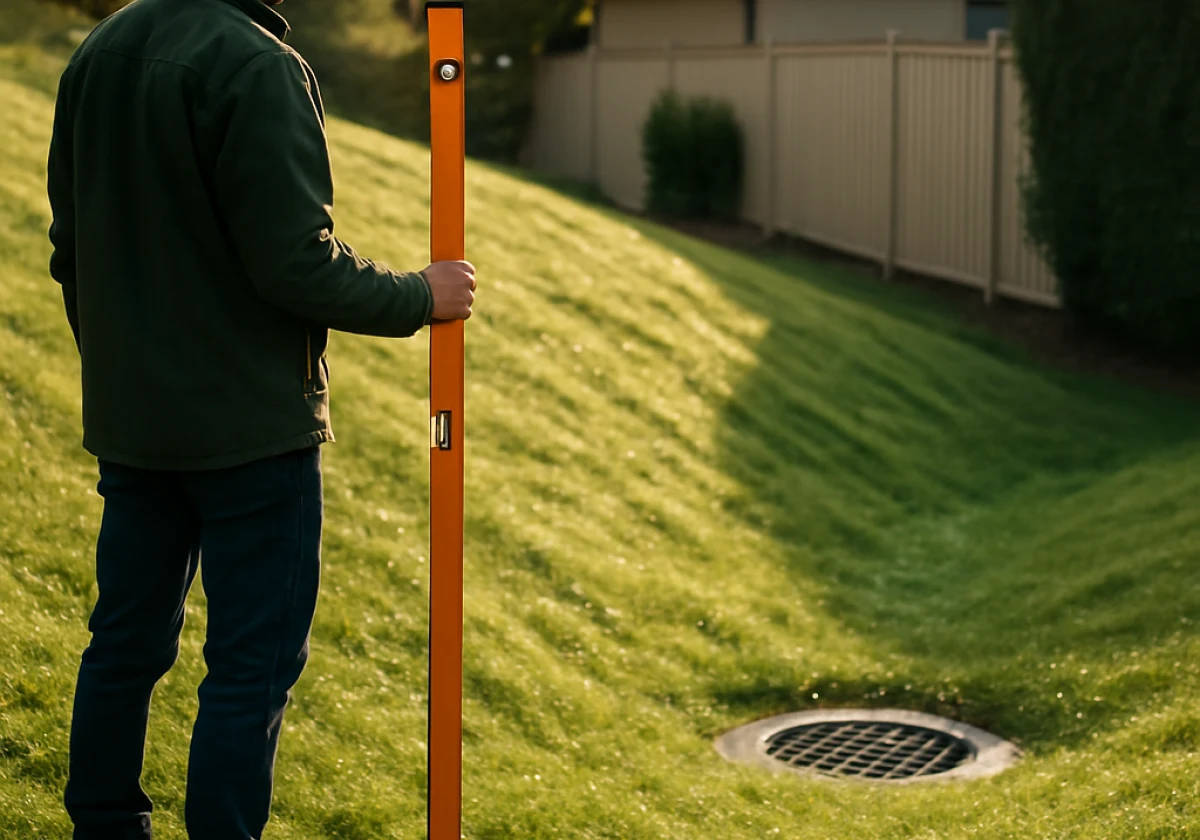
Most sloping garden plans fail because the garden levels get drawn before anyone measures the actual fall. A string line, a spirit level and an afternoon tell you whether you have a gentle slope or a pitch steep enough to need an engineer.

Those readings decide how your terraces get built. Mark the fall at the top, middle, and base of the sloped yard, then write the numbers straight onto the plan.

How Retaining Walls Hold a Height Difference in Place

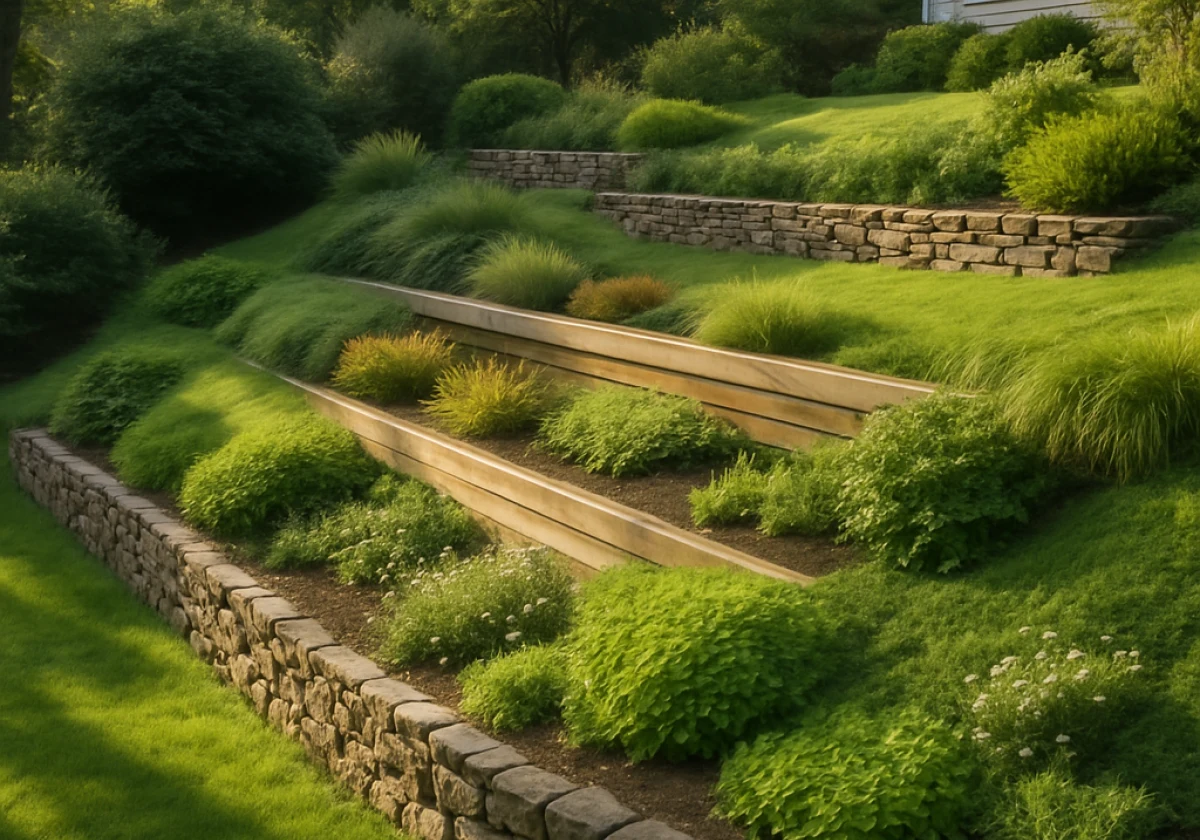
Retaining walls hold a height difference in place by pushing back against soil that wants to slide downhill, which is why height limits exist. For example, in Victoria, a wall over one metre in height needs a building permit, a threshold set by the Victorian Building Authority.

Because of this, drainage sits behind the wall as well as in front of it. We always specify ag pipe and gravel backfill, since trapped water cracks far more walls than soil weight ever does.

Retaining is the hard landscaping every later decision leans on. A properly built base lets one good wall replace three flimsy ones (your back will thank you in year five).

Garden Steps and Garden Paths That Link Each Terrace

Steps link each terrace, and their rise and tread decide whether anyone bothers using the upper garden. Around 150 mm of rise with a 350 mm tread reads as a stroll rather than a climb.

Wider treads also let you push a full barrow up without stopping halfway, which helps on delivery day. Garden paths follow the same logic, so they should run across the garden slopes instead of straight down them.

Stone steps or timber sleepers both do the job, and matching them to your walls gives you one clean line.

Timber, Brick, Stone or Gabion Walls?

Timber, brick and stone each buy you something different, so the choice follows your budget and how long the wall needs to last. Treated pine sleepers cost the least and hold for roughly 15 years.

Brick and block last closer to 50 years, while natural stone costs the most upfront and drains itself through the joints. Gabion walls, which are wire cages packed with rock, land in the middle on price and drain freely by design.

Many owners use sleepers along the back boundary and save stone for the entry. This can cut the spend significantly and still look good from the footpath.

Planting Sloped Gardens So the Soil Stays Put

Steeply sloped garden densely planted with creeping groundcover

Planting well on sloped gardens cuts erosion, holds moisture, and saves you mowing a dangerous bank. Roots bind the top 300 mm into a mat that rain runs over rather than through, so plant selection does structural work here.

Three moves count before you order a single plant. Steep gardens reward planting density more than any clever species list.

Choosing Groundcover Plants That Grip the Bank

Groundcover plants grip a bank when their roots spread sideways, and their foliage closes over bare earth within two seasons. Vinca, creeping boobialla and prostrate grevillea all knit together fast on a dry aspect.

Beyond that, native grasses like lomandra send roots down 600 mm and hold a batter that mulch alone would lose. Four plants per square metre through jute matting carries a hillside garden through its first winter.

Honestly, lawn has no place on anything steeper than one in four, because mowing a bank is genuinely unsafe (ask anyone who has slipped with a catcher on).

Raised Beds and Rock Gardens for Awkward Corners

Raised beds give you flat, workable ground in the leftover corners without a full excavation. A 600 mm bed cut into the high side and built up on the low side creates level growing space for herbs and vegetables.

Rock gardens suit the pockets too tight for beds, where stone holds warmth and sedums cope with the sharp drainage. Gaps between the rocks stay cooler and damper than the surface suggests.

Our compost mixes suit both jobs. Beds on a slope drain quickly and need plenty of humus to hold water.

Why Does Erosion Strip a Steep Hillside So Fast?

Soil erosion strips a steep hillside fast because raindrops hit exposed ground with enough force to knock particles loose, and gravity carries them off. One storm can even shift the top 20 mm of an unplanted batter.

Water also gathers speed over every metre of fall, so a 10 metre run moves far more soil than a 3 metre one. That’s the mechanism behind the rills you see cutting across bare earth after heavy rain.

Bottom line: Mulch to 75 mm and planting straight away breaks both stages of that process in a single weekend.

How Do You Manage Water on a Sloping Backyard?

Sloped backyard after rain with water running down the slope

You manage water on a sloping backyard by slowing runoff with terraces, drains, and planting before it reaches the house. Every design choice either holds water in place or hurries it along, and there is no neutral option on a slope.

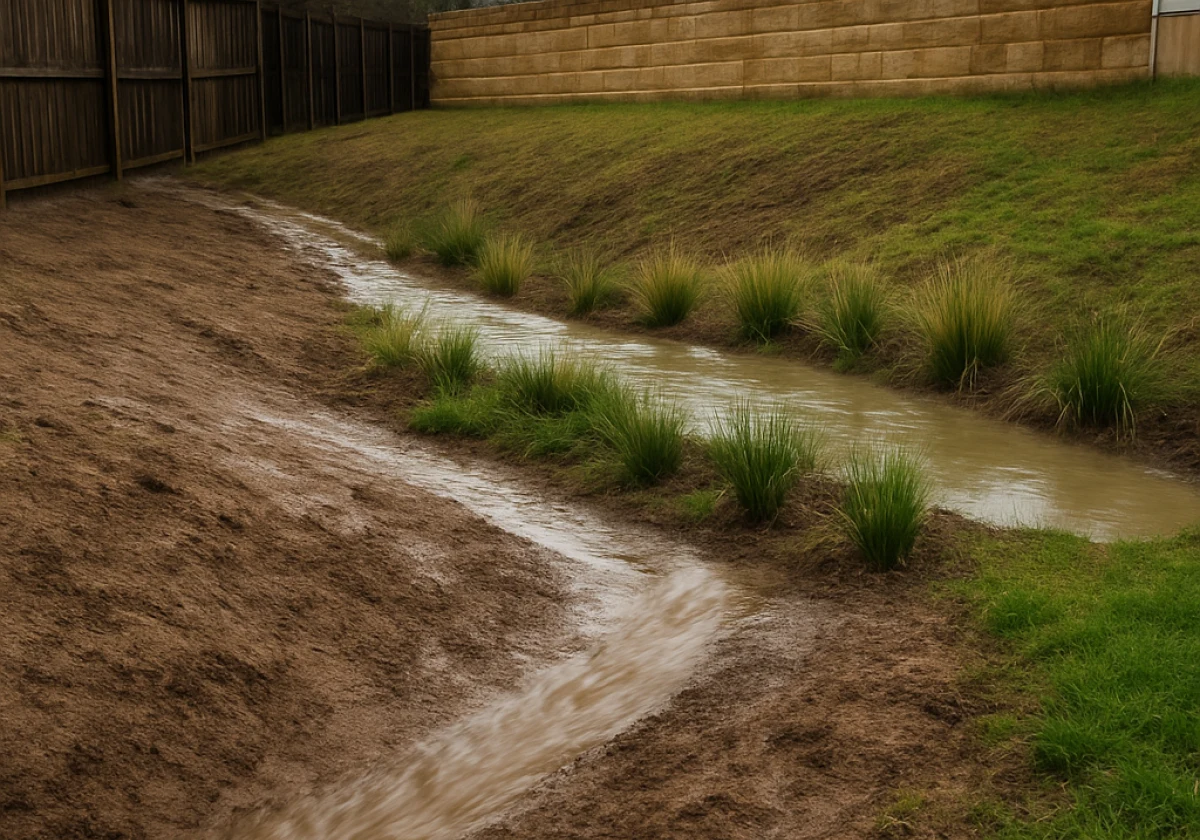
Work from the top down, because anything built below fails if the flow above it stays untouched. A shallow swale (a wide channel that redirects runoff) cut across the contour and planted with grasses catches the first surge and lets it soak in. A gravel-filled trench does the same job with less charm.

Below that, a spoon drain (a shallow curved concrete drain) at each wall base directs overflow sideways into a rain garden or tank, keeping water away from the block. We’ve seen a single 90 mm ag line fix damp that two pumps couldn’t shift.

Cascading water features suit a sloped backyard, since the fall gives a pond movement for free. Just make sure the overflow ties into your drainage system and not the neighbour’s fence line.

Budget Backyard Landscaping Can Outperform a Full Landscape Design

Quotes for terracing a steep block often run into five figures before a single plant goes in. Staging the work gets you most of the result for a fraction of that.

The table below shows where the money goes:

ApproachRough spendWhat you get
DIY sleeper terrace$120 per metreTwo usable levels, one weekend
Compost, mulch and mass planting$600 totalErosion control across a full bank
Designer plan only$1,500Measured levels you build over years
Full landscape design package$15,000 Finished outdoor living zones, built

The middle two rows carry the most value per dollar, because soil and plants fix drainage and erosion at once. Sensible backyard landscaping spends there first, then adds built structures once a wet winter has shown where the water really goes.

Full landscape design earns its keep on complex sites, though rarely before the drainage is sorted. Plenty of sloping garden ideas cost little more than a delivery of compost and a free weekend.

Ready to Put These Sloping Garden Ideas to Work?

Your slope gives you opportunities for distinct zones, wider views and sheltered areas that are harder to create on a flat block. Any site measured first and planted early pays that effort back.

Pick one terrace this season and get soil and groundcovers into it before the rain arrives. Momentum on a sloping site beats a perfect plan that sits in a drawer.

Peninsula Compost supplies compost, soil blends and mulch for terraces, banks and raised beds across the Peninsula. Send your site details and email address to the team for a delivery quote and ground that’s ready to plant.

The Back Door Opens Straight Into the Garden: Planning the First Five Metres of Your Landscape

The Back Door Opens Straight Into the Garden: Planning the First Five Metres of Your Landscape

Plan the first five metres from your back door before anything else, because this zone affects the rest of your garden. You’ll cross this strip every day, so it sets the rhythm for every other part of the garden.

Most Australian homes treat it as leftover ground between the house and the lawn. That’s why so many gardens feel awkward to use, even when the plants look healthy, and the paving costs thousands. We see it on nearly every block.

This guide covers how to read your soil, plan for sun and slope, and decide between hiring help or drawing it yourself. Good landscape design across Australia starts with a tape measure rather than a trolley full of plants.

The First Five Metres Set the Tone for Your Whole Garden Layout

Homeowner in work clothes kneeling on wet grass near a brick house

Most Australian gardens fail in the strip closest to the house rather than at the back fence. Foot traffic, washing-line trips, and your morning coffee all cross the outdoor space nearest the door, so weak design shows up here fast.

Work through the ground, the layout principles, and your daily habits before you spend a cent on plants or paving.

Reading the Ground Before You Draw Your Planting Plans

Start by walking the zone after heavy rain, because water tells you where clay sits and where drainage already works. Mark the wet patches with pegs.

From there, dig a spade’s depth in three spots to check your soil. Sandy Sydney ground drains in minutes, while Melbourne clay holds water for days (and yes, that gap changes every plant choice).

Here is the thing: planting plans drawn before that test usually end up back at the drawing board. If the test shows compacted clay or thin sand, improving the soil with compost before planting will save you replacing plants later.

Why Borrow Ideas From Landscape Architecture and Design?

Landscape architecture and design give you tools for reading a whole site rather than a single spot for pots. The planning process considers circulation, levels, and sight lines before selecting plants for the space.

Those design principles are simple enough to copy at home for free. In our experience, homeowners who sketch movement first tend to waste less money. Award-winning studios work in the same order.

Matching Your Outdoor Living Zone to How You Live

Your garden layout should follow your habits, so list what happens here: bins out, dog let off, washing hung, kids fed. Write it down so you plan around your real routine rather than relying on memory.

Take a family of five. They need 1.5 metres of clear width past the door. Similarly, a couple with a barbecue needs a flat 3 by 3 metre pad, so measure your table before pouring concrete.

Design around your everyday week, not the dinner party you host twice a year.

How Do Backyard Pathways Guide Movement in Landscape Design Australia?

Couple walking side-by-side along a wide stone paver pathway

Backyard pathways guide movement by giving feet one clear line from the back door to each part of the garden. People will cut corners across turf and wear a bare track through it within a single season if the path doesn’t give them a clear line.

Width is the first decision. One person walks comfortably on 900 mm, two people side by side need 1200 mm, and a loaded wheelbarrow needs a clear 1000 mm run.

Beyond width, the surface decides how often you’ll use that path in July. Smooth pavers with 10 mm joints stay walkable in bare feet, while loose gravel spills into beds and tracks straight back inside your home. Honestly, a straight 6 metre run is the one line we’d never bend just for the look of it.

Landscape Planning for the Australian Climate: Sun, Slope and Sight Lines

Good landscape planning saves you from ripping out paving and plants that never suited the spot. According to the Bureau of Meteorology, Australia’s climate has warmed by about 1.5°C since 1910. That makes plants suited to the local climate a wiser investment than installing a larger sprinkler system.

Run these three checks before your design development goes any further, because landscape design Australia-wide begins with the block in front of you.

Tracking Sun and Shade Across the Seasons

Photograph the zone at 9 am, noon and 4 pm on one clear day, then repeat the same three shots six months later. Winter sun sits roughly 30 degrees lower, which drags shade lines several metres across your paving.

North-facing outdoor spaces bake from November, so plan shade there instead of lawn. South-facing courtyard gardens stay cool and suit ferns and clivias (they’ll sulk in hot afternoon sun).

Build plant palettes around species from your own region, because they handle that seasonal swing with little extra care.

Working With Slope Instead of Fighting It

Residential Australian garden courtyard on a winter afternoon

Slope costs money the moment you fight it, because retaining walls above 1 metre need council approval and engineered footings, so check your local rules.

Instead, split a gentle fall into two low terraces joined by 400 mm sleeper steps. We’ve watched that one change halve construction budgets on Central Coast landscape design projects without touching the planting budget.

What Garden Designers Check First

Garden designers check boundaries, services and sight lines first, because a sewer line under your planned pool rewrites the whole project before it starts.

After that, they stand at the kitchen sink and look out. That single view drives more decisions than anything else, which is why your best specimen tree belongs where you see it each morning.

Choosing Between Garden Designers and DIY Garden and Landscape Design

Now that you know what to map, the next call is whether to hire help or draw it yourself. The same design principles apply either way, so slope, budget and drawing confidence settle the argument faster than taste does.

Weigh these three points against your own block before you commit:

  • Site Difficulty: Steep ground, retaining above 1 metre or a pool pushes the job past weekend skills. Bring in a landscape architect once engineering enters your plans.
  • Budget Reality: Design services on residential design work typically run 5 to 10 per cent of the build cost. That fee buys planting schedules and plans a builder can price line by line.
  • Timeline Pressure: Award-winning studios in Melbourne and Sydney often queue landscape design projects three to six months ahead. Begin the simple zones yourself while you wait.

A flat, small and simple site suits a DIY approach, while slope, drainage or a pool calls for a garden designer. Either way, bring a clear sketch, because professionals work faster from your measurements.

Bottom line: you can design outdoor zones yourself and save the detail for the parts you cannot solve. Most of the time, a clear sketch is what a professional wants from you anyway.

Start Your Landscape Design Garden Plan at the Back Door

The first five metres decide whether you use your garden or only look at it through glass. Your landscape design garden plan fits on one sheet of A4 once the zones are clear, and a designer landscape look comes from restraint rather than spending.

A sustainable garden needs soil that holds water, native plants suited to their spot, and planting schedules you can keep up with.

So grab your pegs, photograph the shade and mark the path line this weekend. Small measured steps beat a full redesign you never begin.

Peninsula Compost supplies soil, mulch and compost for Australian gardens. Contact us to talk through your first five metres and get the soil right before the first plant goes in.

landscape design

Why a Landscape Plan Saves Time During Outdoor Renovations

A landscape design saves time during outdoor renovations because it lines up drawings, approvals, and trades before machinery reaches the site. Plus, measuring the block first removes a day of guesswork once the digging starts.

Unfortunately, most homeowners begin an outdoor renovation with a folder of Landscaping Ideas and no measured drawing to price against. And that gap is where budgets go out of hand. It is also why Peninsula Compost sees so many half-finished gardens sitting through a wet winter.

This guide covers what a landscaping plan includes, what skipping one costs, and how the same drawing runs the build. You will also see where rough landscape design ideas became real dimensions.

Let’s start with what landscape design planning covers.

Landscape Design Planning: What It Covers Before Work Begins

## Landscape Design Planning: What It Covers Before Work Begins

Outdoor renovations run late because nobody set the sequence, not because the weather turned. Some homeowners call it landscape architecture while others call it “Garden Design”. However, most landscape designers start the design process similarly, with an initial consultation on site.

The plan then fixes levels, drainage, and material orders weeks before an excavator books a slot. It also settles plant selections early, so you can order the stock in the right season.

The following three parts of the landscape design process have the greatest impact on keeping the project organised and on schedule.

How Much Outdoor Space Should Your Garden Design Project Cover?

You should plan across the whole block rather than just the corner you want to change. As water, drainage, and access can affect adjoining areas, the design needs to account for how the spaces connect. Usually, even a 120 square metre backyard needs a side path, a bin bay, and room to swing a wheelbarrow.

Site analysis is generally the first step in any garden design project. Our design team measures the front and rear together. Then it marks which functional outdoor spaces carry traffic and which stay planted (the mud shows you within one wet week).

Good site analysis then decides if the outdoor space design can carry swimming pools, raised decks, water features, or simply wider garden beds. Larger blocks also give you room to separate dining, lawn areas, and outdoor kitchens into distinct zones.

Landscape Construction Zones and Outdoor Areas Get Mapped Early

Once the measurements land, the drawing splits your yard into soft zones and hard zones. Each zone carries a different build order. For example, planted areas need soil depth and irrigation systems, while paving, retaining walls, and steps need a compacted base and set-out pegs.

And marking both on one drawing stops the classic clash where a paving crew arrives before the plumber has run sleeves under the path. For a water feature, mark the power supply and pipe route before paving starts.

The same plan can also show how paving affects stormwater flow. Every square metre of paving sheds water somewhere, so the design needs to show where that runoff will go during a storm.

Across fifteen years of landscape construction services, that drawing clash has caused more two-week delays than any other problem. Plus, most landscaping projects our team gets called in to fix have the same gap in the drawing.

Setting a Realistic Construction Timeline and Project Management Plan

A realistic timeline for any landscape project works backwards from the slowest item. Usually that is a council approval or a stone order rather than the digging. So the plan pins dates to each stage:

  • Demolition
  • Drainage
  • Landscape construction
  • Planting
  • Handover

This way, a buffer week sits after the wet trades finish.

Fortunately, good project management keeps those dates honest. Each design phase gets its own date as well, instead of just the build weeks.

On top of that, homeowners who see those dates on paper stop chasing the team for updates, and the team stops quoting the same job twice (calm sites finish quickly).

Skipping a Landscaping Plan or Garden Design Concept Can Cost You Later

## Skipping a Landscaping Plan or Garden Design Concept Can Cost You Later

Written plans let every trade quote against the same drawings, which cuts costly revisions. Without one shared plan, contractors may price different scopes, leaving you to cover changes and extra work later.

Four costs surface on almost every unplanned garden renovation our team inspects:

  • Double Handling Costs: Crews lift fresh turf to trench for drainage, so you pay twice for the same square metre of lawn.
  • Quote Drift: Three landscaping companies can price three different projects when the plan lacks clear dimensions, and the cheapest quote may leave out retaining walls.
  • Approval Delays: Expect four to six extra weeks when a council knocks back pool fencing or boundary heights.
  • Plant Losses: Planting windows are narrow, so a garden planted in the wrong month loses plant selections you replace at full retail price.

Bottom Line: A landscape design project costs a fraction of one rebuild, and it hands your team a single source of truth.

That said, landscaping ideas are cheap on paper and dear on site. Skipping the plan can lead to changes, rework, and extra labour costs within the first fortnight.

Moving From Design Development to Finished Outdoor Living Areas

Generally, concept design sets the overall look, while design development works out the practical details needed for construction.

Once the homeowner approves that design phase, the same document guides every stage of the landscape project. The supervisor works from the set-out sheet, so the operator knows the finished patio level before the first bucket lifts. That one reference keeps design and construction talking to each other.

From there, the build follows the order of the drawing sets: services, drainage, structures, surfaces, then planting. For this reason, heavy structures and features that need machinery should go in before paving and other finished surfaces, while access remains clear.

Meanwhile, the landscape designer checks progress at three points:

  1. After set out
  2. After hard surfaces
  3. Before planting

Honestly, that middle check saves the most money, since a paving fall fixed at 20 square metres beats fixing it at 80 (we have measured both). This way, outdoor living comes together last, once the mud has gone and the outdoor rooms read as one space.

When you receive the garden after completion, you get a marked-up copy of the garden and landscape plan showing pipe runs, cable depths, and plant names. Native plants are labelled too, so nobody prunes a young grevillea like a hedge.

Keep that plan for future maintenance, as it shows where services run and helps you find the right plants and equipment when repairs are needed.

Does a Landscape Plan Cover Garden Maintenance and Landscape Maintenance?

## Does a Landscape Plan Cover Garden Maintenance and Landscape Maintenance?

Yes, a good plan schedules landscape maintenance visits for the first year after planting. New gardens and fresh garden beds need very different care in month one than in month twelve.

Here is what that first year usually looks like.

PeriodMaintenance focusVisit frequency
Months 1 to 3Watering checks, weed control, stakingFortnightly
Months 4 to 6First prune, mulch top-up, irrigation tune-upMonthly
Months 7 to 12Feeding, hedge shaping, lawn coringEvery 6 to 8 weeks

Quick Tip: Lock that first year of garden maintenance into the same contract as the build. The early maintenance period helps new plants establish before seasonal stress exposes weak areas.

Plant selection does a lot of the work as well, since native plants and drip irrigation systems cut the ongoing maintenance a new garden needs. Shady, windy, and dry outdoor environments each need their own watering habits. Sustainable design earns its keep in year two, when the watering drops off.

Every summer our crews rescue gardens that lost plants because nobody booked those visits.

Ready to Start Your Outdoor Renovation With a Solid Garden and Landscape Plan

Good drawings are the cheapest part of any outdoor renovation, and they protect every dollar you spend after them. So getting the levels right keeps your build on schedule from day one.

Book your initial consultation before spring, when landscape designers and landscape construction services across the Mornington Peninsula fill their calendars eight weeks deep. One short site visit and a measure-up set a whole landscape design project up properly.

Peninsula Compost supplies screened soils, mulch, and compost blends for homeowners planning functional outdoor spaces at home. Contact our team to match your plans with the right blends and give new plantings a strong start.