Does creating a sustainable garden feel overwhelming to you?
We’ve met plenty of people who hesitate with eco gardening at first. They’re intimidated by the terms and techniques, and the idea of turning a regular lawn into an eco-friendly garden feels too big, so they back away before starting.
Does that sound like you? Then good news: you don’t need special training to build a sustainable landscape. Expensive tools aren’t necessary either. All you really need is a simple plan you can follow.
In this post, we’ll walk you through the planning, planting, and maintaining process of a sustainable garden that you will feel proud of.
Let’s start with the basics of soil, water, and design for your garden.
Foundation Tips for Eco-Friendly Gardens: Soil, Water, and Design
A sustainable landscape starts beneath your feet. Strong soil, smart water planning, and thoughtful design will create a garden that lasts for decades. These simple steps will set you up for long-term success.
Understand Your Existing Conditions
Before you plant anything, take time to understand what you’re working with.
First, check your soil type using the squeeze test. Sandy soil will fall apart easily, while clay will hold together in a ball.
Then, note down your drainage patterns after rain, sun exposure throughout the day, and any microclimates like shaded corners or hot spots. These observations will tell you which plants will actually grow well in your outdoor area.
Improve Soil the Organic Way
Once you know your soil type, it’s time to improve it naturally. The simplest way is to mix compost into your garden beds to feed your soil and improve its structure.
You’ll also need to spread a 3-4cm layer of mulch around your plants to keep moisture in and weeds out. We recommend grass clippings and leaf litter for this to nourish your garden and prevent erosion in one go.
Smart Water Planning with Hydro Zoning
Now, let’s talk about watering your plants. We use this method of grouping plants to their water needs to cut waste and support strong, drought-ready species. You just have to keep thirsty vegetables together in one spot and away from native plants that barely need watering.
This method is called hydro zoning and can slash your water use by up to 50%! You can pair it with drip irrigation for precise watering and rainwater tanks to collect free water.
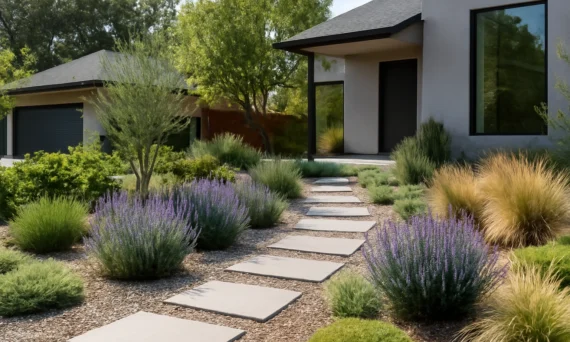
Sustainable Layouts
If you design your garden beds to follow the natural shape of your land, it will reduce soil erosion and make watering and maintenance easier.
We recommend mulched paths over concrete for better water absorption. For garden edges, you can use recycled timber or natural stone instead of plastic. These materials need less maintenance, look natural, and even reduce your carbon footprint over time.
Choose Natural Materials
Finally, choose your garden surfaces carefully. You have permeable options like crushed recycled concrete or gravel that let water soak through instead of running off into gutters.
For raised beds and pergolas, reclaimed timber works beautifully. Natural resources like these skip the chemicals, save money long term, and create well-maintained outdoor spaces that will improve as they age.
With your foundation sorted, you’re ready to fill those healthy garden beds with plants that actually earn their keep.
Grow a Beautiful and Productive Garden with Native and Edible Plants
Native species and food plants both have their place when you pick the right ones for your conditions. Here’s how to fill your beds with plants that will flourish in your garden beds.
Why Native Plants Are Important
Native plants have spent thousands of years getting used to the Australian weather and soil. They know how to survive here without much help from you.
For example, plants like kangaroo paw, bottlebrush and wattle support local pollinators while using much less water than imported species. They also fight off local pests naturally, so you can skip the chemical sprays. Once they settle in, they’ll handle droughts and tough soil on their own.
Smart Plant Selection
Now, let’s talk about choosing the right ones. Start by checking your soil type with that simple squeeze test from earlier. Sandy soils are perfect for drought-tolerant species like grevilleas and clay soils hold more moisture, which will suit plants like lillypilly.
Also, pay attention to how much sun each spot gets and which areas face the harshest weather. Then you can pick indigenous plants from your local area, since they’re adapted to survive your garden’s conditions.
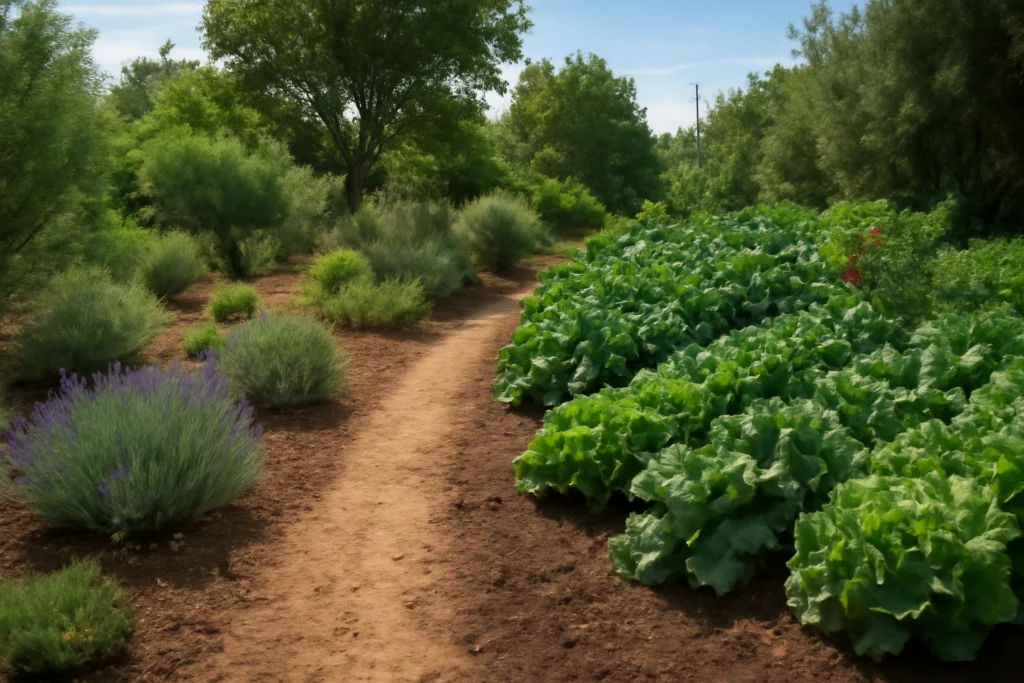
Food Plants with Visual Appeal
Your vegetable garden doesn’t need to be hidden away in some boring corner. Instead, blend it right into your decorative beds.
Start by planting herbs like rosemary and thyme along the edges for beauty and fragrance. You can also add blueberry bushes between flowers to bring both color and fruit. Berry vines are another option. You can cover your fences with them to add interest and colour.
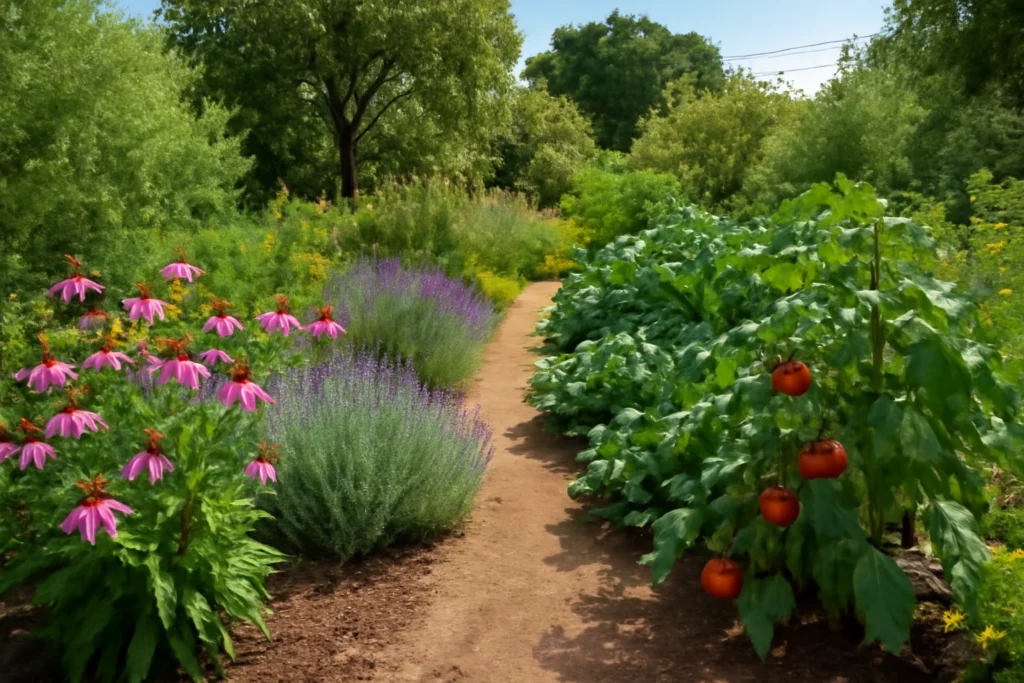
Double-Duty Spaces
Gardens don’t have to be only pretty or only productive. Why not have both?
You can use edible groundcovers like native mint and plant fruit trees for shade and food. Then use the same area for flowers that feed pollinators and vegetables you can harvest. Create an outdoor area that looks stunning and produces actual yields year-round!
Make Your Garden Sustainable and Climate-Friendly
So, what’s one change you’ll make in your garden this year? Are you adding a compost bin or planting your first native shrub?
The best way to a sustainable garden is to start small and grow over time, so there’s no rush. First, pick one bed, add some compost, and plant something suited to your soil type. You will learn as you go.
By 2026, sustainable landscapes can be the new normal. And your choice of eco gardening is helping the soil, supporting native animals, while creating something beautiful.
Ready to start your sustainable garden journey? Peninsula Compost can help you build healthier soil with quality organic products. Contact us today!
Garden paving types create structure, define spaces, and tie your whole outdoor design together. If you’ve ever wondered why some Australian gardens feel like luxurious outdoor rooms, there’s your answer.
You have multiple options to choose from for your garden paving. But the best paving can change how you use and enjoy your garden entirely. We’ve worked with Australian homeowners and seen the way the right material choices completely changed a place.
In this guide, we’ll walk through the most popular outdoor paving options available across Australia. You’ll learn which materials work best for different climates, budgets, and design styles. We’ll also compare the cost, durability, and maintenance of all the available paving options.
Ready to find the perfect foundation for your dream garden? Read on to learn more.
Popular Garden Paving Types Explained
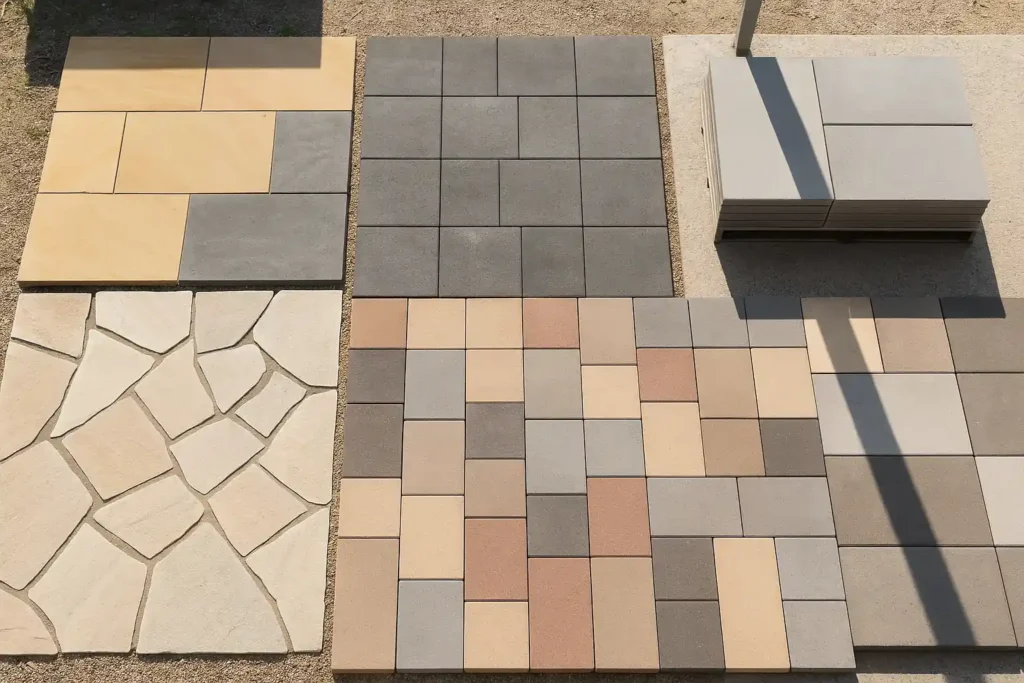
If you go to any garden centre, you’ll usually see the same two paving types there: natural stone and concrete pavers. And you find these pavers everywhere because they work well for most jobs.
With the natural stone option, you get an authentic, earthy ageing feel. Meanwhile, concrete pavers come with flexible colours and patterns you can’t get from quarried materials (natural stone is great, but it doesn’t come in neon pink, you know).
These fundamental differences can help you understand what works best for your garden’s style and practical needs.
Let’s see what natural stone and concrete pavers mean for your day-to-day life.
Natural Stone Pavers: Timeless Beauty
Mother Nature spent millions of years creating these materials, and it shows. Every piece carries unique grain patterns, subtle colour variations, and texture. These characteristics are hard to manufacture.
But do you know the best part of natural stone pavers? They develop character over time instead of looking worn out. Particularly for this reason, many people can’t avoid the strong appeal of natural pavers and decide to go with this option.
You can use natural stone pavers in two ways, and here’s a detailed discussion on them both.
Sandstone and Bluestone Options
Australian stone choices usually come down to sandstone versus bluestone. Sandstone’s warm honey and cream tones stay cool underfoot during summer. They’ll cost you between $90 and $130 per square metre.
However, bluestones offer dramatic cool greys and charcoal colours for modern gardens. Is this what you love? Then you’ll need to pay $120 to $180 per square metre for these pavers.
Crazy Paving Aesthetics
Crazy paving involves using irregular stone pieces to fit together like a jigsaw puzzle. It’s a completely different approach from the previous traditional one. It also creates a wonderful flow and visual interest that regular patterns can’t match.
This technique works best in curved areas like winding pathways or garden borders, where those irregular pieces can follow organic lines naturally. Crazy paving stands as a budget-friendly option too, costing you $70-$110 per square metre.
Concrete Pavers: Versatile and Practical
Modern concrete paving maintains incredible consistency through a controlled manufacturing process. That’s why these pavers are often more affordable. Manufacturers can also add features like improved drainage and slip resistance to the pavers if needed.
The information below will help you decide on your concrete pavers.
Styles and Paver Colour Choices
You get endless design possibilities with concrete pavers. Based on your preference, manufacturers can create textures mimicking natural stone, timber, or brick at a fraction of the cost of their organic counterparts.
Not only that, but concrete paver is probably the most budget-friendly option for you, too. If you consider standard coloured pavers’ pricing against basic grey pavers’, you’ll need to pay $5-$15 per square metre extra. That’s it.
Large-Format Pavers Appeal
Large-format pavers (600 mm x 600 mm or larger) make your spaces feel bigger due to their size. It means you have fewer joints to deal with, which gives you a smoother visual appearance. Their prices range from $45 to $75 per square metre.
Modern Garden Paving Alternatives
Sometimes you need to think outside the usual stone and concrete options, and that’s where things get interesting. Modern gardens are turning to paving materials that handle specific challenges better (e.g., dealing with wet climates or working around curved pathways).
However, what’s truly appealing about them is the way these alternatives cost considerably less than the traditional pavers. This cost-cutting opportunity opens up possibilities for larger projects without stretching your budget (well… broke homeowners deserve nice things too!).
And you have quite a few options available to you from modern alternatives like brick and loose stone pavers. Keep reading to get more detailed information on them.
Brick Pavers: Classic and Durable
Brick has been paving pathways for centuries, and there’s a good reason it never lost its attraction. The fired clay construction of those bricks creates durable surfaces that get better with age.
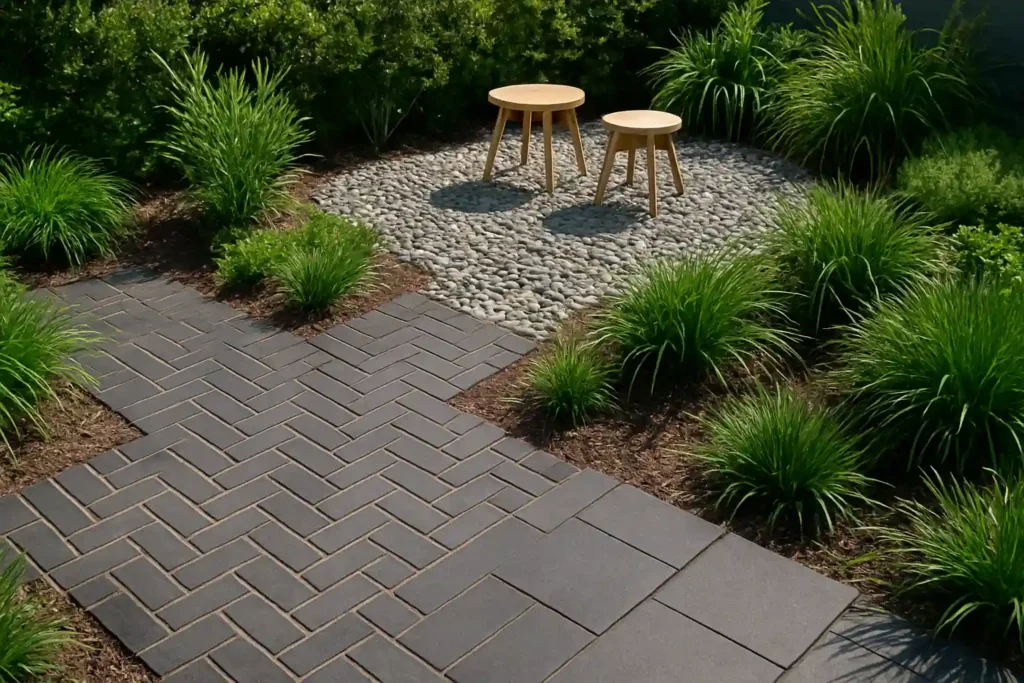
And if you are interested in creating intricate patterns, such as herringbone or basketweave, to add a visual punch to your gardens, brick pavers offer you the exact chance to do so. Not to forget either, bricks work well around curves too, since they are smaller in size.
But you’re probably wondering if all those facilities come with an expensive price list. Simple answer: no. Brick pavers will cost you between $45 and $70 per square metre. It’s a good option between concrete and natural stone pavers if you think about it.
Choose your brick pavers from the list below:
Traditional Red Bricks: Classic red clay brings instant heritage charm with warm, earthy tones that work beautifully with aged homes and cottage gardens. The slightly rough surface of red bricks provides great grip and develops a lovely patina over time.
Newer Colour Ranges: Modern manufacturing has opened things up well past traditional red. You’ll find creams, charcoals, browns, and even purple colour options suitable for contemporary schemes while keeping that classic brick character.
Permeable Brick Options: Specially designed versions like these let water filter through joints or the brick itself. It is brilliant for areas with runoff issues or where councils demand permeable surfaces.
Loose Stone: Natural and Flexible
Loose stone materials are incredibly flexible and drain water naturally. Unlike permanent paving, you can easily move, replace, or change them as your garden needs to grow. They work perfectly for casual walkways or garden borders where you want a softer, more natural look.
Let’s find out where loose stone pavers work best:
Gravel and Pebbles: In terms of size, you’ve got fine gravel (best for areas with foot traffic) as well as large river stones with this option. Gravel and pebbles improve your drainage while adding texture to your space. And if you’re concerned about their appearance, river pebbles come with a smooth, rounded shape in greys and browns.
Decorative Aggregates: Coloured glass pebbles, polished stones, and specialty aggregates draw attention like nothing else. Premium options like these can change your ordinary garden beds.
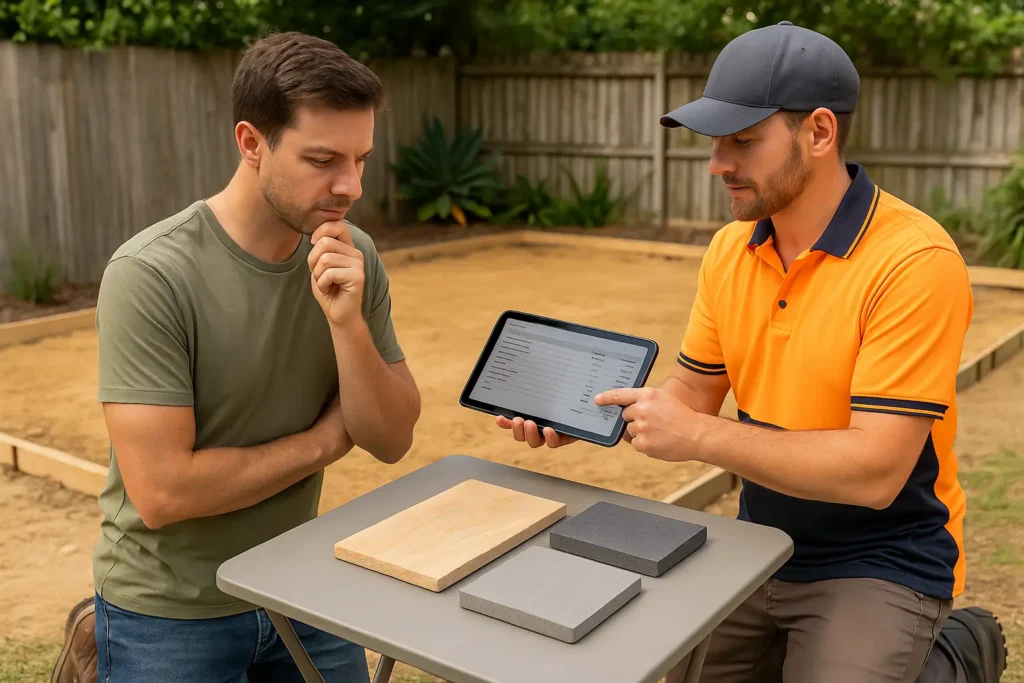
Your local landscape supplier probably has samples you can feel and compare side by side. Be sure to ask them for those samples before you make your decision.
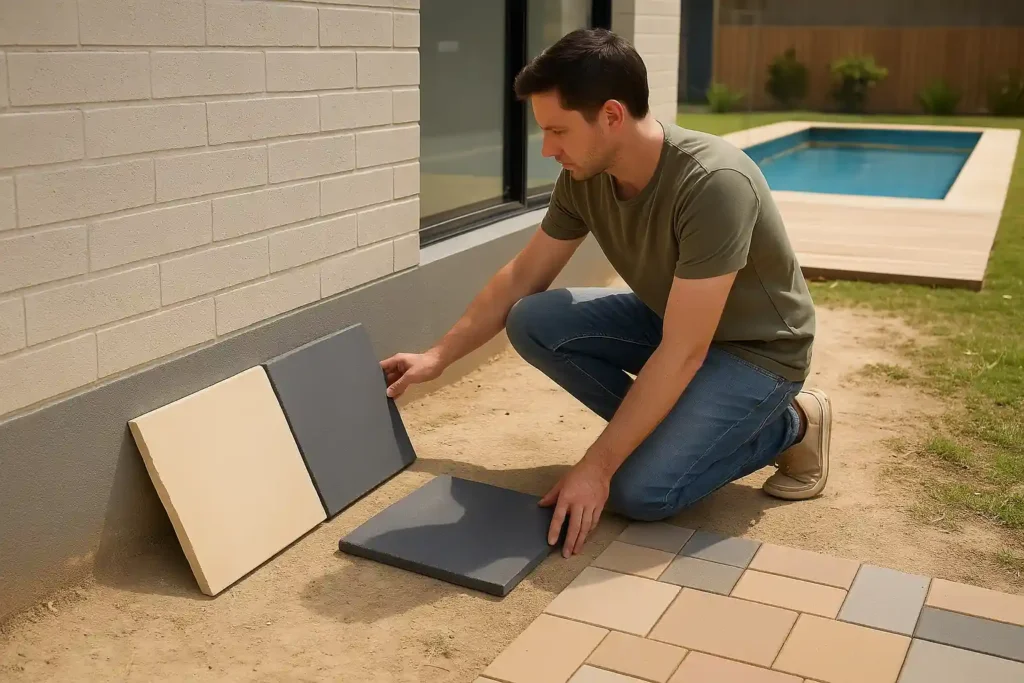
Selecting the Best Paving for Scenery
Look, you may feel overwhelmed staring at dozens of paver samples and listening to hundreds of conflicting pieces of advice. But here’s a secret to maintain your focus and assess your needs properly: work backwards from your actual needs rather than getting caught up in what looks pretty in the showroom.
“But how do I do that?” you ask. It’s a good question. You can start your assessment by figuring out how you’ll use the space and how much maintenance you’re realistically willing to do. Then consider your home’s architectural style and existing garden elements.
This breakdown will help guide your decision-making process.
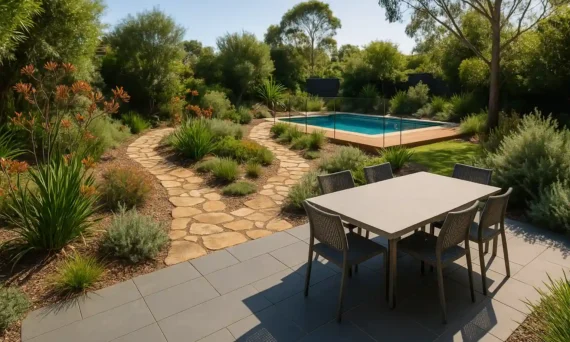
Functionality and Usage Considerations
Think about what your paved area truly needs to handle each day. If you’re paving around the pool, you’ll want slip-resistant surfaces that won’t burn your bare feet. But for your driveway, you’ll need your pavers to handle the weight of cars without cracking.
Don’t forget to consider your local climate, either. Because some materials can tolerate the Australian summer sun, while others fade or crack under pressure.
You should also be careful with your colour choices. For instance, light-coloured concrete and pale sandstone show every coffee spill and muddy footprint (light colours are beautiful until you have to live with them).
So, factor in your tolerance for constant cleaning. Ask yourself if you’re ready for it.
Aesthetic Balance and Style
Your paving should always match your home’s style naturally. Think about federation homes. They look great with warm sandstone or traditional brick, but modern houses work well with large concrete pavers or sleek bluestone options.
To avoid creating a clash between your existing style and new pavers, look at the colours that are already present on your house exterior. You want your paving to flow smoothly between indoor and outdoor spaces.
Sustainable Paving Choices in Australia
Let’s get this straight. Australian gardens face unique challenges like water shortage, intense heat, and pressure on natural resources. That’s why, if you’re mindful about your paving choices, you can solve these problems easily instead of making them worse.
For our rough environment, sustainable paving options can prove to be the most useful. They’ll also reduce impacts on the climate, because the right materials will support natural water cycles, reduce heat in the urban area, and use fewer new resources.
Based on our experience, eco-friendly paving often gives you better long-term value through less maintenance and improved performance. Such paving choices meet council requirements for sustainable development, too. It’s a win-win situation.
Here’s how you can contribute to making the world more environmentally friendly by using sustainable pavers:
Recycled Materials: Durable pavers made from recycled glass, plastic, or rubber keep waste out of landfills. You can get recycled concrete pavers for around $30-$50 per square metre, and they work just as well as new materials.
Local Sourcing: Why ship materials across the world when you can source locally? Australian sandstone and bluestone from within your state often cost less than imported alternatives while supporting local jobs.
Water Management: Permeable pavers let rainwater filter through instead of creating runoff. This convenient feature takes pressure off stormwater systems and helps recharge groundwater naturally. You’ll have to pay an extra $10-$20 per square metre, but council rebates in water-sensitive areas might lower your cost.
Cool Paving Options: Light-coloured materials reflect heat rather than absorbing it. Take cream sandstone pavers, for example, which can stay up to 15 degrees cooler than dark surfaces. Using these pavers reduces urban heat and makes your summer entertaining spaces much more comfortable.
Think your council will be impressed when you’re the first on your street to tick all their sustainability boxes?
Cost-Effective Paving and Maintenance
Your paving decisions should always balance upfront costs with long-term expenses, and here’s why it’s important. The cheapest material isn’t always the most economical when you factor in installation complexity, durability, and ongoing maintenance needs.
Some materials require professional installation, while others work fine as DIY projects. This difference affects your total investment significantly. Throughout the years, we’ve learnt that looking at costs over 10-15 years gives you a much clearer picture than just comparing initial prices.
The goal should be to find the sweet spot where upfront investment, expected lifespan, and maintenance requirements all line up with your budget and lifestyle reality.
We’ll start with your paving cost.
Understanding Paving Costs
Material costs are just one piece of your total investment calculation. Labour typically adds $40-$80 per square metre for professional installation, and that figure changes based on how complex your job is and how easily contractors can access your site.
What really catches people off guard is how much excavation, base preparation, and drainage work can add to the bill. This becomes especially painful if you’re dealing with slopes, where every aspect becomes more complicated.
However, the good news is that some materials, like loose gravel, are perfectly suited for DIY installation, which could save you thousands in labour costs. But certain materials need specialised equipment that makes paying professionals absolutely worthwhile.
Then there are those extra costs that seem to sneak up on everyone: delivery fees, waste removal, and any permits your local council might require. These smaller expenses add up faster than you’d expect.
Essential Paving Maintenance Requirements
Regular maintenance protects your investment and keeps your surfaces looking great. Plus, your maintenance type and cycle will vary depending on your materials. If you’ve gone with natural stone, you’ll have to seal it every 2-3 years.
But concrete pavers are a bit different since they need annual cleaning. You’ll also occasionally need to refill the joint sand to keep everything stable.
Most maintenance problems can be solved with simple weekly sweeping and monthly hosing down. You can’t clear stains with this routine, though. They are harder to get rid of (stains have a way of becoming permanent residents).
That’s why you need to deal with them quickly, or you’re looking at permanent damage that’ll cost a fortune to repair later.
Your Paving Renovation Starts Right Here
Garden paving can overwhelm homeowners with so many material choices, but the right option exists for every space, budget, and style. And professional guidance can help you avoid costly mistakes and ensure lasting satisfaction.
In this article, we’ve explored natural stone’s authenticity, concrete’s versatility, brick’s classic charm, and sustainable alternatives. Every material offers unique benefits for Australian climates, including drainage solutions and heat-resistant surfaces that upgrade your outdoor living.
At Peninsula Compost, we bring your outdoor visions into reality. Contact us today for your on-site consultation and find out how expert paving can improve your garden’s potential.
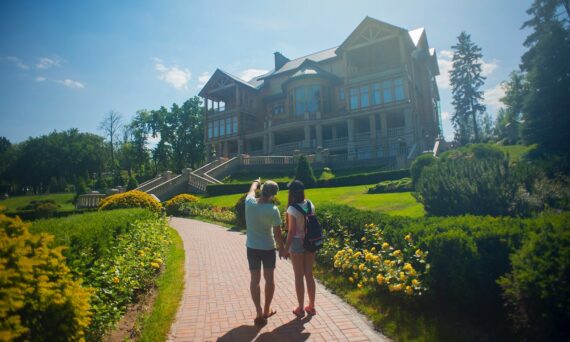
What is the first thing you notice when you drive up to a home? That’s right – it’s the curb appeal! From large weeping willows, carefully manicured shrubs and cool walkways to succulent gardens wrapped in stone walls – a well-landscaped property can instantly increase your perception of value and create an eye-catching appearance. This article provides an overview of what landscape design components could potentially add “curb appeal” along with providing hints on how to make it look your own. Let’s explore together how landscaping can take any drab yard from dull to dynamic with style!
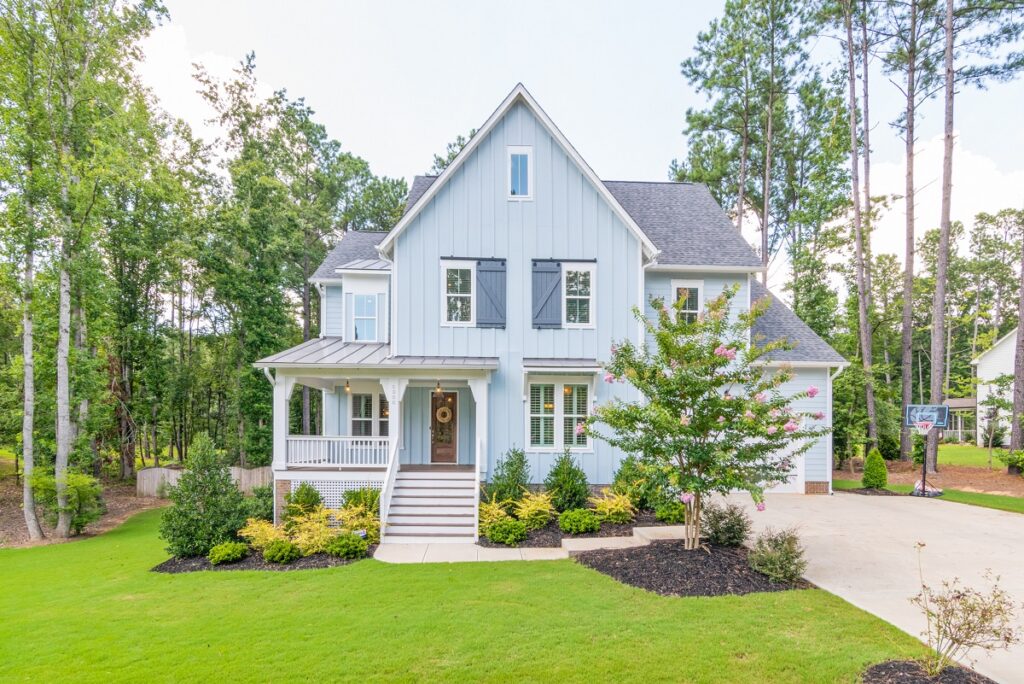
Why landscaping is essential for curb appeal
The exterior of your home can be just as important as the interior, and the first thing people notice when they see your house is the landscaping. Landscaping is essential for curb appeal because it enhances the overall appearance of your property. A well-designed landscape can not only add aesthetic appeal but can also increase the value of your home. You want your home to stand out and make a great first impression, and having a beautiful yard can do just that. So, whether you are trying to sell your house or simply want to enjoy the beauty of nature right outside your door, investing in good landscaping is a smart move.
How to choose the right plants for your home
Transforming your home into a green paradise can be a fulfilling experience, but choosing the right plants for your space can be overwhelming. It’s important to consider the amount of light your plants will receive, the humidity levels in your home, and the amount of care required for each plant. If you’re a beginner, it’s best to start with low-maintenance plants such as succulents or snake plants, before moving on to more advanced plants. Take the time to research each plant before purchasing to ensure that it aligns with your home’s environment and your own personal preferences. By carefully selecting the right plants for your home, you can create a lush oasis that adds both beauty and tranquility to your living space.
What types of soil are best for landscaping
When it comes to creating a beautiful landscape that is both pleasing to the eye and healthy for plants to thrive in, selecting the right type of soil is crucial. Different soils have varying physical and chemical properties, making them suitable for different landscaping projects. For instance, sandy soil is great for drainage and ideal for plants that need well-draining soil, while loamy soil is enriched with nutrients, making it the perfect option for growing vegetables and flowers. Clay soil, on the other hand, is best for retaining water and making it available to plants for a longer period. Ultimately, the best soil for your landscaping project will depend on factors such as the type of plants you intend to grow, the climate in your region, and the overall design of your landscape.
The benefits of adding a water feature or garden path
There’s nothing quite like the tranquility of a water feature or the peacefulness of a garden path. Adding these elements to your outdoor space not only creates a soothing atmosphere but can also provide numerous benefits. A water feature, whether it’s a tranquil fountain or a calming pond, can help to reduce stress levels and promote relaxation. A garden path, on the other hand, is not only aesthetically pleasing but can also help guide you through your garden, allowing you to fully appreciate all that nature has to offer. Both of these features can also add value to your property, making them a wise investment for any homeowner. So why not enhance your outdoor space and reap the benefits of a water feature or garden path?
Tips for creating an overall sense of unity and flow in your landscape design
Landscape designing can be a tricky task, especially when it comes to creating an overall sense of unity and flow. To make your outdoor space look like an extension of your home, you need to incorporate some design techniques that can help you achieve that seamless look. One of the essential tips is to use repetition in your design. Repeating colours, forms, and textures will create continuity and coherence throughout your landscape. Creating a focal point in your design will also provide a sense of balance and draw the eye to key areas of your yard. By thoughtfully integrating elements such as hedges, planters, and garden furniture, you can seamlessly tie together and unify the most disparate of landscapes.
DIY projects that can help spruce up your yard on a budget
Sunny weather and beautiful landscaping go hand in hand. However, expensive landscaping projects can sometimes be out of reach. Fear not! With a little creativity and a modest budget, you can spruce up your yard with DIY projects that are both easy and affordable. Whether it’s adding colorful flowers to brighten up the space or creating unique garden features like a relaxing hammock or a stylish walkway, the possibilities are endless. By doing these projects yourself, not only will you save money, but you’ll also add your personal touch to your outdoor space. So grab your gardening gloves and get started on your DIY journey to a beautiful yard.
Landscaping is a great way to add value to any property while also improving its overall aesthetic. Whether you are looking for an affordable DIY project or professional assistance with creating a unique landscape design, it’s important to think carefully about the needs of your home and how best to maximise available space. Ultimately, choosing the right soil, plants, and features can help to create a tranquil atmosphere in which you can enjoy spending time outdoors. With a few simple steps and some creative thinking, you too can have that perfect oasis no matter what your outdoor budget is! So why not get started today by learning more about landscape design and beginning the process of creating the perfect outdoor living space?