What Makes an Outdoor Entertaining Area Actually Work
A good outdoor entertaining area combines visual appeal with practical layout, seating, and weather cover. When these elements come together, your outdoor space becomes somewhere people actually want to hang out.
We’ve seen plenty of outdoor areas that look fantastic but feel awkward when guests show up. Maybe the seating feels too tight, or the BBQ sits far away from where everyone eats. These problems usually come from poor layout decisions made at the start.
Our team has helped Mornington Peninsula homeowners with their garden entertaining spaces since 2002. So in this guide, we’ll walk you through layout tips, material choices, and planting ideas that support any gatherings all year round.
First, let’s cover the basics of planning a functional and spacious backyard.
How to Design an Outdoor Area That Feels Spacious and Functional
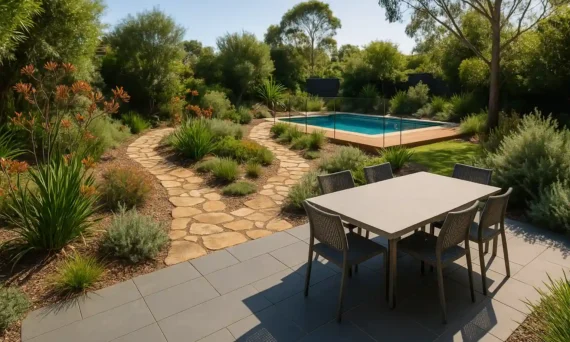
A good outdoor area that feels spacious and functional starts with a clear plan for how people will move and gather. You want different areas for different activities, with enough room between them for easy flow.
Here are some practical ways to make that happen.
Define Your Outdoor Rooms
Instead of treating your backyard as one big open space, try breaking it into smaller outdoor rooms. For example, you could set up a dining area close to the house for easy access during meals.
Then further back, add a lounge area with comfortable seating where people can relax and talk. And off to one side, set up the BBQ or pizza oven so cooking stays social without crowding the table.
This kind of zoning makes your outdoor space feel more organised and easier to use. Your guests will see straight away where to grab food, where to relax, and where kids can play. Because each area has a clear purpose, the space will naturally feel less cluttered and more open as well. Even smaller backyards can feel bigger and more inviting if you break them into zones.
Encourage Movement and Interaction
After you create the different zones, you’ll need to plan clear pathways between them. This will let guests move around easily without squeezing past chairs or stepping over plants to get to the drinks table.
Also, think about how your indoor and outdoor spaces connect. For example, if your outdoor entertaining area sits right near the kitchen door, carrying plates and drinks outside will be much simpler. You won’t have to move around awkward corners or dodge outdoor furniture along the way.
And when the inside and outside flow smoothly, you can host easily and keep your guests relaxed. This kind of easy access is especially helpful on busy nights when you’re juggling food, drinks, and conversation all at once.
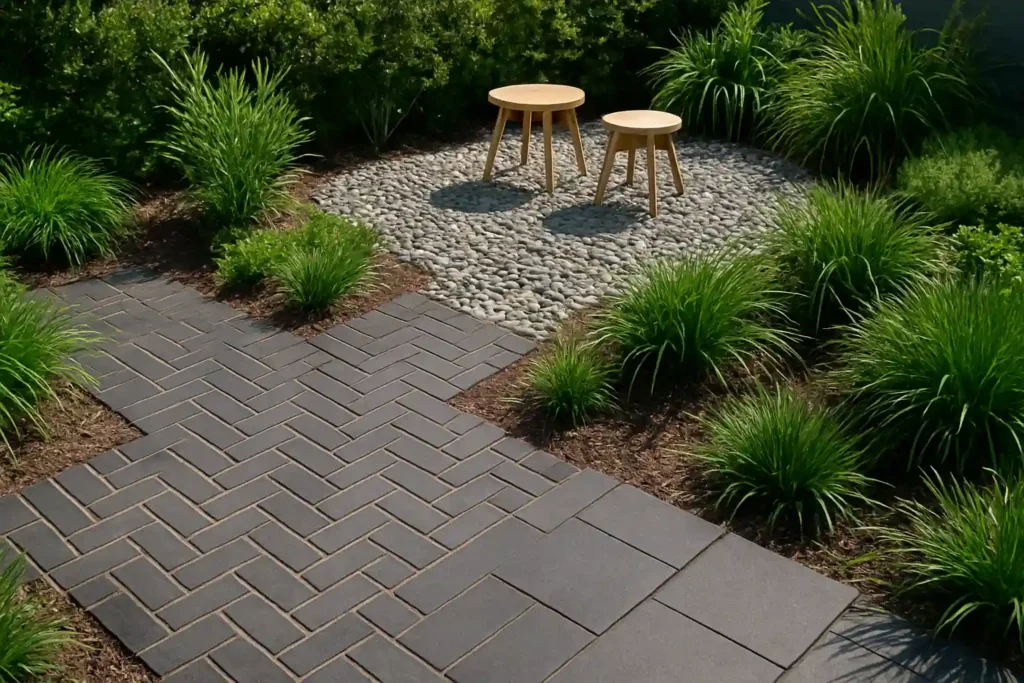
Use Focal Points to Anchor the Space
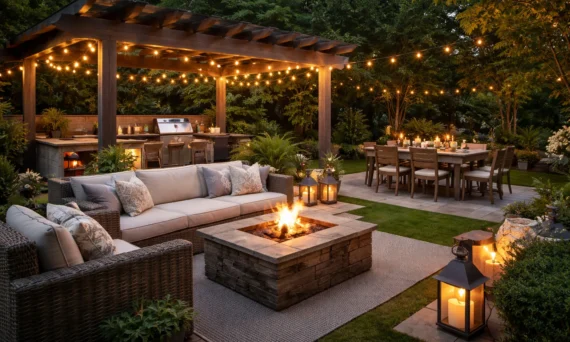
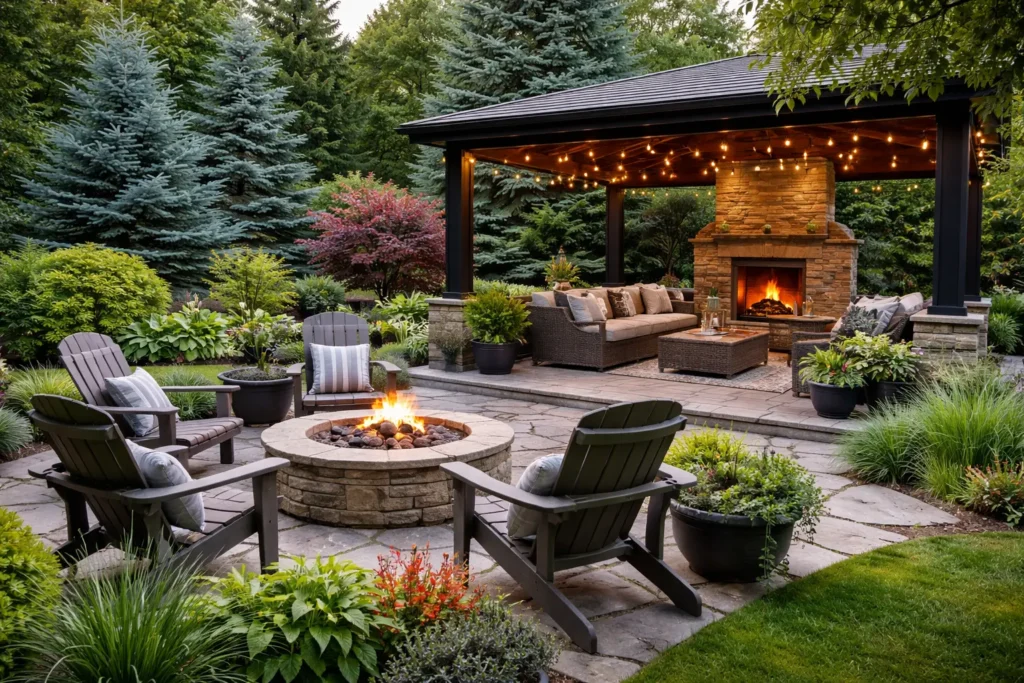
Every entertaining space looks better with a feature that draws attention and brings people together (aka focal points). On chilly evenings here on the Mornington Peninsula, a fire pit can give your guests a cosy spot to gather.
You can also add a vertical garden wall for greenery and visual interest. For a different effect, a water feature can create a calm, relaxing atmosphere, while a built-in pizza oven can keep guests talking and engaged as the food cooks.
Focal points like these give your outdoor area a sense of purpose. If there’s something interesting to look at or sit near, conversations will flow more easily and people will stick around longer.
They’ll also help guests naturally settle in and feel at home rather than standing around awkwardly. One great example of this is how a simple fire pit can make a calm corner the most popular spot in the yard on a cool autumn evening.
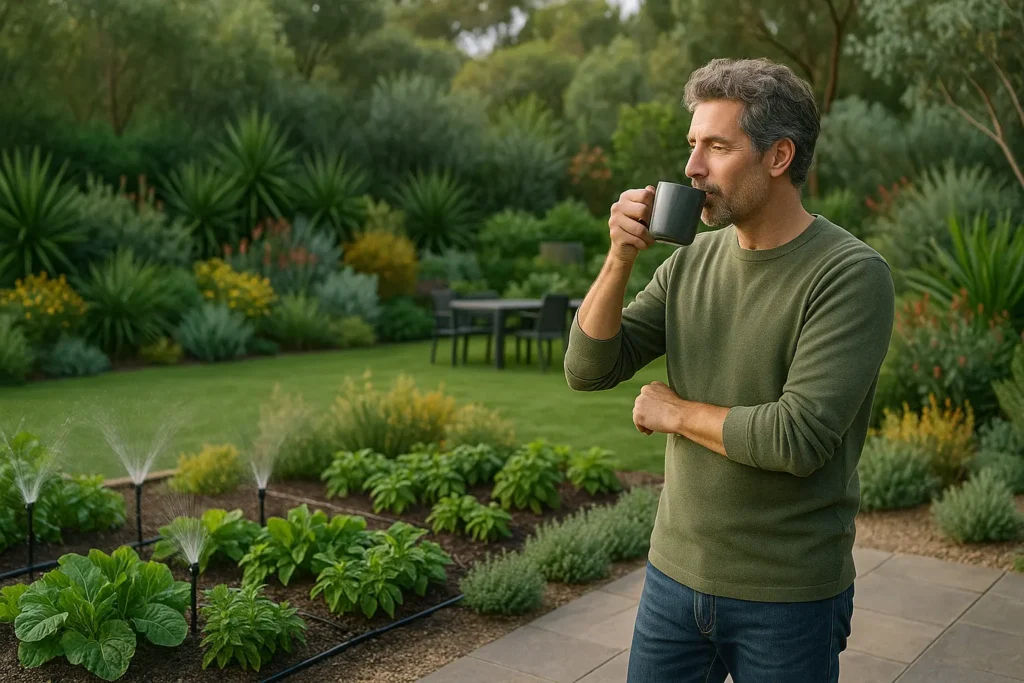
All-Season Outdoor Living: Tips for Materials, Shelter, and Plants
A truly functional outdoor living space works just as well in winter as it does in summer. That means choosing materials, shelter, and plants that hold up through every season. Let’s look at some practical ways to make your outdoor area comfortable all year round.
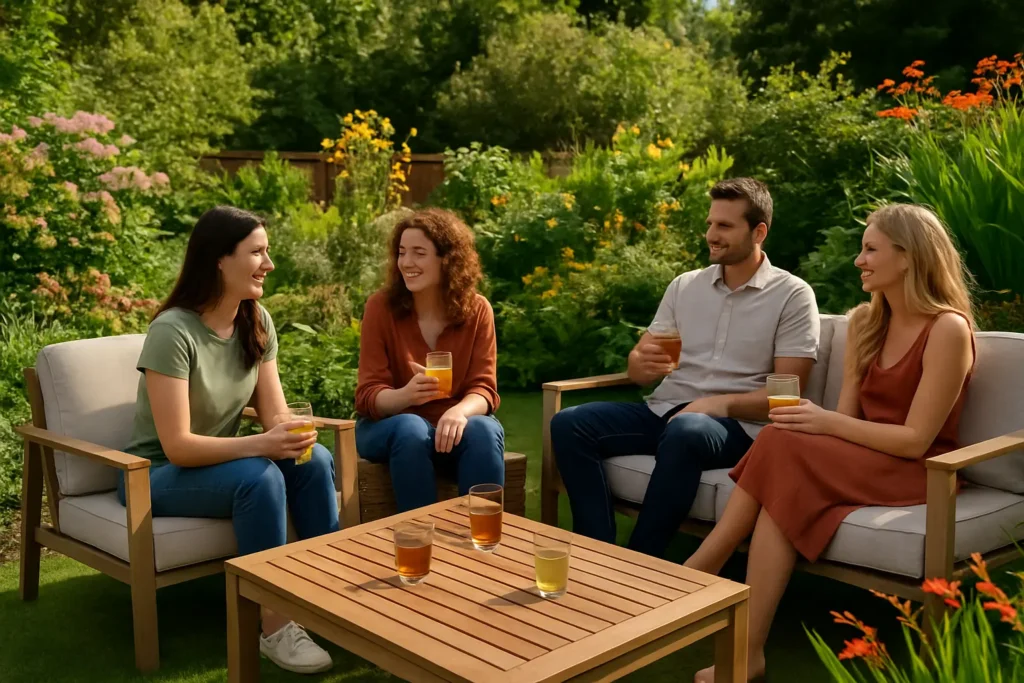
Choose Furniture Built to Last
Outdoor furniture takes a beating from sun, rain, and salty coastal air here on the Mornington Peninsula. So it makes sense to pick pieces with UV protection, rust resistance, and fabrics you can wipe clean easily. Cheaper furniture can seem like a good deal at first, but it often fades, cracks, or wobbles after a year or two outside.
Our recommendation is modular seating since you can arrange them for different occasions.
Spread the pieces out for a big party so everyone has space. Then, for a quiet night with a few mates, push them together again into a cosy setup. This flexibility means your outdoor space adapts to any occasion.
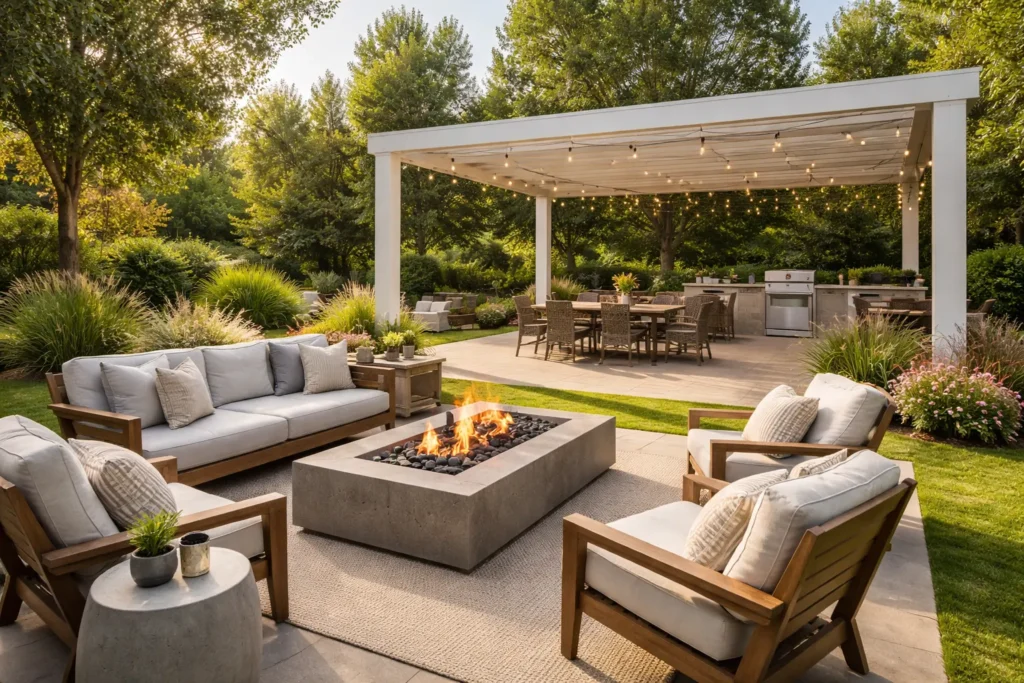
Add Shelter for Sun and Rain
Even the best outdoor entertaining area can be useless on a scorching afternoon or a drizzly winter day. A pergola or roofed patio solves this problem by giving you solid cover from both sun and rain. Retractable awnings are another option because you can extend them when the sun gets harsh and roll them back on milder days.
We find that adding overhead cover is one of the smartest moves for year-round use. It means a sudden shower won’t ruin your barbecue plans, and your guests can relax without squinting into the sun.
Keep Guests Comfortable Through All Seasons
Shelter handles the weather overhead, but you also need to think about temperature.
For chilly evenings, a fire pit will give people a warm spot to gather and creates a cosy atmosphere at the same time. Portable outdoor heaters work well too if you want something you can move around.
And when summer hits, ceiling fans will keep air moving under your pergola or patio roof. Misting systems are another option for those really hot days when a breeze isn’t enough on its own. This way, you can keep your outdoor space comfortable all year round.
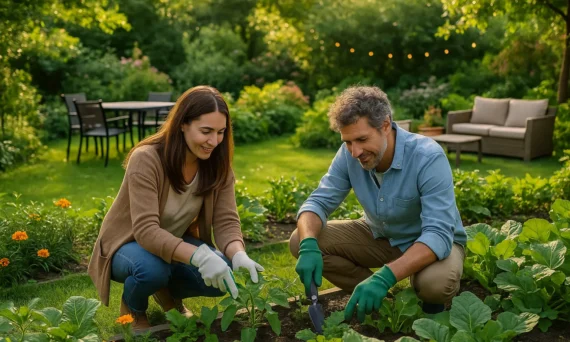
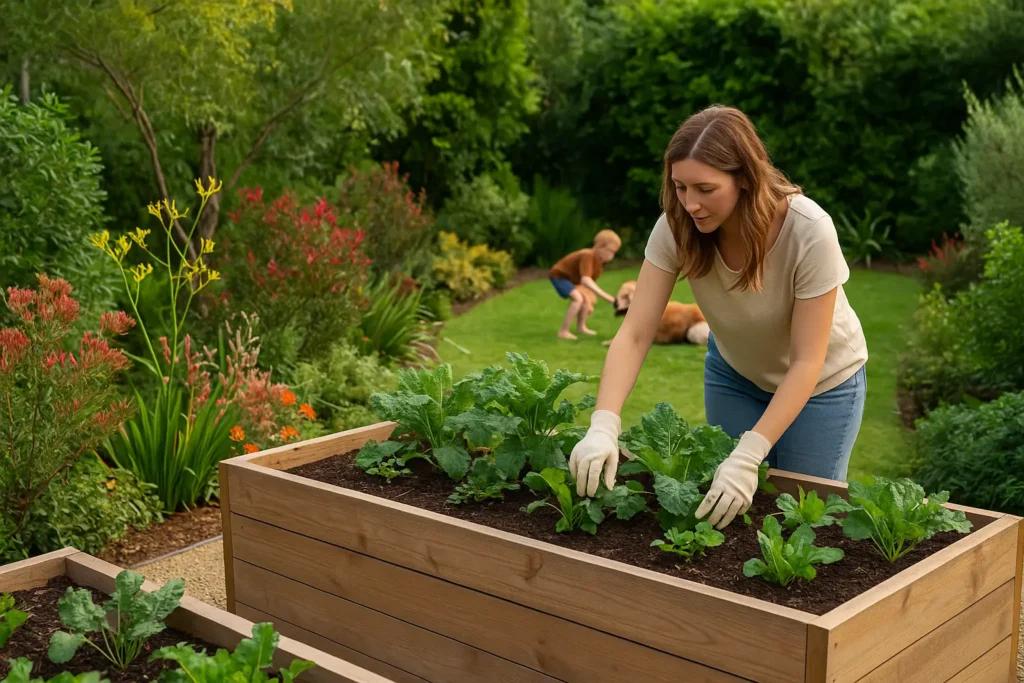
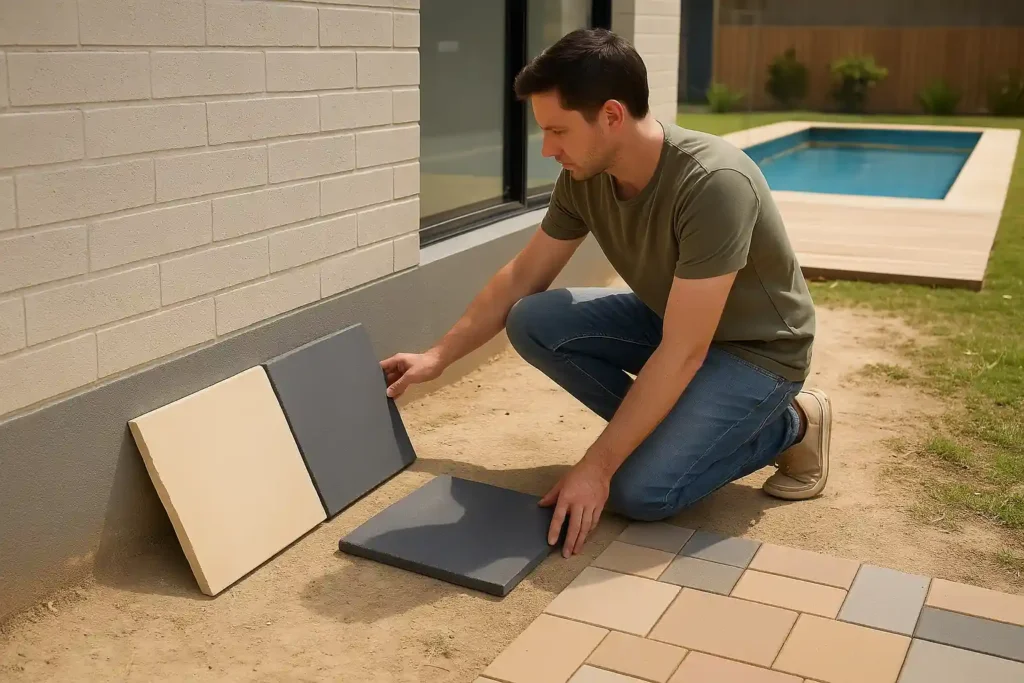
Let Plants Do Some Heavy Lifting
You can use plants to add visual interest and define different areas of your garden. For privacy and a green backdrop, install vertical gardens along fences and walls.
Then, plant shade trees like birch, oak, or maple where you want a cooler canopy. Their leaves will lower temperatures by a few degrees around entertaining areas in summer.
If you want to add color and warmth to patios and decks without taking up floor space, use hanging baskets and potted plants. We’ve seen the best results come from choosing plants that suit your local climate and the time you can spend on care.
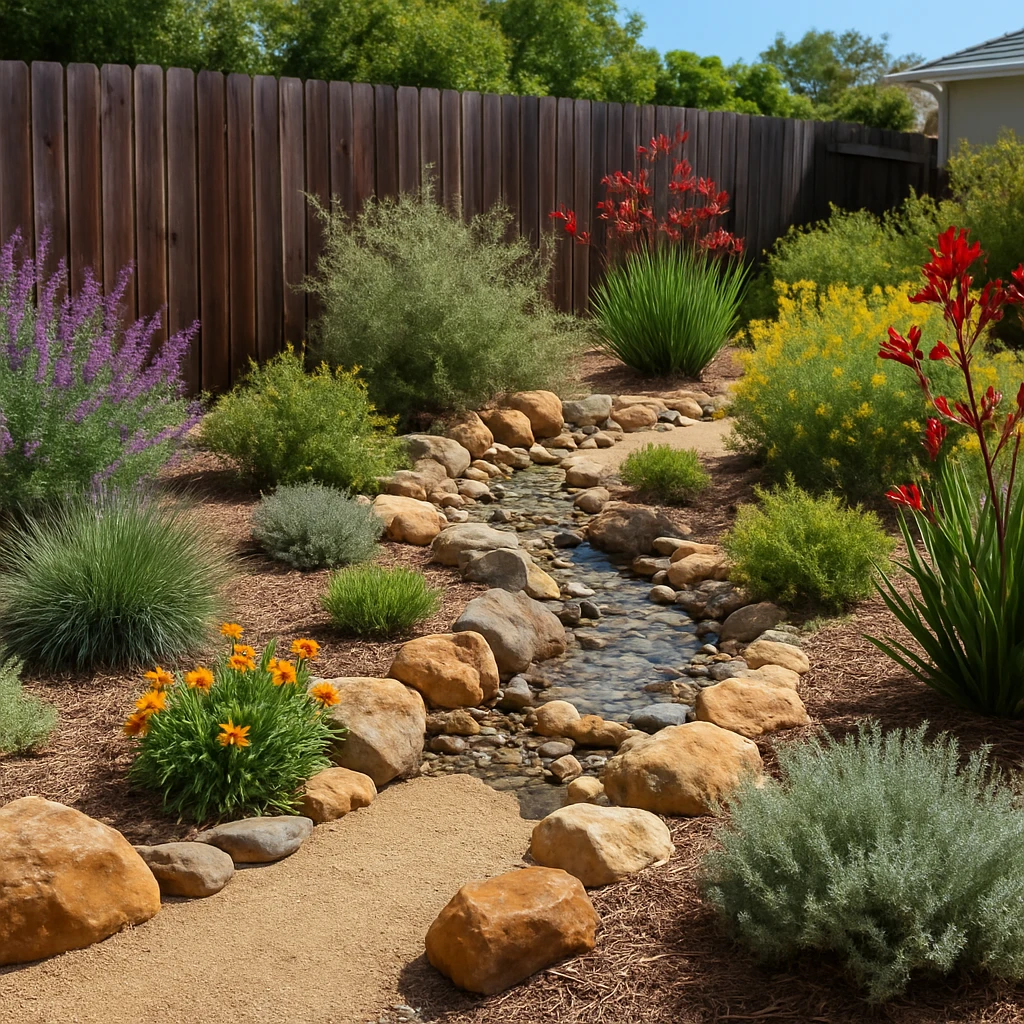
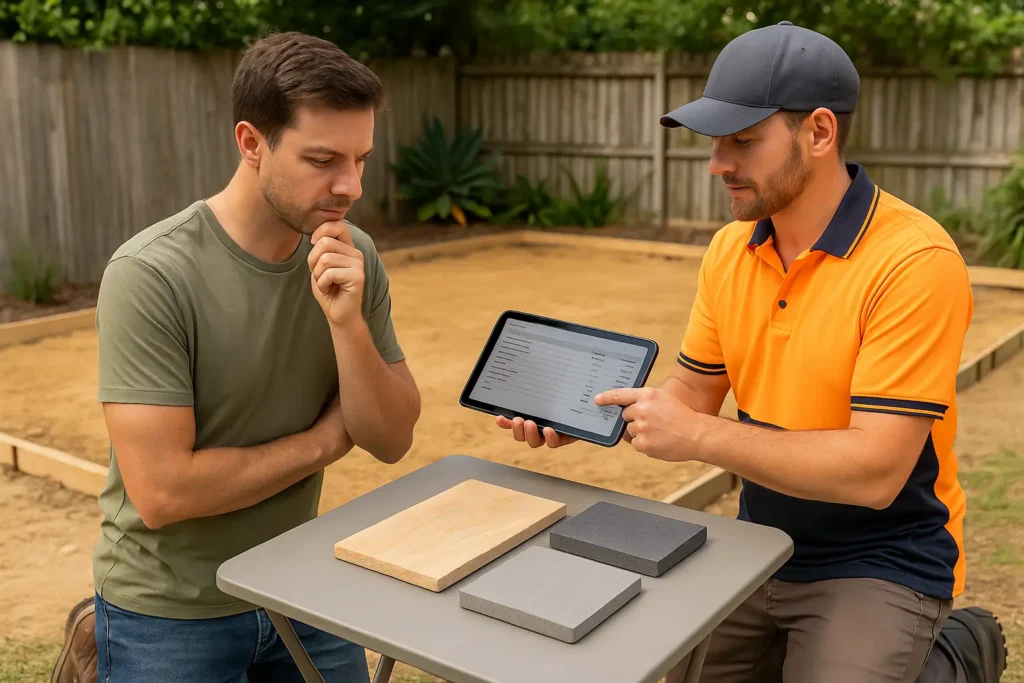
Local plants grow easier and stay healthy with less effort. And if you choose plants that need only as much watering and maintenance as you can manage, your garden will stay healthy and look good without extra work.
We recommend Mornington Peninsula native plants like banksias, tea trees, and grevilleas. They’ll handle the conditions well and use less water once their roots settle.
Lighting and Night-Time Usability
Good lighting lets you enjoy your outdoor space long after the sun goes down. Dimmable lights are especially handy here. You can turn them bright when cooking at the BBQ and then lower them for a relaxed evening with friends.
For safety, place small step lights along pathways to help your guests move around without tripping over edges or garden beds in the dark. And if you want extra visual interest, try adding accent lights around plants and focal points.
You can use different types of lighting to add warmth and atmosphere to your outdoor space. String lights overhead, lanterns on tables, and uplighting through plants, will all make your backyard feel welcoming after dark.
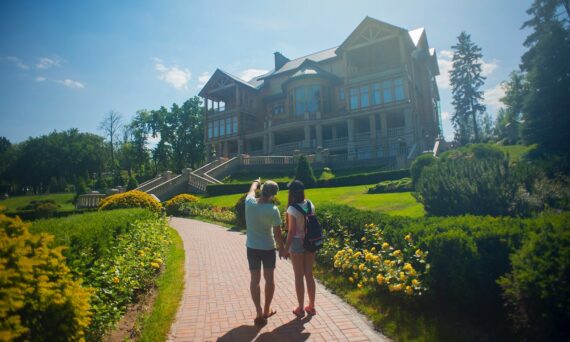
Create a Backyard That’s Perfect for Entertaining and Relaxing
So, did any of these ideas spark some inspiration for your own backyard?
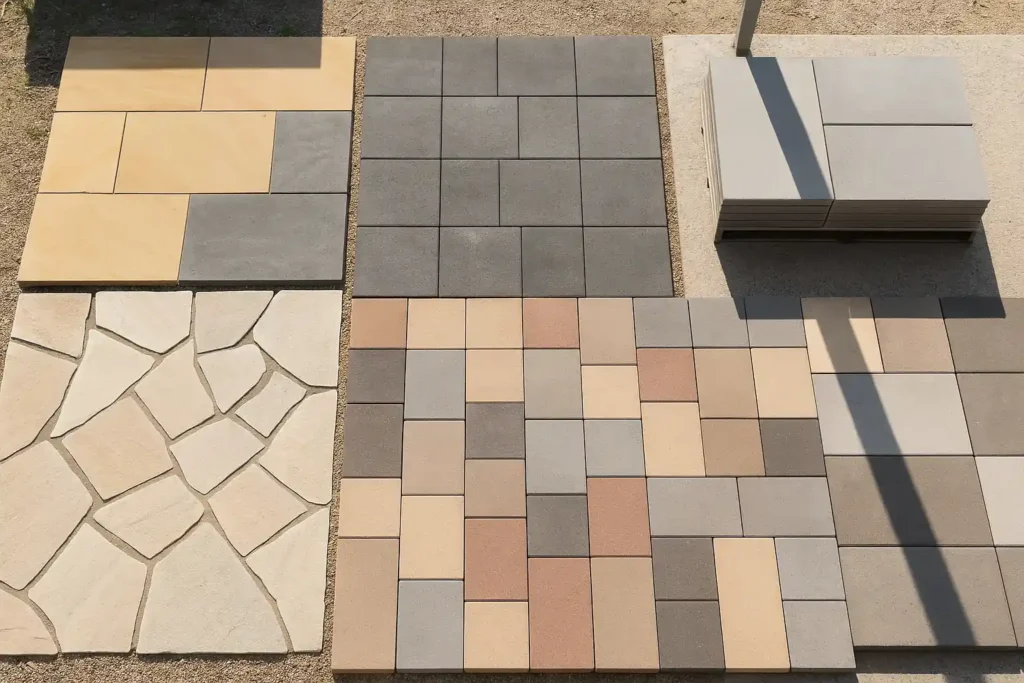
The big takeaway here is that a great outdoor entertaining area needs attention to both looks and function. Sure, nice pavers and stylish furniture help. But comfort, flow, and usability are what actually get you outside using the space. A beautiful patio that’s too hot in summer or too cramped for a few friends won’t get much use.
Try looking at your outdoor space from both the host’s and the guest’s perspective. For the host, everything should be easy to reach and simple to clean. Guests, on the other hand, appreciate comfortable seating, good shelter, and a relaxed atmosphere from the moment they arrive.
If you’re keen to get started on your own garden entertaining spaces, our team at Peninsula Compost is here to help. We’ve got quality soils, mulches, and friendly advice to help you create your ideal outdoor entertaining space.